 |
Navigation help for Level-articles: Levels
Remember that by reading further then the Overview you might get exposed to spoilers! The Wiki intends to describe every little detail and background knowledge (as soon as available and verified). Detailed help for Trophies, Glyphs and Symbols are given under that headline. In the Sections part, there will be just hints. |
Remember that by reading further then the Overview you might get exposed to spoilers! The Wiki intends to describe every little detail and background knowledge (as soon as available and verified).
Detailed help for Trophies, Glyphs and Symbols are given under that headline. In the Sections part, there will be just hints.| Underground | |
|---|---|

| |
| Details | |
Level#/Abrv. |
5, UG |
| 4 | |
| 1 | |
Sections |
Friendly tunnels Kelp Room Jellyfish Room Ambush Room Flyers Eaten Room Unfriendly tunnels War Machine Slide |
Keywords |
Water and Fear |
Underground is the level where the color cheme rapidly changes towards to blue greenish, may players get an uneasy feeling upon entering the level.
Alternative Names:[]
Underground Passage, Underworld, Cave, Sewers or Water Level.
Overview[]
The Underground is sometimes mistakenly referred to as the Sunken City, but if you check the description of the Adventure trophy, you can find that the name "Sunken City" refers to the shifting-sands level.
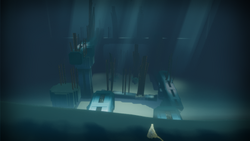
The very start of the level.
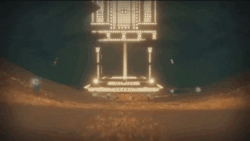
Underground (abbreviated as UG) is the level were you explore the depths of the city (or at least one huge building) that you saw in the last level.
This level is rather long (compared to Pink Desert its more like corridors to walk through).
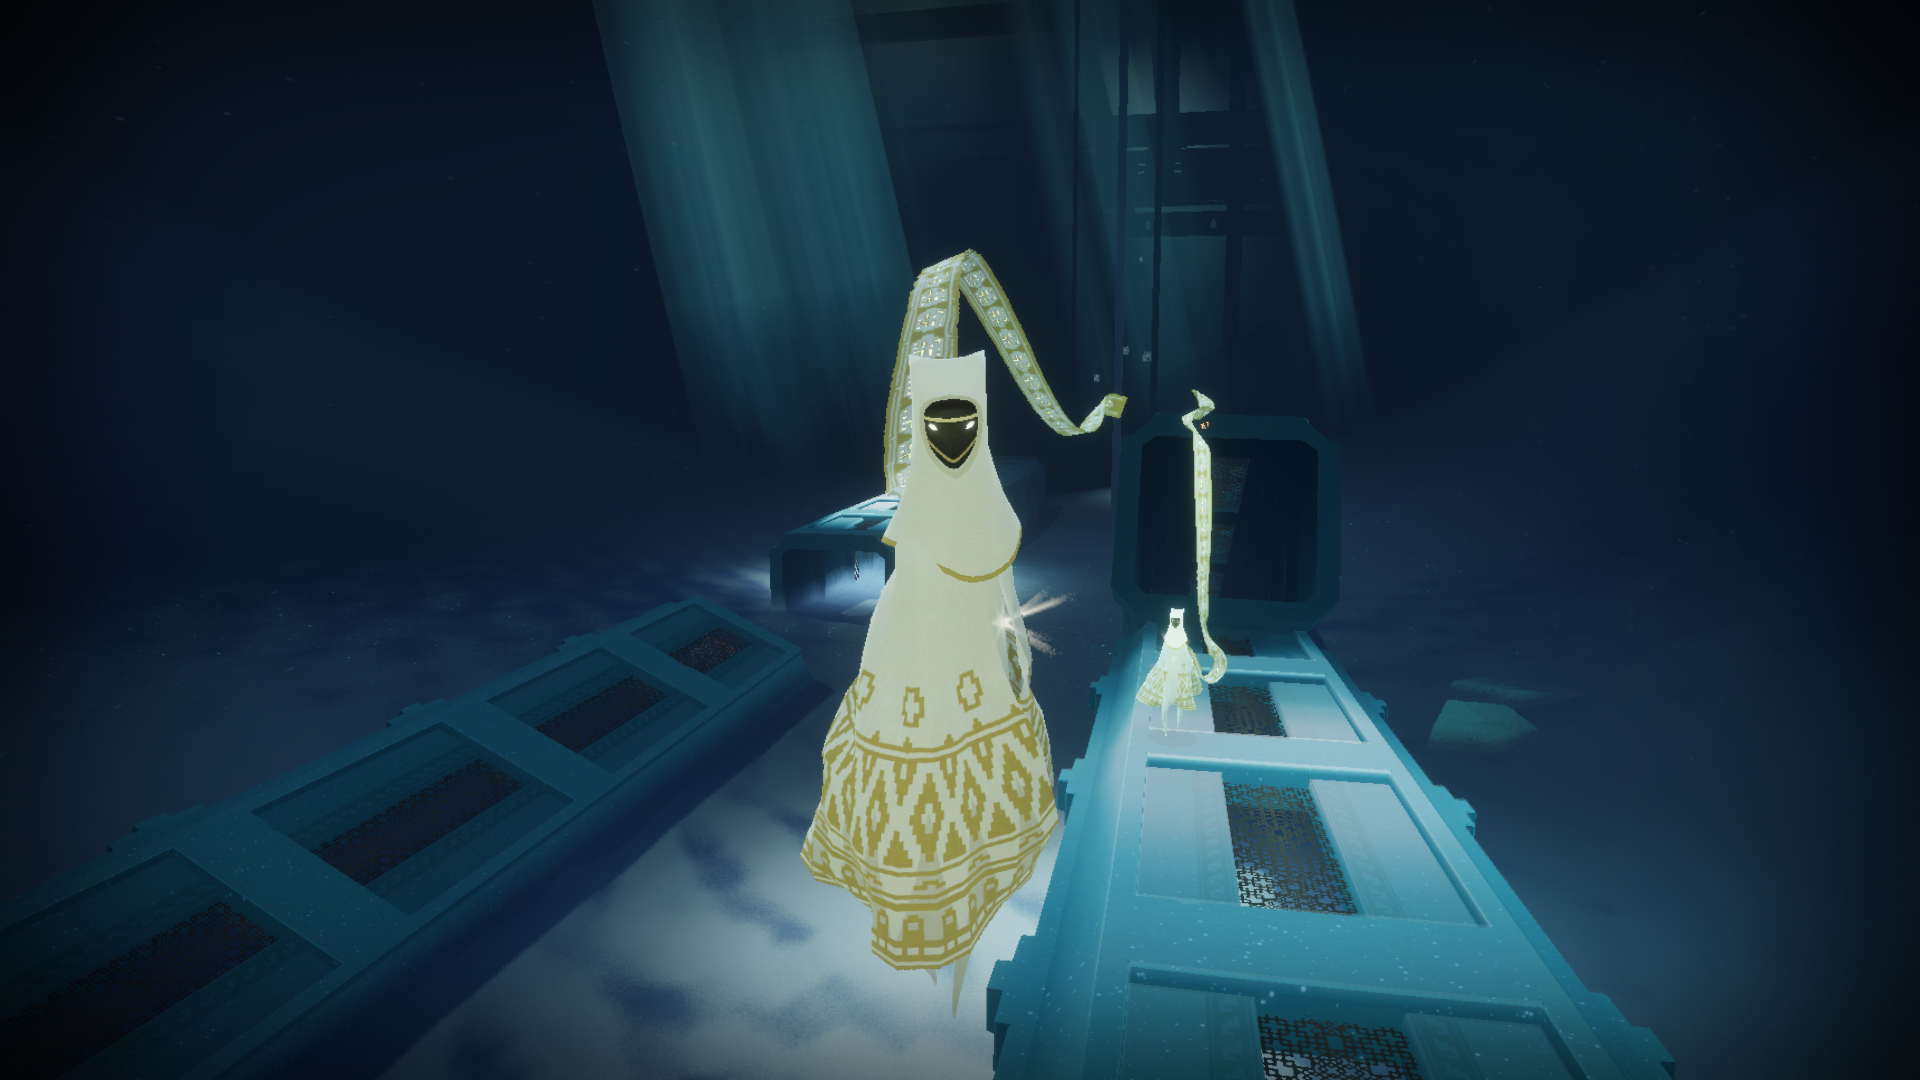
The first sections are peaceful. At the first "pipe"/tube/tunnel like thing, a Carpet will wait for you. He will fly from you, but wait at the end of the first three sections. Searching for the Carpet or his Chirps might help to find the way to the next room.


"Hello there". The first ruin.
At the end of the Friendly Tunnels section, before entering the Kelp Room is a Symbol, as well as in the Kelp Room (to the end of it right side from the exit).
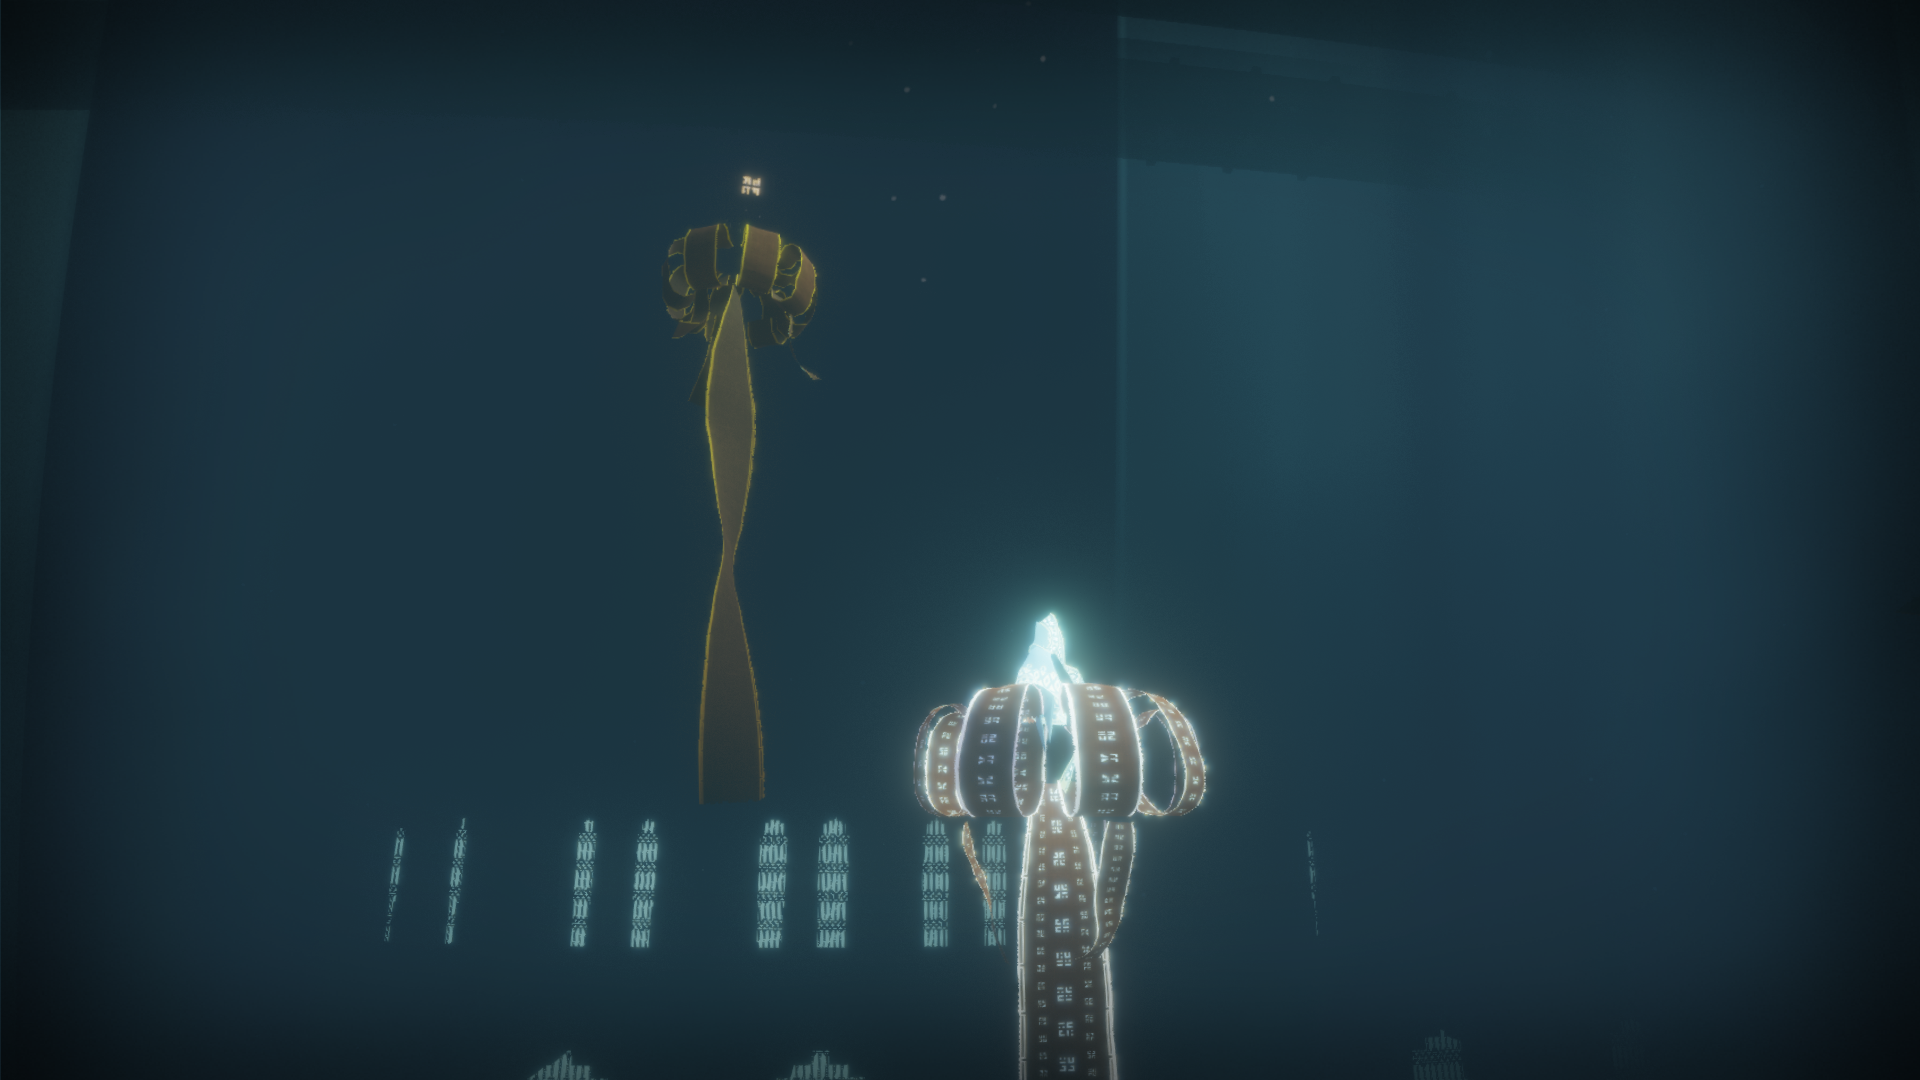
In the next room you fly from Kelp and Jellyfish to the next, pick a Symbol and fly further forward. Next comes the first attack animation of a from now on confirmed "War" Machine. The room after going through the corridor with two corners has a Glyph at the start (you see Flyers being attacked there).
You will walk/fly through some large rooms and a final slide at the end, where two War Machines patrol and eventually focus on you. Before the final slide another Symbol can be found
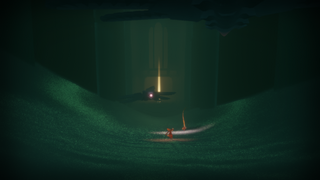
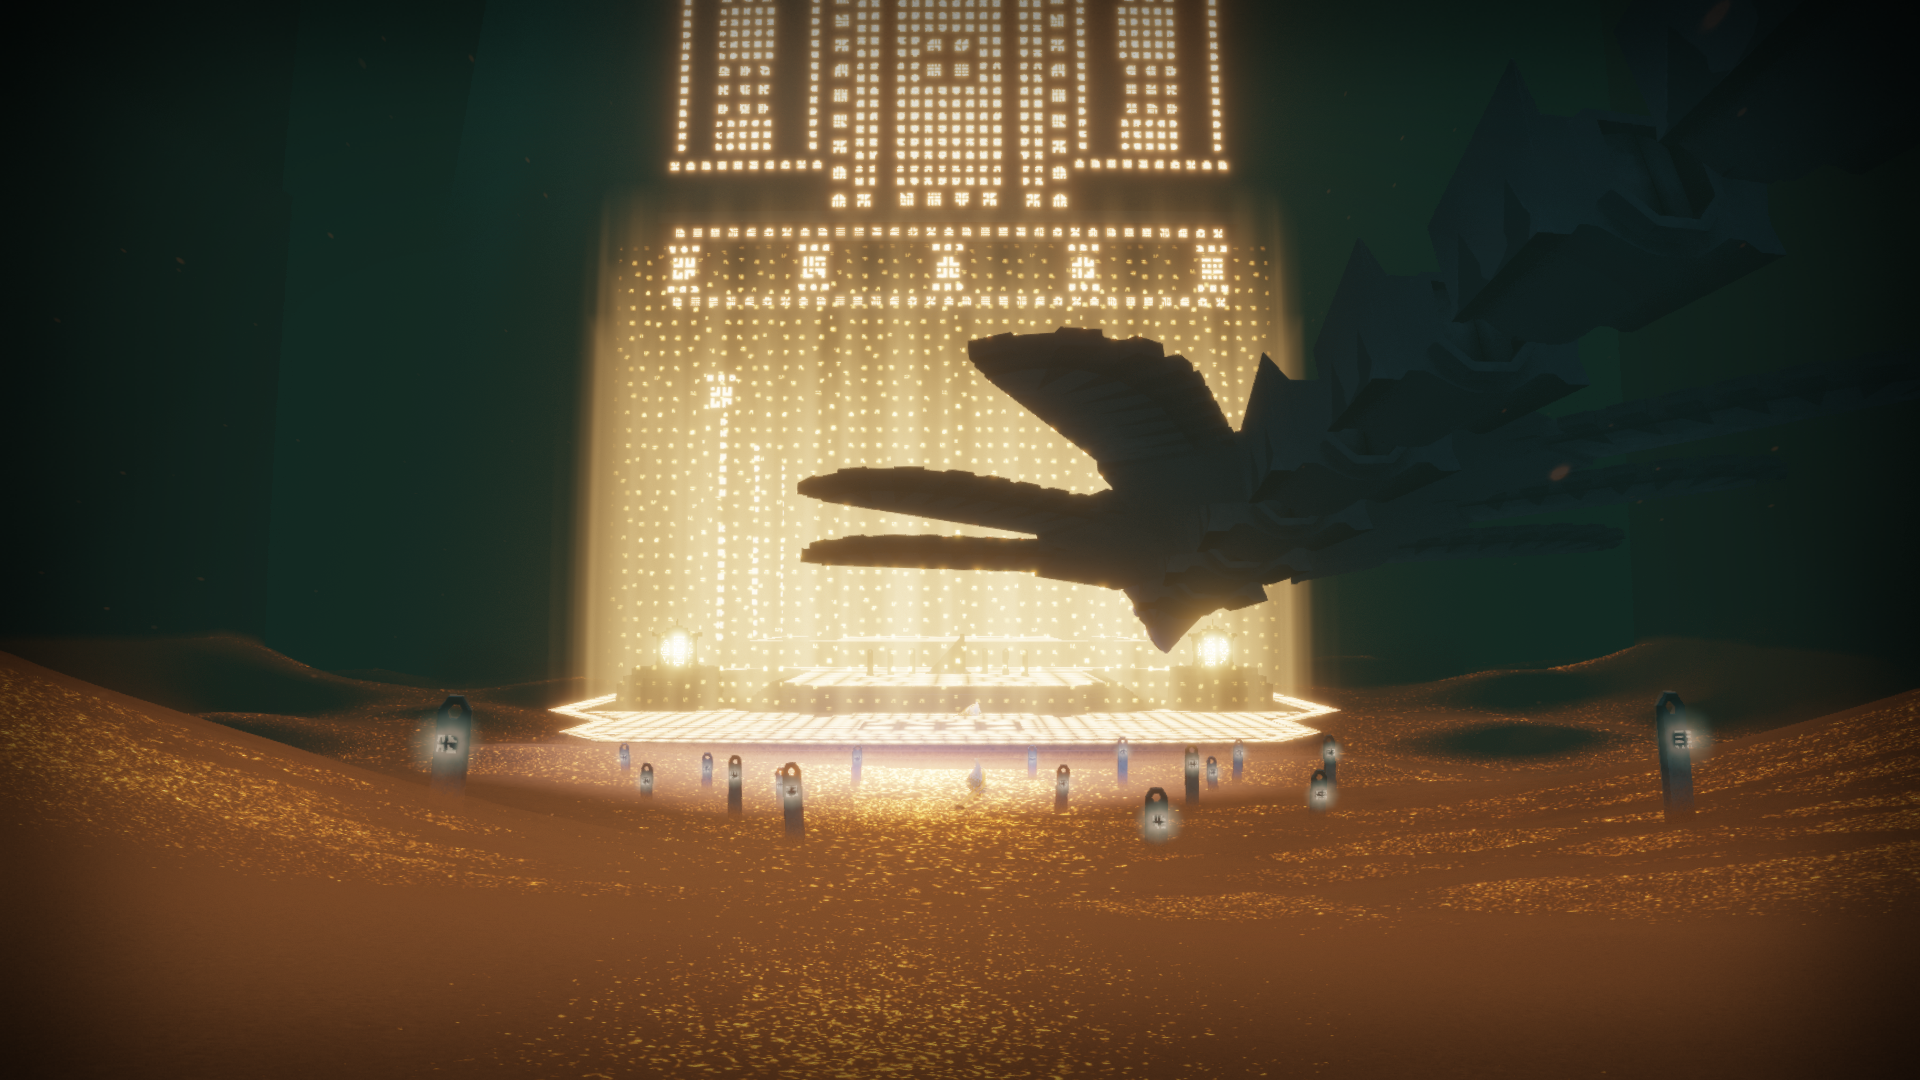
The Shrine is located at the end of the slide under the Tower.

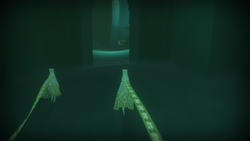
Friendly tunnel and active Flyers ahead (in the background of the image).
Sections[]
Friendly Tunnels[]

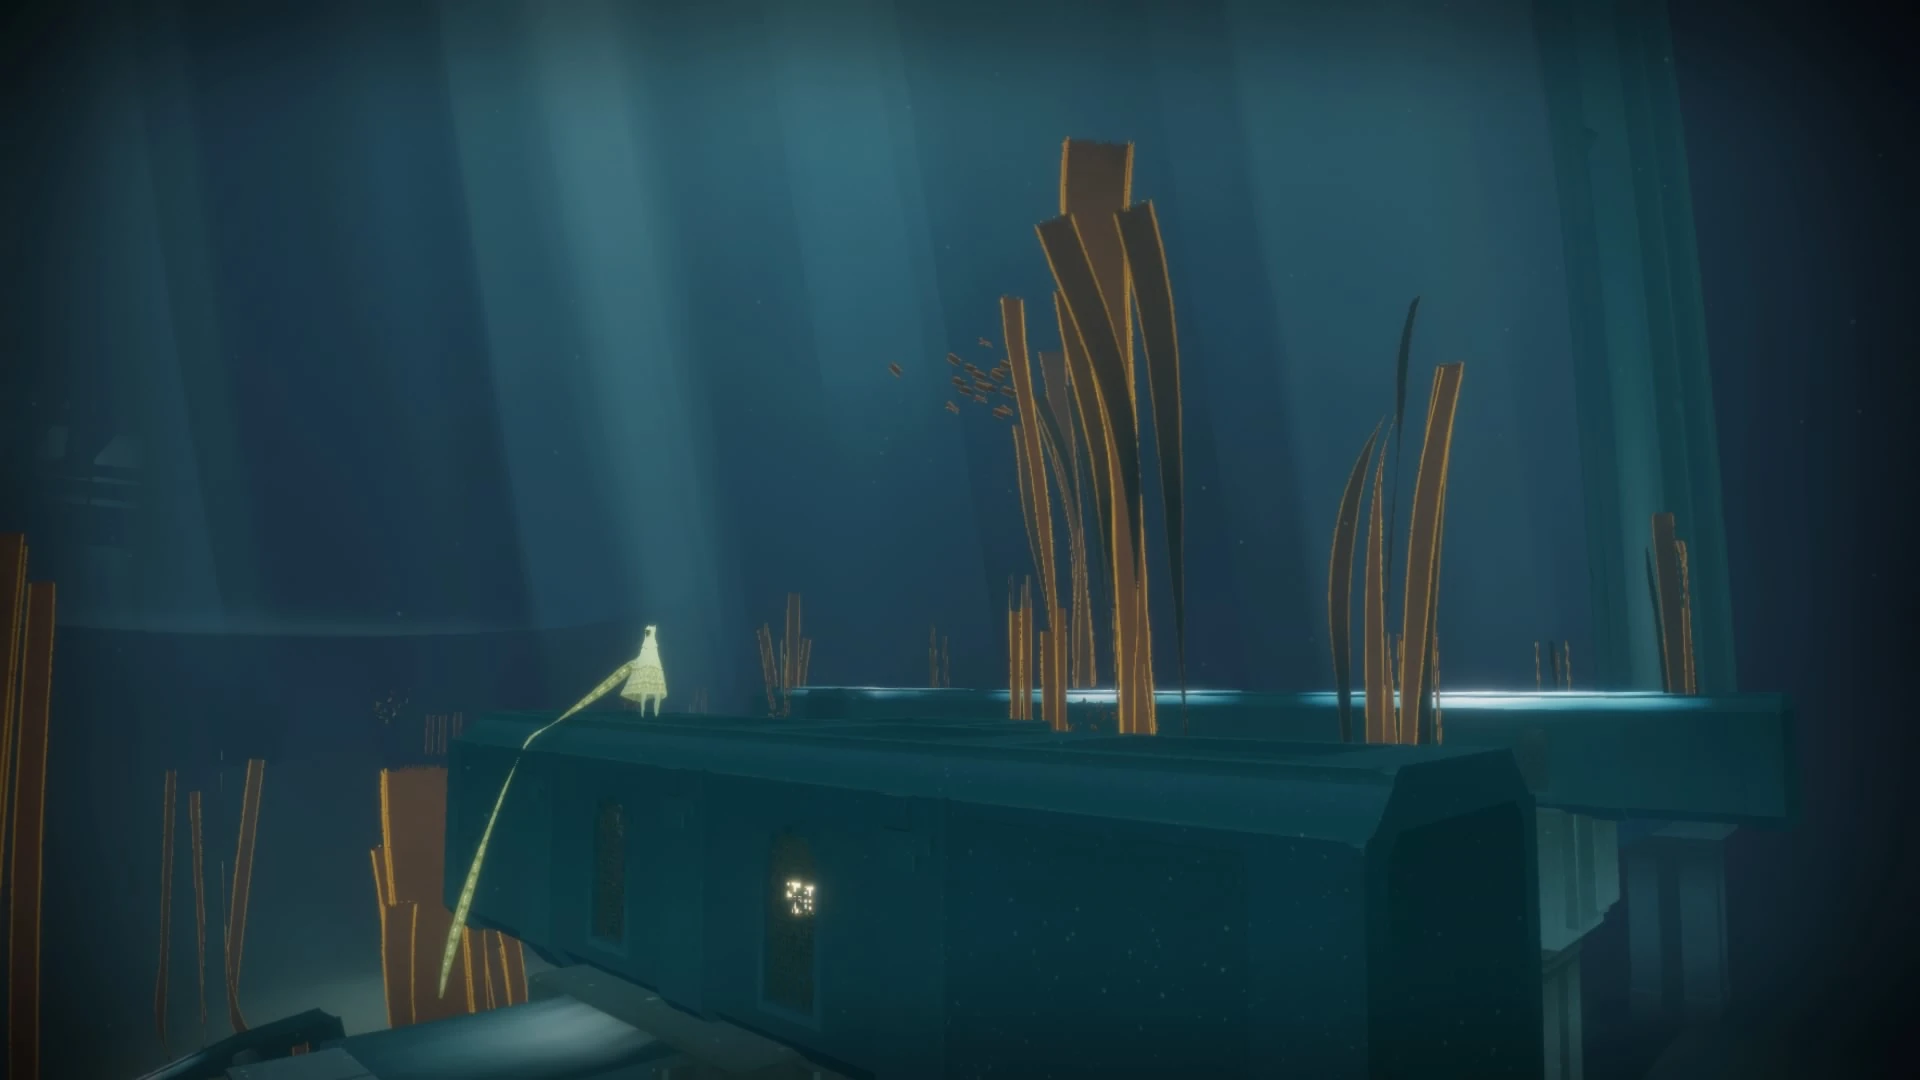
Camera zooming out to show the Kelp Room.
After leaving the first ruin behind you the tunnels section begins. Some players like to walk through the sandfalls at the start or walk together over the stones on the path, this will make both float a bit further.
The Carpet will fly away, animating players to follow.
Other players like to go through the tunnels, since there are some Flyers in them. Those do not behave like other Flyers, rather more like fish. When coming close to them they startle up, a sound is played and they "swim" away.
However, there is a little group of Flyers to help especially Red Robes to fly instead of walking through this section (and getting the Symbol easier).
The section ends at the transition (animation) to the Kelp Room. The game forces the player a bit to have a look at the pit laying in front of them, after it its easier to fly further, but its possible to just rush through the "animation".
Kelp Room[]

Kelp Room.
This is the first time Kelp appears, it's also the part where many players say "it feels like being underwater".
Considering the vision in Broken Bridge, showing the tunnels being filled with energy, this room could be a former distribution centre. The Kelp grows out of the pipes like Banners from War Machine parts in other levels.
In the middle is a group a group of Flyers, they can be used to fly high up and around in this section. They are not needed though, since all the Kelp will charge your Scarf. Maybe they are here so you get to see the Symbol from above.
Some people like to go through the left side pipe to hang inside at the Kelp or just call the Flyers from inside. Little games like one person hides in a pipe at the window and the other person chirps heavily from outside ("oh you are in prison?") are played here.
The Carpet hints to the exit, directly in front but not reachable in an easy way without using the kelp to go up first. If a first run explores the ground here, they might not find/see the exit.


Entrance to the Jellyfish Room
Jellyfish room[]
Kelp is growing from the ground and Jellyfish make their first appearance. You enter the room in the middle of its height.
Some people like to explore the ground of it too and its interesting to see whats down there, see Sights.
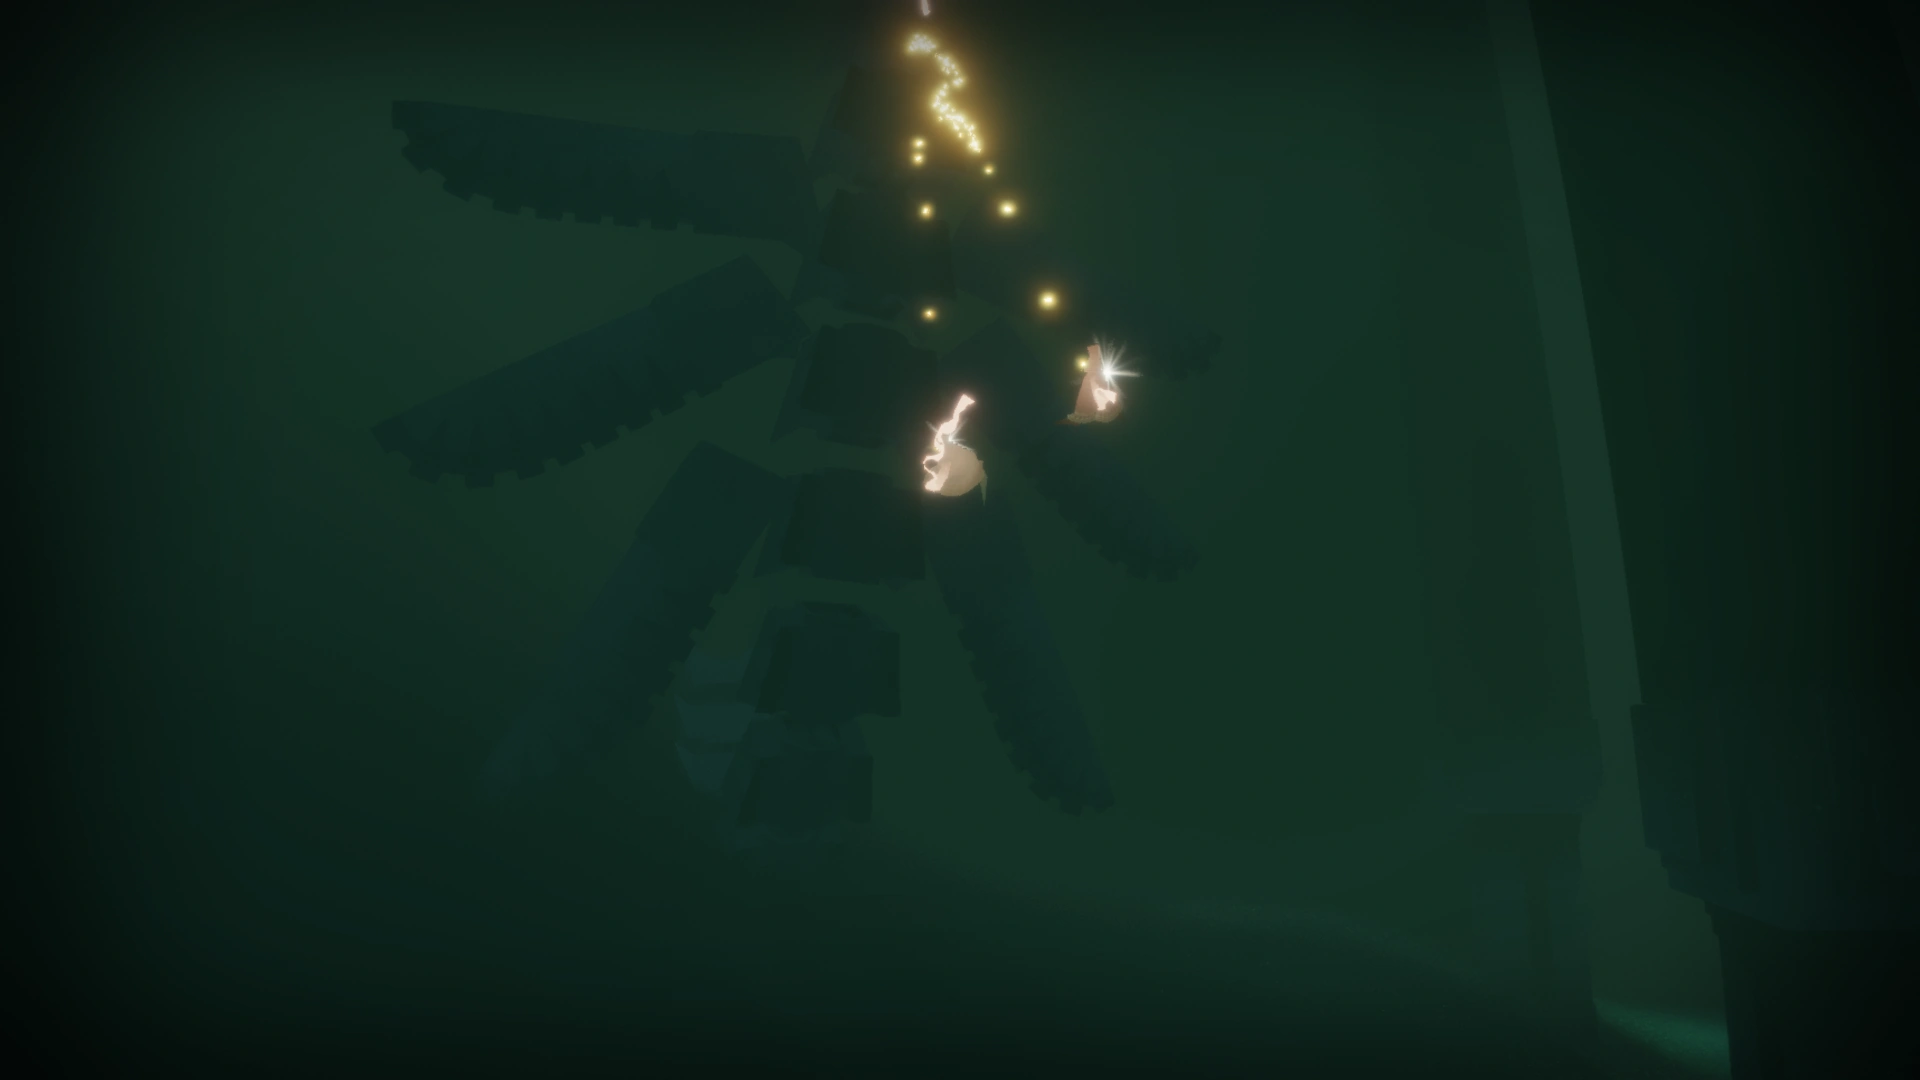
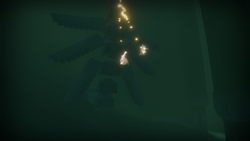
Some Companions like to sit on a Jellyfish and chirp loudly, it will make the Jellyfish and players glow very bright. On the highest Jellyfish is the Symbol which can be shown to a rushing Companion by staying behind and chirping. They hopefully will look back to see where you are and then also see the Symbol.
The section ends with the Carpet waiting at a ledge.

The "turning heads" in the corridor before the Ambush Room.
Ambush Room[]
There is another ledge on the other side, but the end of this corridor is blocked by rocks. The only way to advance is to drop down the ledge and walking through a long low-ceilinged corridor.


The Ambush.
To the sides of it are "turning heads", same kind of machinery like the one at the bigger tower in Pink Desert.
Ahead lies a War Machine head with green "eyes". The player saw other heads and machines already, but this is the first that seems to still have some energy in it.
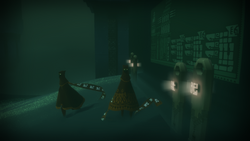
The Ambush Room has 3 niches to each side, each containing 6 parked War Machines. The whole area might give a feeling of oppression and a sense of foreboding. At the end of the room lays a War Machine on the ground in front of one thats "parked" like the others.
The Carpet will fly towards two War Machines and if close enough the laying WM will raise up, hit the standing one and kill the Carpet. This is the first hint, that WMs are dangerous.
New players like to explore the sides of the room, others go there to try to find a way to avoid the awakening.
When leaving the Ambush Room to the corridor, you will be greeted by another standing WM in the corner. Thankfully this one does not activate, but at the window to the right another one will fly by.


The corridor with two corners. WM at window.
Going towards the:
Flyers Eaten Room[]
Going to enter the Flyers Eaten Room.
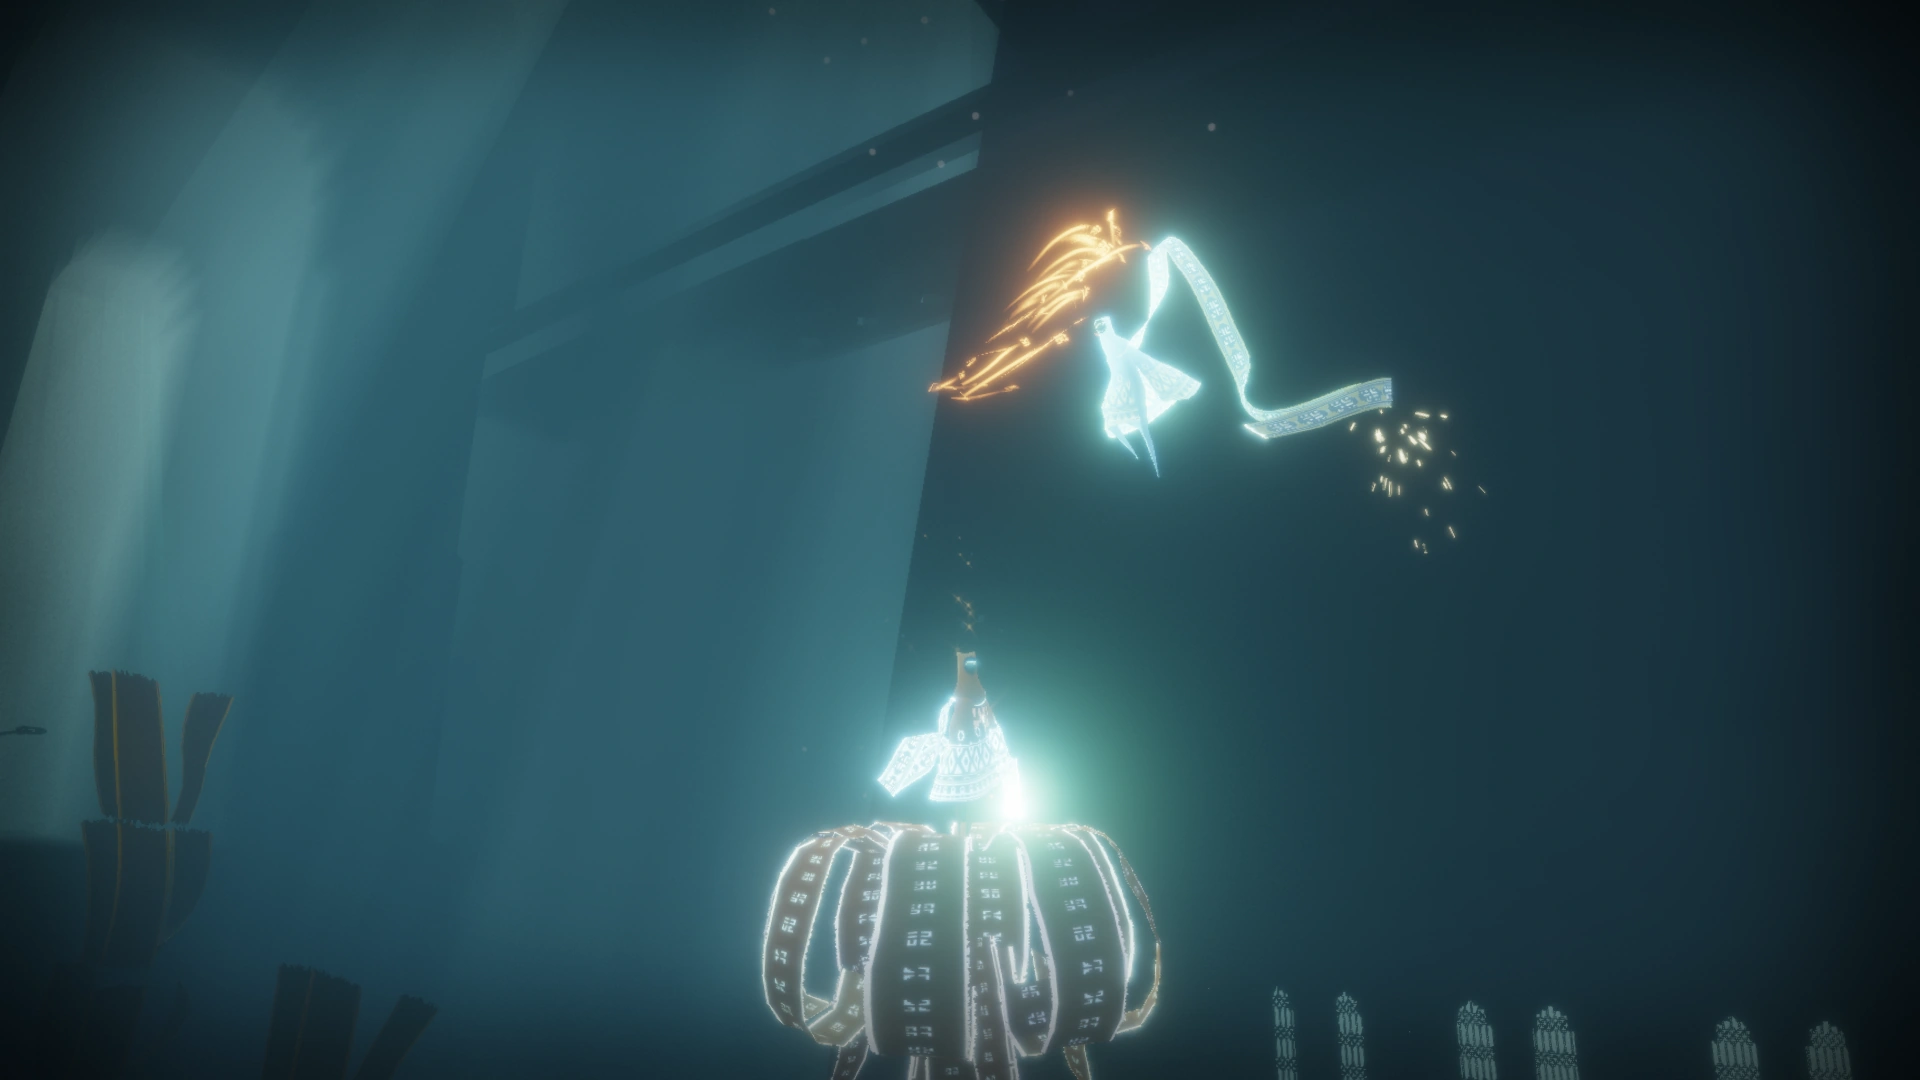
you will see a search light on the ground, followed by the WM. It will cross from right to left, take a U-turn around a pillar and focus the "golden" Flyers in the middle of the path with its light. The position will change, the light will become red and then the attack happens.
This is another hint and shows that things getting into the light will be attacked.
When letting the camera lead, you will head rather to the left side. There is a Glyph at a wall.
Note: The description of WMs appearing and behavior is based on no attacks happened. Attacks can change things a bit.
The next War Machine starts flying towards you, short before you go through the entrance to the next room.
Standing there and not evading will get you attacked, but you can flee to the sides and wait until it passed. Just quickly going forward and dodging the light to the left or right side also works.
Unfriendly Tunnels[]
are the next two rooms after Flyers Eaten. Those are much wider rooms and have long steep hill upwards to the side. The pipes/tunnels are laying around in the area.
A WM will fly straight forward in the middle of the room and after hitting a trigger another one (right side) will come to life. Depending where you go you get a different impression:
- Walking right makes you walk behind the activating WM and you might get even hit by it, when walking too close by.
- Left side makes you see the search light crossing the middle path, maybe even swipe over you.
At the end of the first room is a long pipe with an entrance at the front. A War Machine will come down to patrol in this room, as often there are several ways to avoid it.
This part could be seen as a tutorial: to show that you can hide from the light in that long pipe. This will be useful in the Snow level.
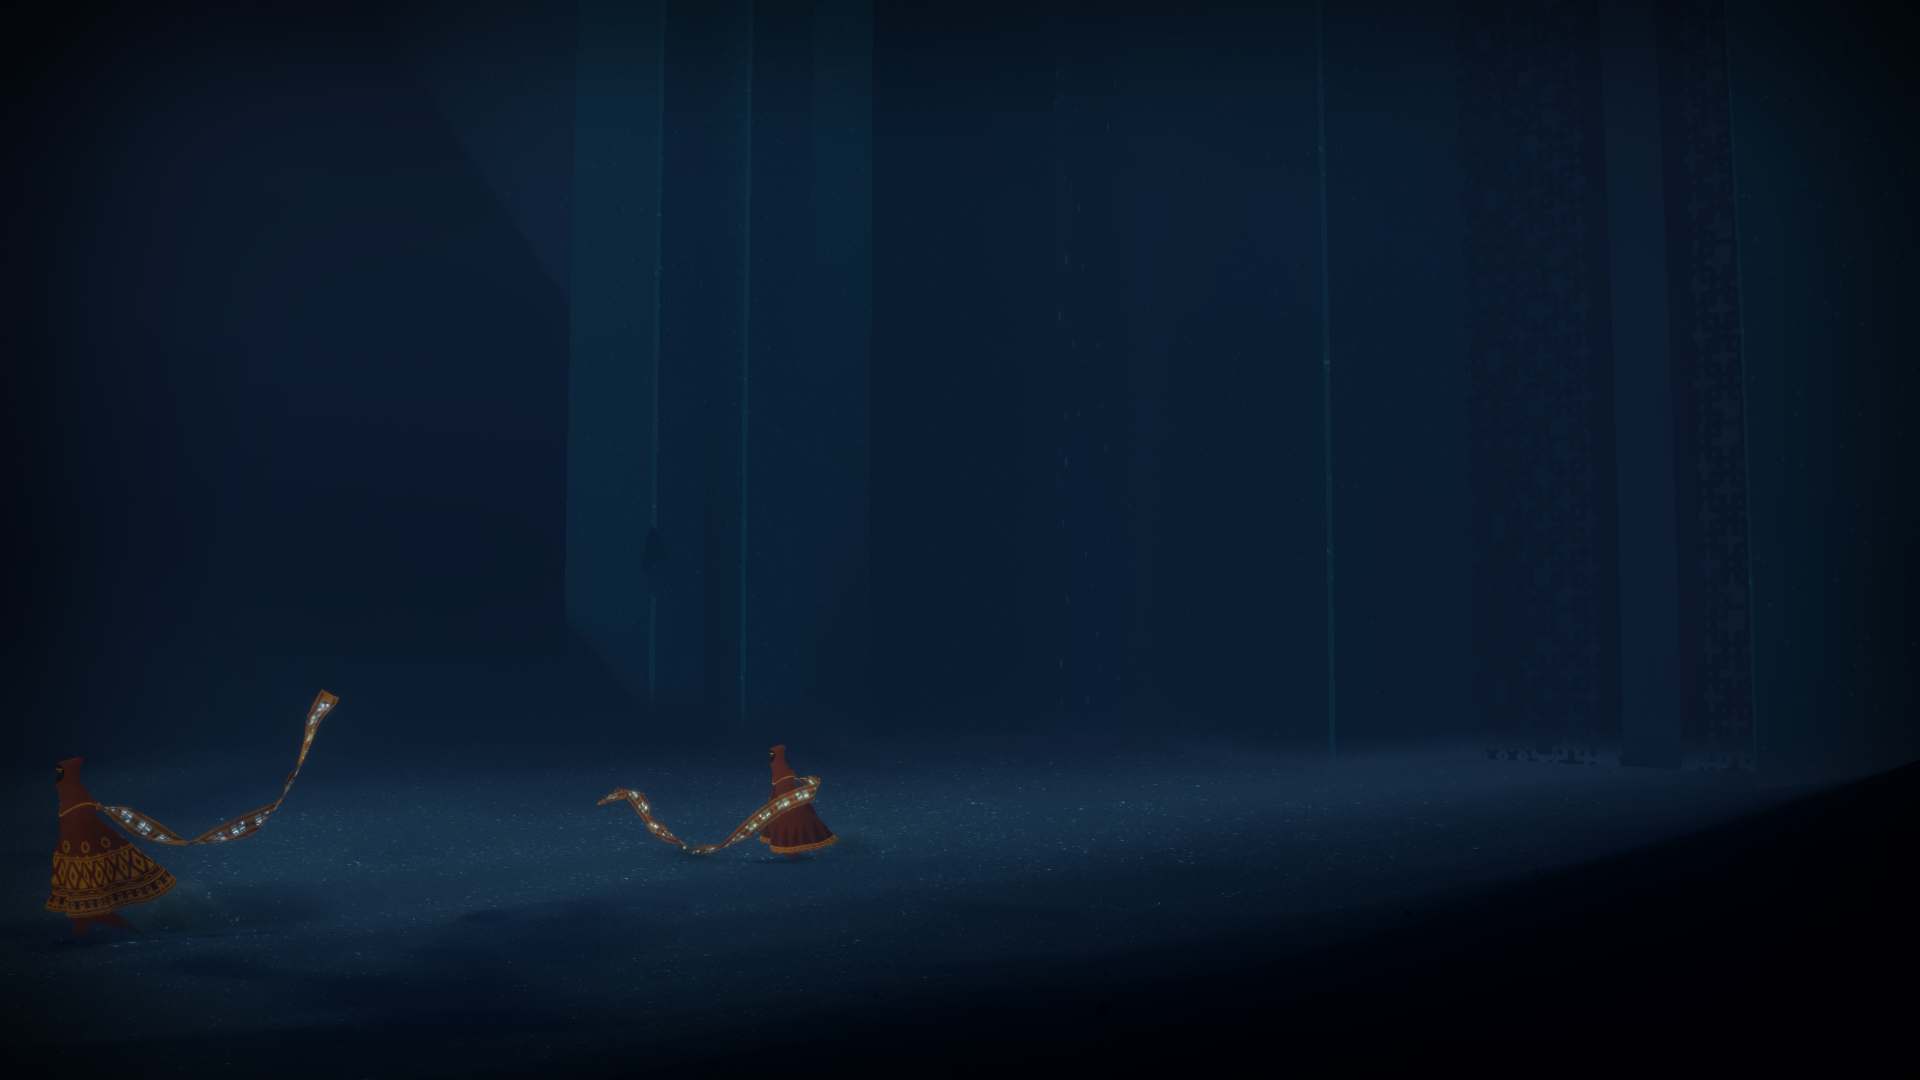
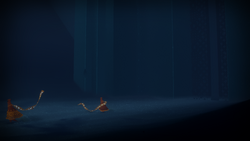
Two Wayfarers being attacked.
Walking far up to either side can also work, but might need knowledge of where the WM patrols.
As soon as one crosses an invisible line (trigger) when leaving the pipe, the WM will leave the room towards the next one. It will fly a bit into the room and then raise up and vanish.
Walking towards the last room, will trigger two WMs flying from the end of it towards you and into the room before. They use the little valley in the middle and will not search to the left or right.
War Machine Slide[]
The War Machines being repelled by the force field.
The final stage of the level contains two War Machines patrolling a large slope. The player may be caught in the light from one or even both War Machine's eye, but will not be attacked as the player is protected from a large force field that repels them.
The looks of this part can change, depending on if you slide or fly, the search lights get you and where your Companion is.
- Most common might be: both players slide down and both WM crash into the force field
- Only one WM crashes, the other is not visible.
- One WM turns to the right and fly away in that direction, instead of straight up.
- When braking, the WM also slow down until a trigger is hit and they crash into the field.
- Flying too high may cause one or no WM to hit the field.
- Gallery to show differences at last slide

Before going into the Final Slide
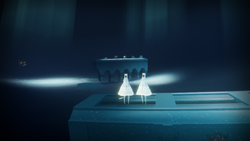
Both Wayfarers are focused/targeted.

Normal slide behavior.

Standard outcome.
Second WM slower/behind and most likely will not crash into the field.
The "force field" up.
Wayfarers used the soaking up-effect at the start of the slide (fly up).
Flying instead of sliding can give nice views.
Sometimes a player can get "the red light". It will vanish after some seconds.
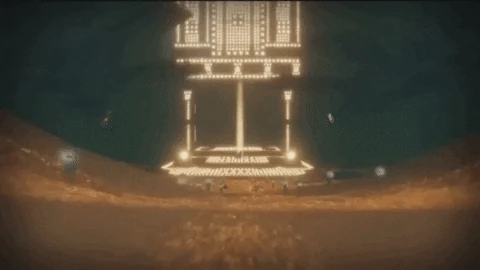
Visiting Gary and Larry. They are always there (not related to the WMs).


Hints and Tricks[]
Connection and Companion hints[]
See To connect or to disconnect! for tips to avoid disconnection in this level.
Hints about hiding from War Machines[]
Besides already mentioned stuff in Sections, its also possible to fly over War Machines. As White Robe just make sure your scarf is full and start from a high place, this might take some tries until you know how to fly. Its rather easy with a "good" Companion, both just chirp and fly straight forward. Careful with the WM that raises up into the last room before slide, it might hit you if you are real fast.
Trophies, Glyphs, Symbols[]


Glyph: If you see this, walk to the left.
Trophy[]

The Glyph in Underground.
"Sneak through the underground passage without tearing your scarf."
The easiest way to accomplish this, besides some experience when the WMs appear and where the patrol etc. is to stay on the left side. In the Unfriendly Tunnel climb the hill to the left and walk there, the search light will not reach there. At the walls is a passageway/window through which you can fly through, instead of walking in the middle and have to fear an attack.
In the last room before the slide: two machines will appear and fly straight through the room, they will not reach higher parts on the left or right. Though if you walk left you are already at the side with the Symbol.
Glyph[]
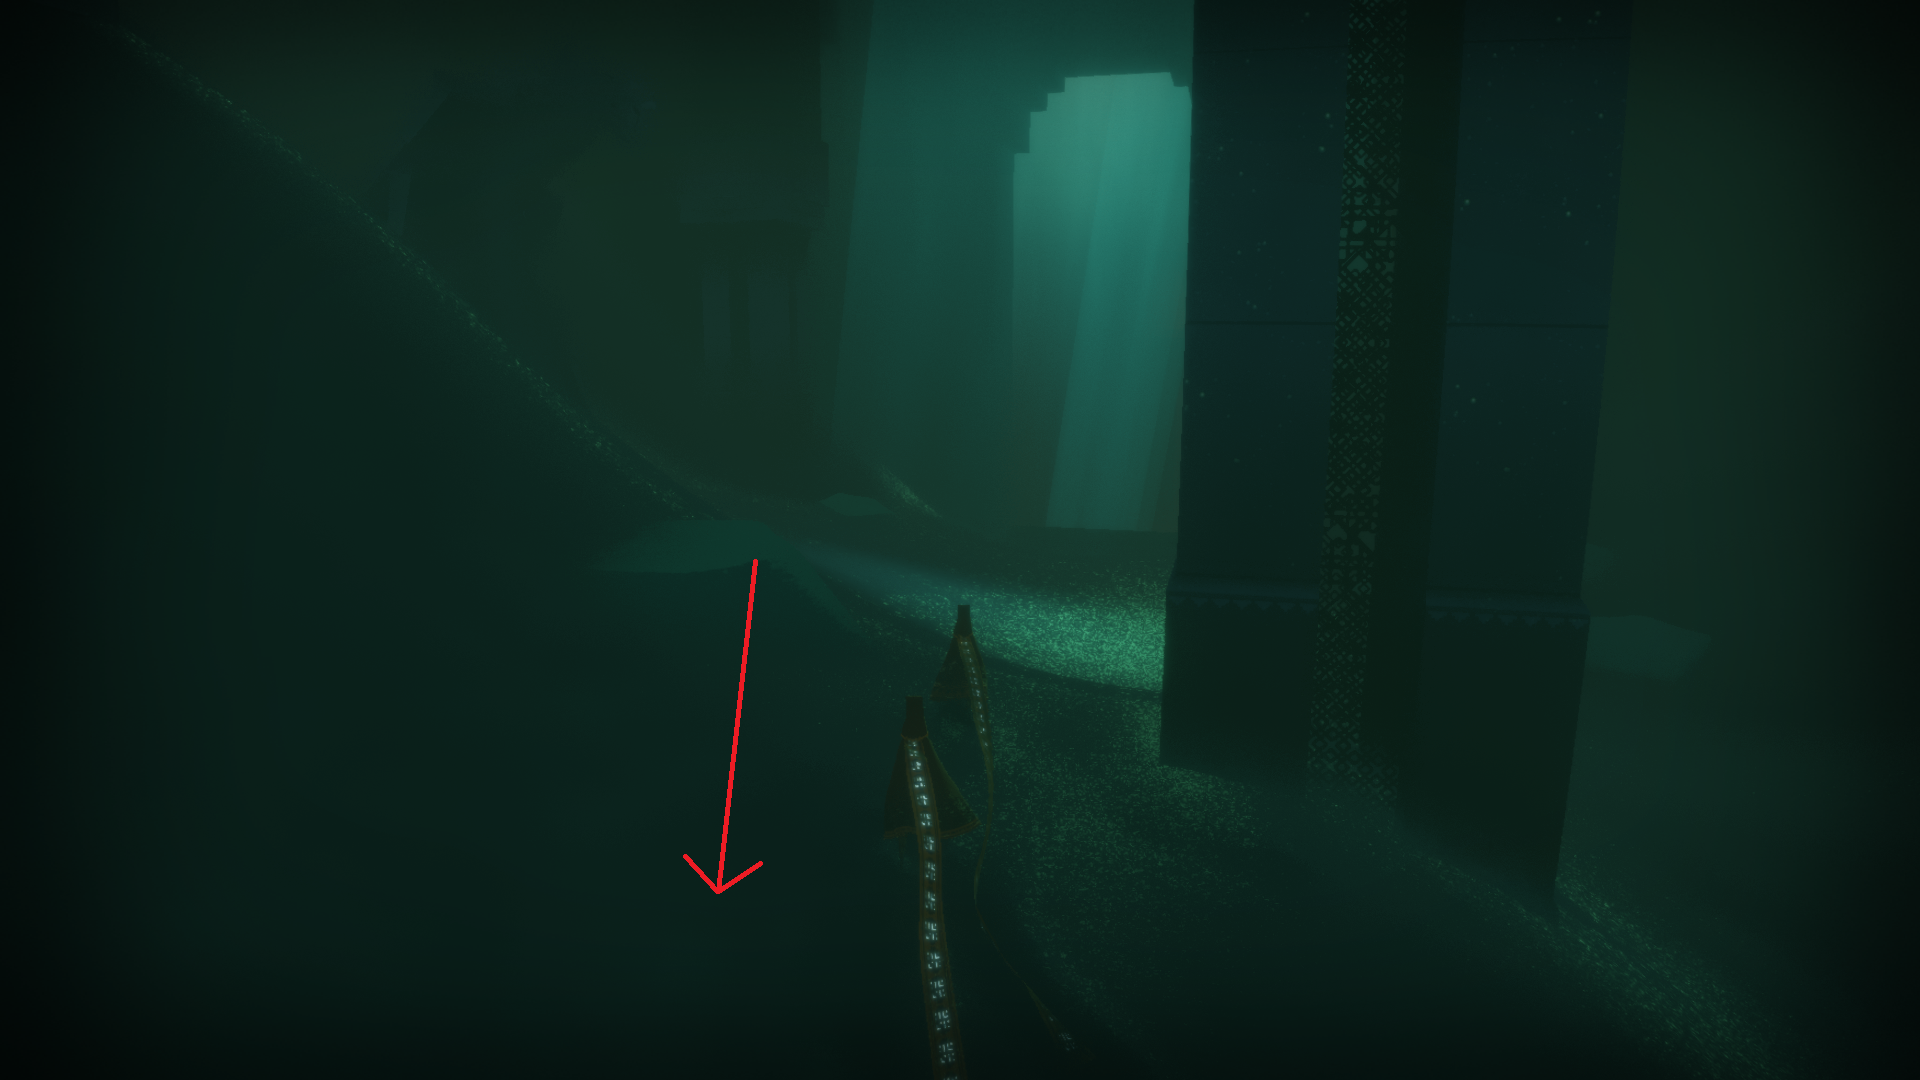
This Glyph is easy to oversee, since the player was focusing on the Flyers and the WM. Walk at the left side, until the wall ends, walk further to the left. The Glyph is when looking back, at the wall.
Symbols[]
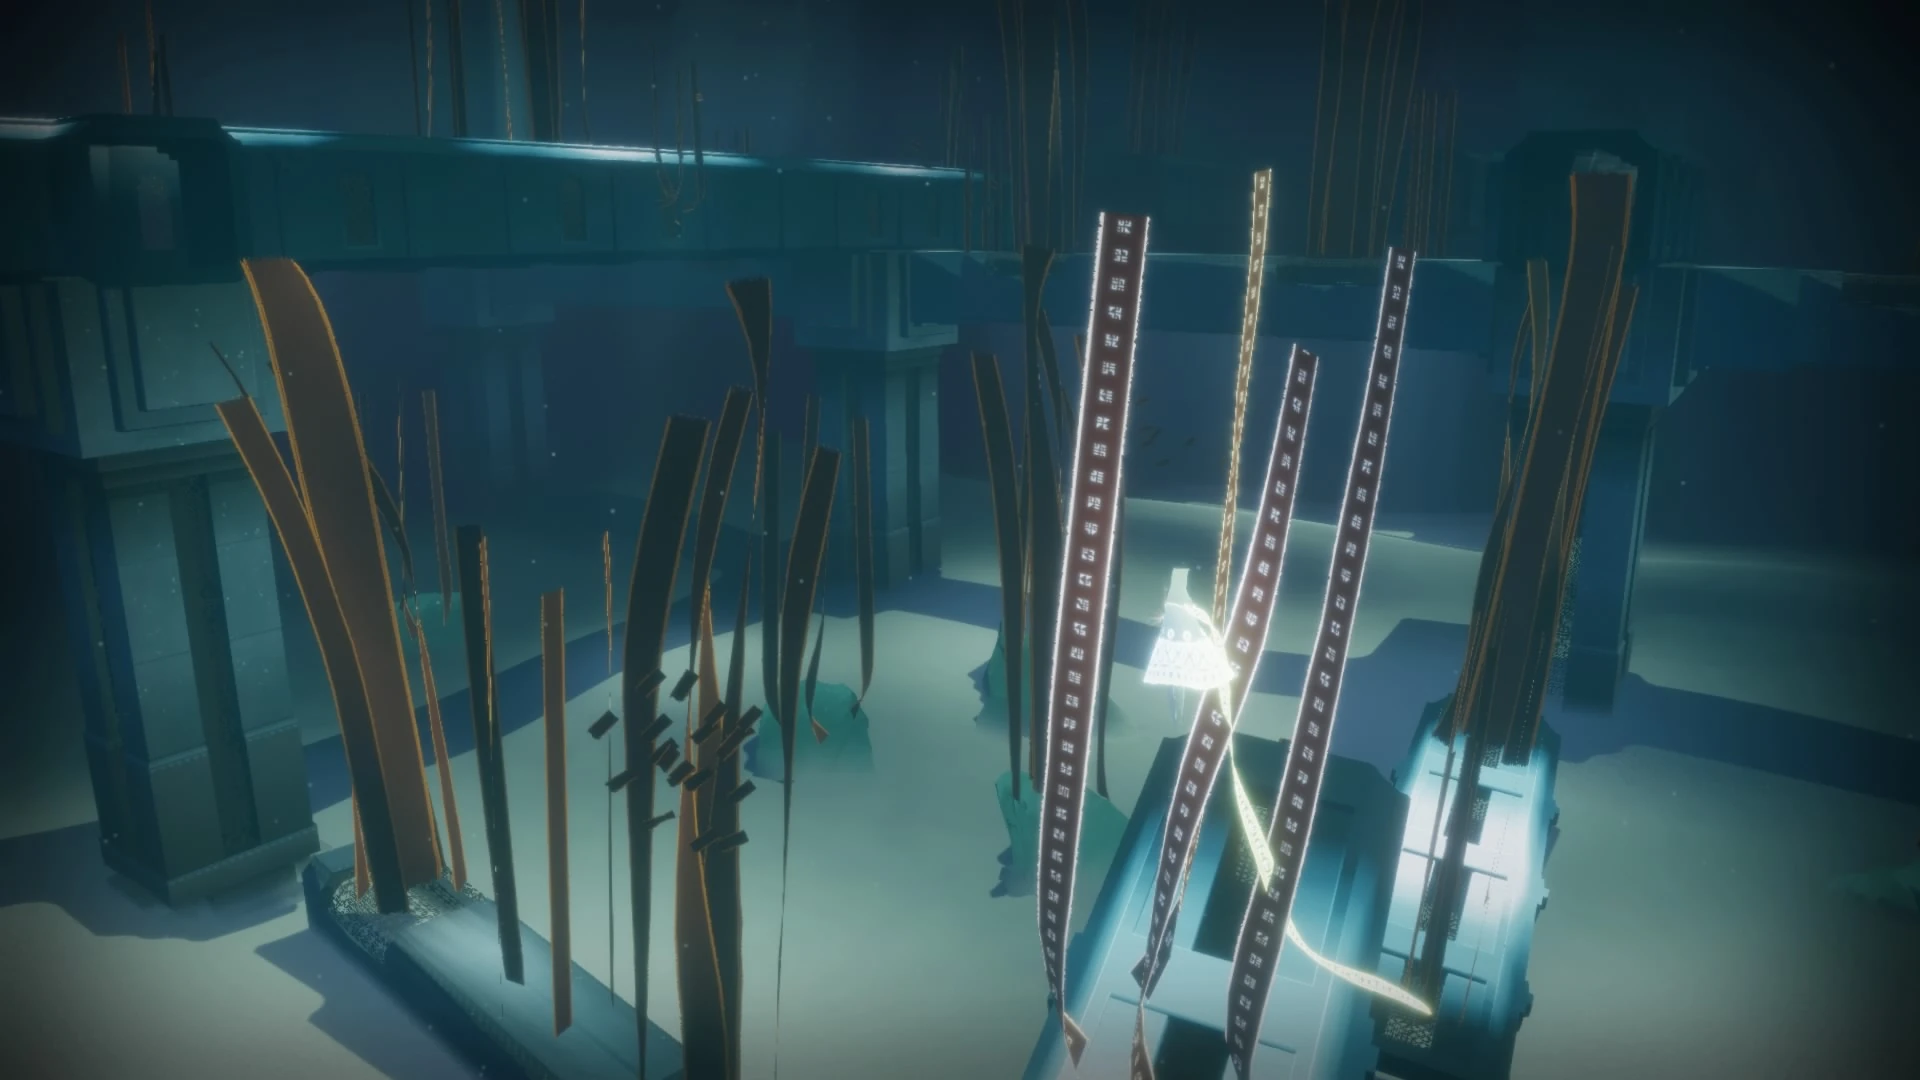
Symbol 1 / Friendly Tunnels[]
![]() The Symbol can be obtained with no Scarf to fly up the pipe too. This is also an easy way to show the Symbol to Companions: Walk into the pipe to the left side, it ends at a ramp like pipe (the one where the Symbol is). From there the Symbol is already visible, drop down and into the pipe. Sometimes this option escapes players. Normally a Companion would charge their Scarf though, so they can just fly up.
The Symbol can be obtained with no Scarf to fly up the pipe too. This is also an easy way to show the Symbol to Companions: Walk into the pipe to the left side, it ends at a ramp like pipe (the one where the Symbol is). From there the Symbol is already visible, drop down and into the pipe. Sometimes this option escapes players. Normally a Companion would charge their Scarf though, so they can just fly up.
- Symbol 1 / Friendly Tunnels
The Wayfarer is looking towards the Kelp Room. The Symbol is in the open tunnel to the right.
Looking towards where you came from, Kelp Room behind that Wayfarer.
Two players using the power of the Symbol, to fly directly to the Kelp Room.


Symbol 2 / Kelp Room[]
A player might get a glimpse of the Symbol already when the camera zooms out to show the Kelp Room. Also visible from above, when using the flyers or just flying up high in the level.
Some people say this is one of the hardest Symbols to get, rather easy to find though. This is because the Kelps make it hard to just walk or float into that pipe. Entering through the front side might be easier, the Kelp is further away and rather lifts you in then over.
- Symbol 2 / Kelp Room
Where it is, before entering the "room".
One way to get the Symbol.
Symbol visible through the windows of the pipe (also above).

Symbol 3 / Jellyfish Room[]
Could be only missed, if flying straight through the room and not climbing at least the middle/highest Jellyfish.
- Symbol 3 / Jellyfish Room
Symbol place, when entering the Jellyfish Room
Jellyfish and Kelp charge the Scarf, helping to fly up.
Can use the power of the Symbol to fly further around in the room or fly in one go to the next part.
The Symbol can be (faint) seen, when looking back into the room after crossing it.


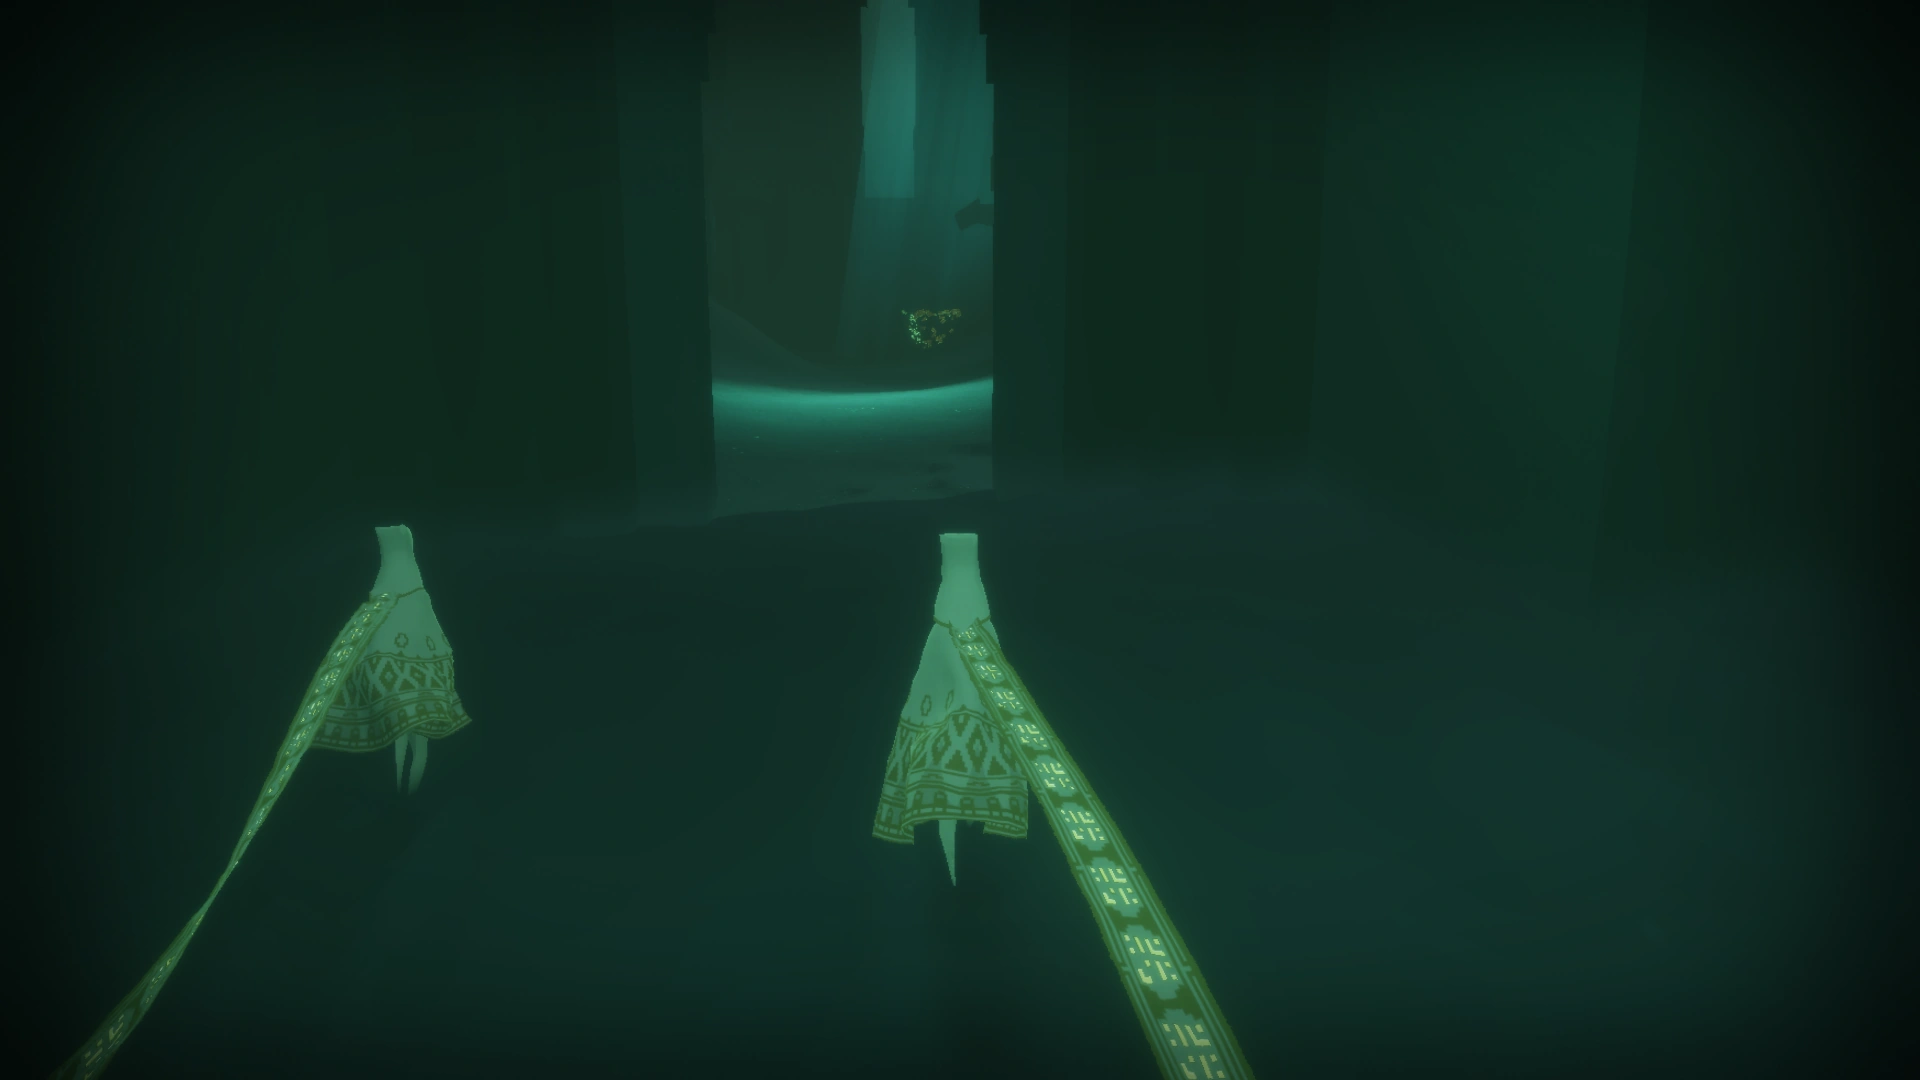
Symbol 4 / Unfriendly Tunnels[]
The Symbol is a bit hidden behind a ruin/wall. If walking to the right side of the room, it can be seen when looking to the left at the end of the room. Its almost easier to show it from here too, since you can fly over the valley and the Companion will look where you are going. On left side, they might just hurry forward and not turn back to see the Symbol (if missed).
- Symbol 4 / Unfriendly Tunnels
To the left side in the image, slide. Standing on the left side of the room, rather high up.
When looking towards the slide (door-thing), turn back and you will see the Symbol too.

.jpg)
_(x64)_2019-06-23_21_22_22.png)
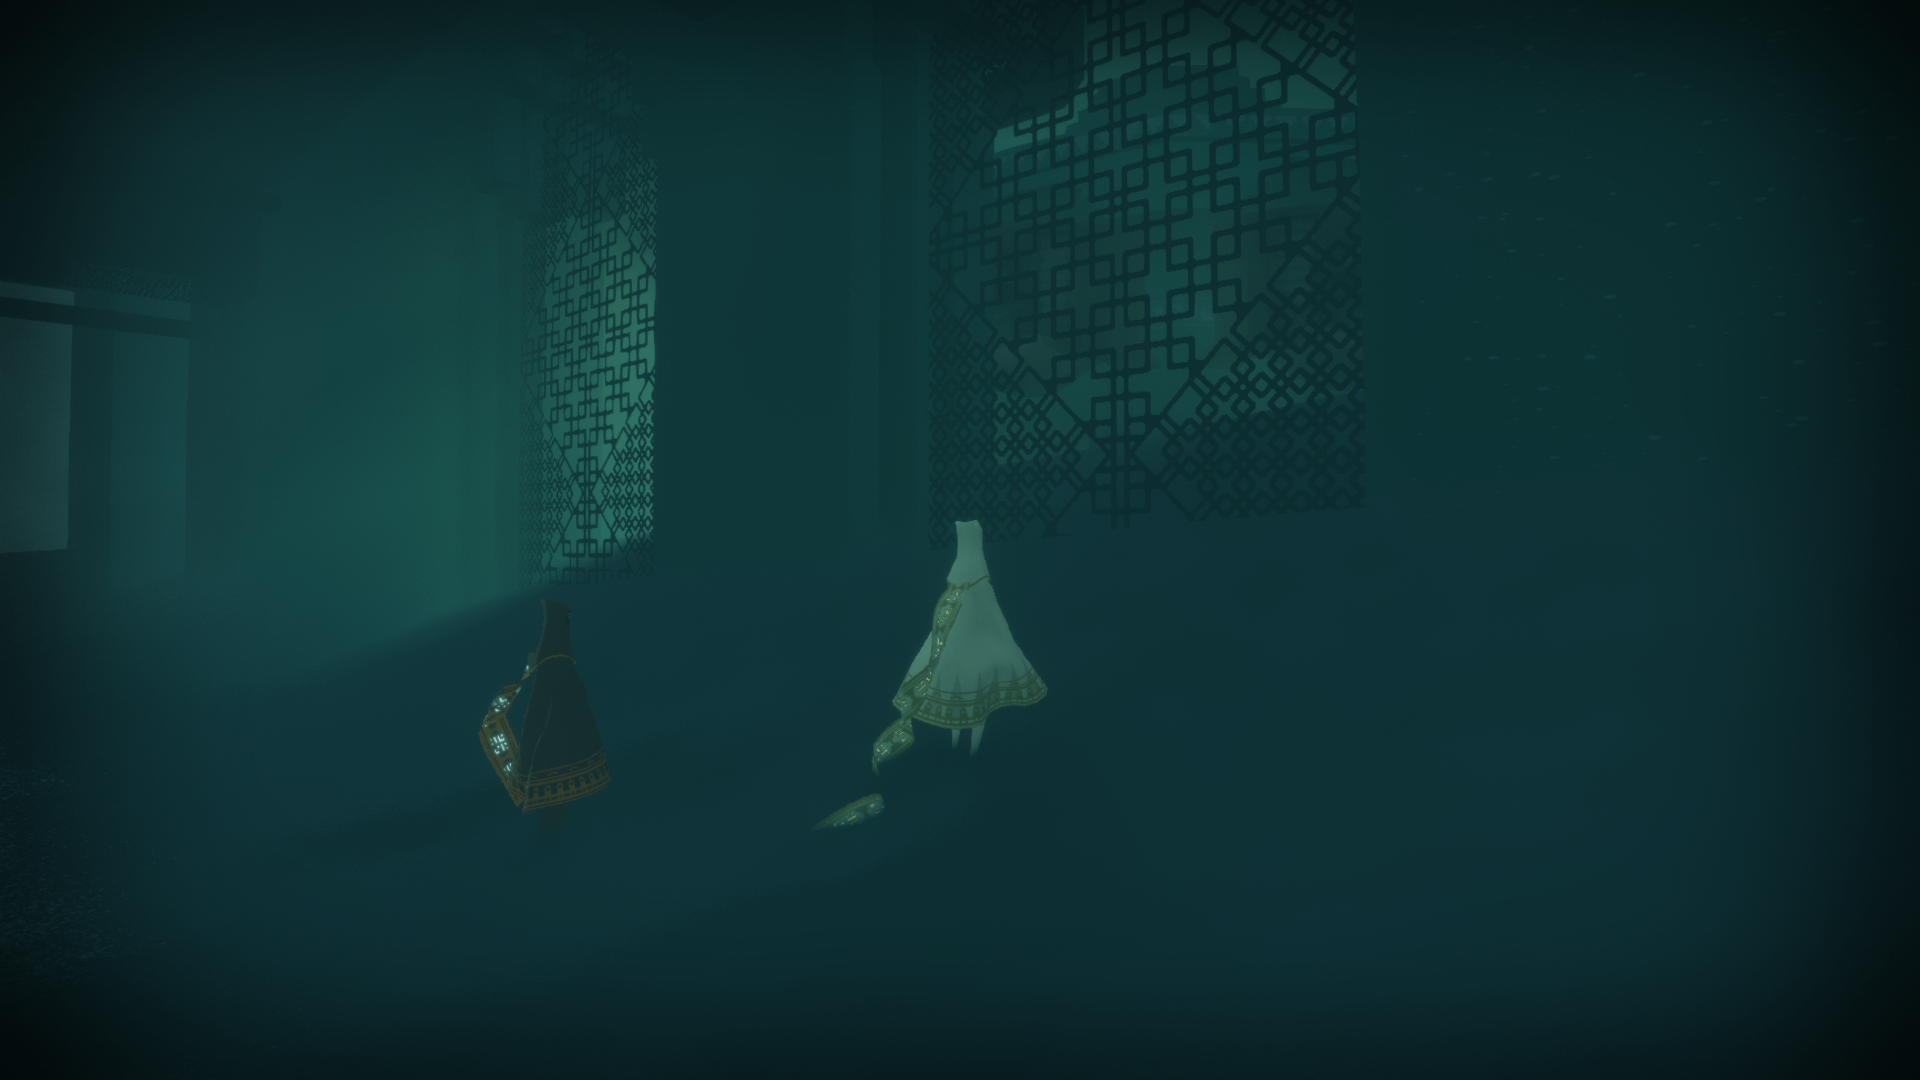
Sights[]
- A very bright red robe:
| |
| Spoilers end here. | |
- Saving the flyers at the flyers eaten room. See Challenges in UG, easy ones.
- In the Jellyfish room: let yourself fall down to explore the bottom of the room. There is no real sight in that sense, just different light and point of view.
| The lighting changes, when going down to the ground. Its a different ambience and there are grids with Kelp growing out of them.
Those grids look similar to the one on top of the Tower in Pink Desert and the one at the Rest Area in Sunken City. At the wall at the end is a "fake gate", that often makes players think they can go there, its just a wall. Above that gate is a little Out of Bounds area, can be entered by flying against the wall. Its above the the blind gate and below the platform where the carpet is waiting. | |
| Spoilers end here. | |
Trivia[]
Flyers Eaten Room[]
There are two times where the flyers can be attacked. The first is via normal in-game mechanics when the War Machine loops around when you exit the hallway. The second, if you save the Golden Flyers the first time, will happen when you continue further into the UG. A War Machine will come toward you before the War Machine at the right side activates and will attack the Flyers.[1]
Ambush room[]
Even if you manage to get into the light of the Machine or even get hit by its body, no scarf loss. The attack is started when the Carpet is close enough to the WM, when flying faster then the Carpet the attack might happen when you already passed.
War Machines[]
How many are there?[]
In the description above many War Machines are mentioned, but it seems that there are actually just two. The first that eats the Flyers will fly over the wall and fly to the next room. The other activates in the first friendly tunnels room.[2]
Experiments[]
It stands to reason that people like to experiment with the War Machines.
Over the years (Journey was first released in 2012) the community found out many tricks to do with them.
![]() A Companion might know what you are up to and work with you, others might be just curious and still follow to see what you got to show. Reminder: not everyone likes those tricks, they just want to travel normally, this should be respected.
A Companion might know what you are up to and work with you, others might be just curious and still follow to see what you got to show. Reminder: not everyone likes those tricks, they just want to travel normally, this should be respected.
If you are interested in advanced War Machine tricks, we recommend to read the main article about WMs first, then checkout the Expert Mode, Glitches and finally the specific article: War Machine (Glitched).
Other trivia[]
- This level was called "Cave" in the original game concept.
- In developer versions, the passage after the Ambush room was much more dramatic with lots of lighting effects and sounds, to the point that the developers referred to it as "Halloween Hallway" (mentioned in the developer commentary found on PS3 Journey Collector's Edition disk). This was reworked significantly in the release version. The "red robe" trick in that hallway is due to an ambient red light that's left in the level (apparently missed by the testers since it didn't flash and was high enough in the hall to not cast any noticeable red light at ground level).
Quotes[]
. . .
See also[]
2 Broken Bridge (BB)
3 Pink Desert (PD)
4 Sunken City (SC)
5 Underground (UG)
6 Tower
7 Snow
8 Paradise
9 Credits
Category:Levels
2 Broken Bridge (BB)
3 Pink Desert (PD)
4 Sunken City (SC)
5 Underground (UG)
6 Tower
7 Snow
8 Paradise
9 Credits
Category:Levels
Recommended How to play guide for Journey • Chirp/Scarf • Tandem Flying • Dusting / to dust/Common Behaviors • Companions Met Along the Way (CMATW)
Frequently Asked Questions • PC Version FAQ •
2 Broken Bridge (BB)
3 Pink Desert (PD)
4 Sunken City (SC)
5 Underground (UG)
6 Tower
7 Snow
8 Paradise
9 Credits
Category:Levels
2 Broken Bridge (BB)
3 Pink Desert (PD)
4 Sunken City (SC)
5 Underground (UG)
6 Tower
7 Snow
8 Paradise
9 Credits
Category:Levels
Recommended How to play guide for Journey • Chirp/Scarf • Tandem Flying • Dusting / to dust/Common Behaviors • Companions Met Along the Way (CMATW)
Frequently Asked Questions • PC Version FAQ •
References[]
- ↑ Zerathine on discord
- ↑ A clip on twitch, showing an attack and the next/same WM appearing still having the scarf from the player in its mouth. https://clips.twitch.tv/BlushingBrainyAubergineAliens