 |
This article falls under the category Expert Mode.
To avoid frustration or confusion, we recommend getting familiar with the Expert Mode first. Further more, in-depth knowledge of Gameplay Basics is assumed at Expert Mode articles.
| ||||||
| Broken Bridge (OOB) | |
|---|---|
| |
| Details | |
Level |
Broken Bridge |
| Easy | |
Requirements |
None. WR required for some entry methods. |
Platform |
|
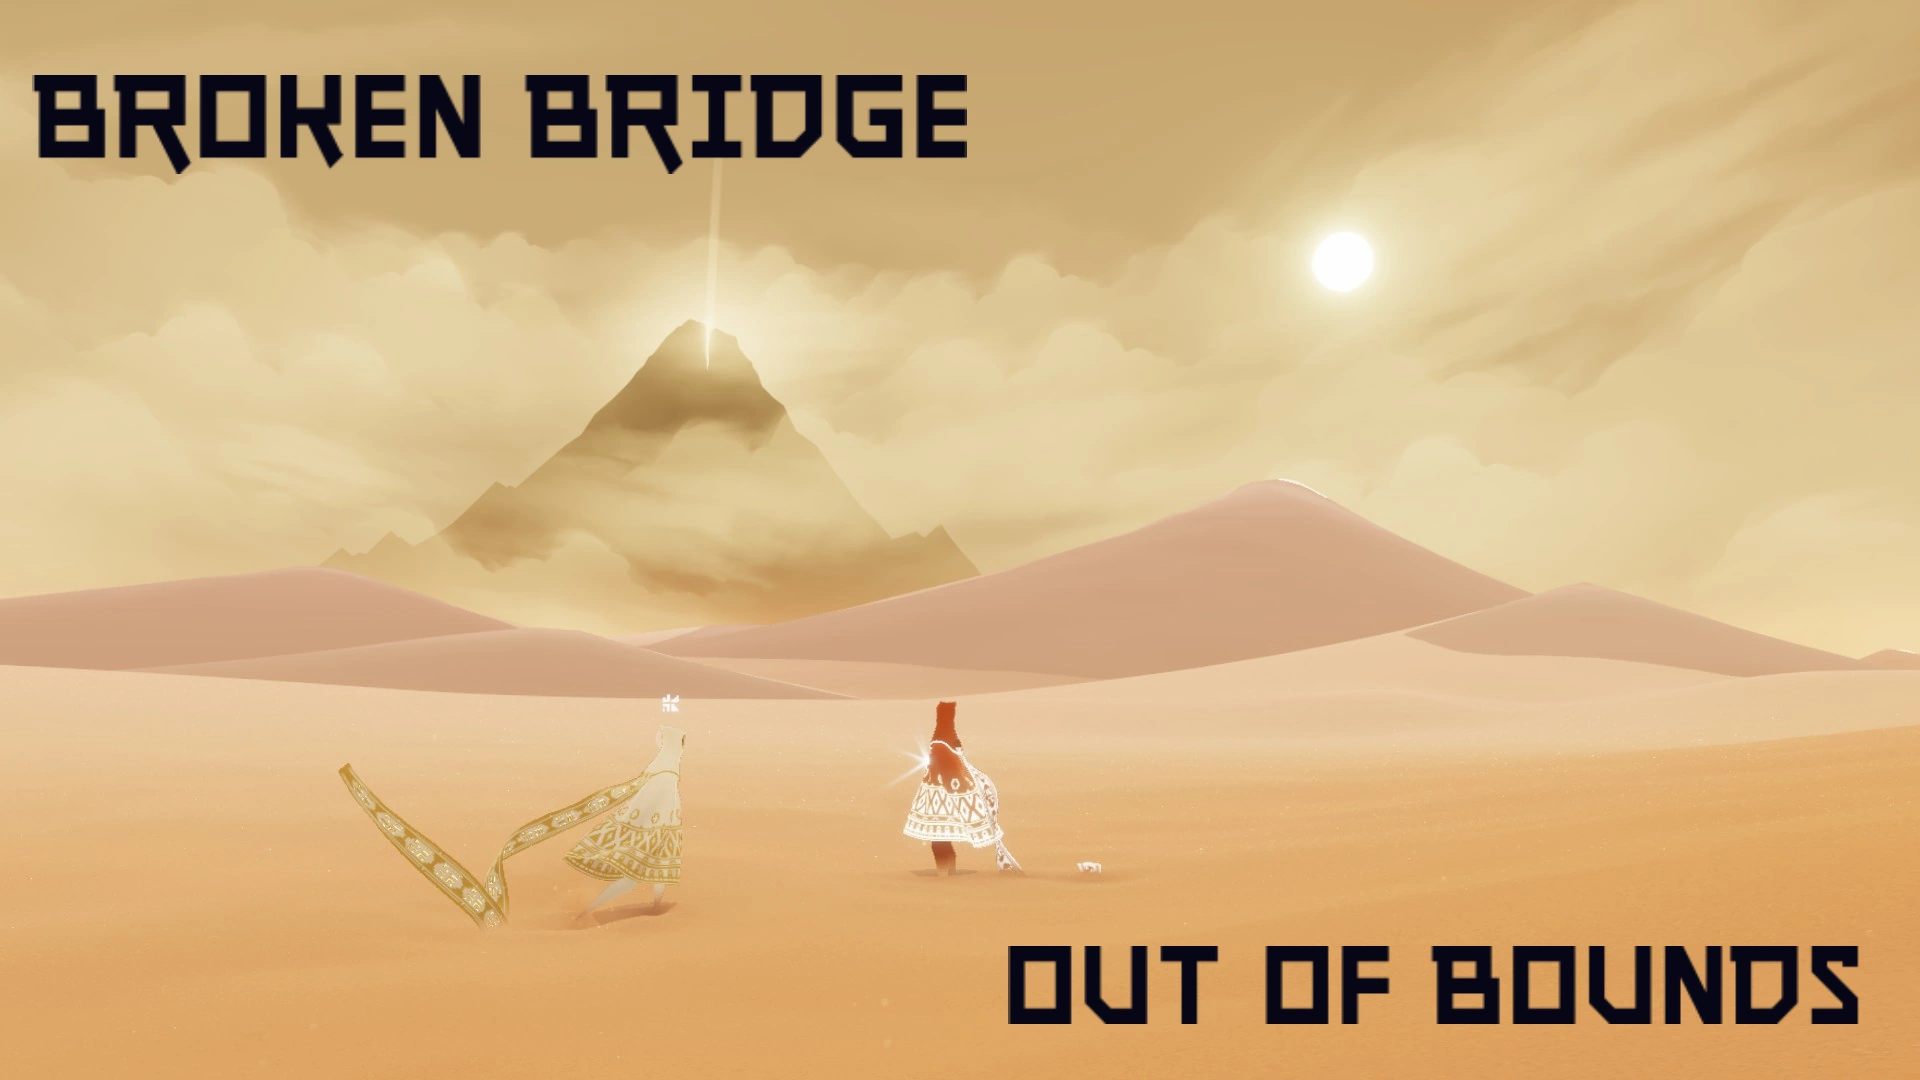
This article explores the out-of-bounds (OOB) areas of the Broken Bridge level. For general information about the level, please refer to the Broken Bridge (BB) article.
Overview
. . .
Entrances
There are differences between consoles! Some entrances don't work on PS4 or other way around.
Headbonkers Cave

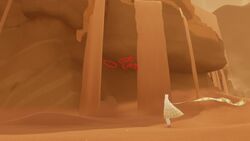
Headbonkers Cave OOB entry
Headbonkers Cave is the most popular OOB entrance on the Broken Bridge level.
It's known to work on: PS3, PS4 and PC (not confirmed but should work on iOS too).
Location
On the right side of the bridge, one cave with the glyph and one empty cave to the left of that one. On the left side in this cave are 2 stones. Best to start here and fly up against the ceiling.
There is a kink in the ceiling, try to hit that and fly straight up. It might require a few attempts.
|
|
|
In the following video, there is an unusual camera angle so it won't be easy for you to identify the place but the trick itself is very simple.
Once you're at this place, under the rock, just leave the left stick neutral and keep the fly button pressed until you clip inside the rock, then move toward the outside of the level.
You can see one way to get out of bounds in that speedrun-video, at around 1:22.
I am in, what now
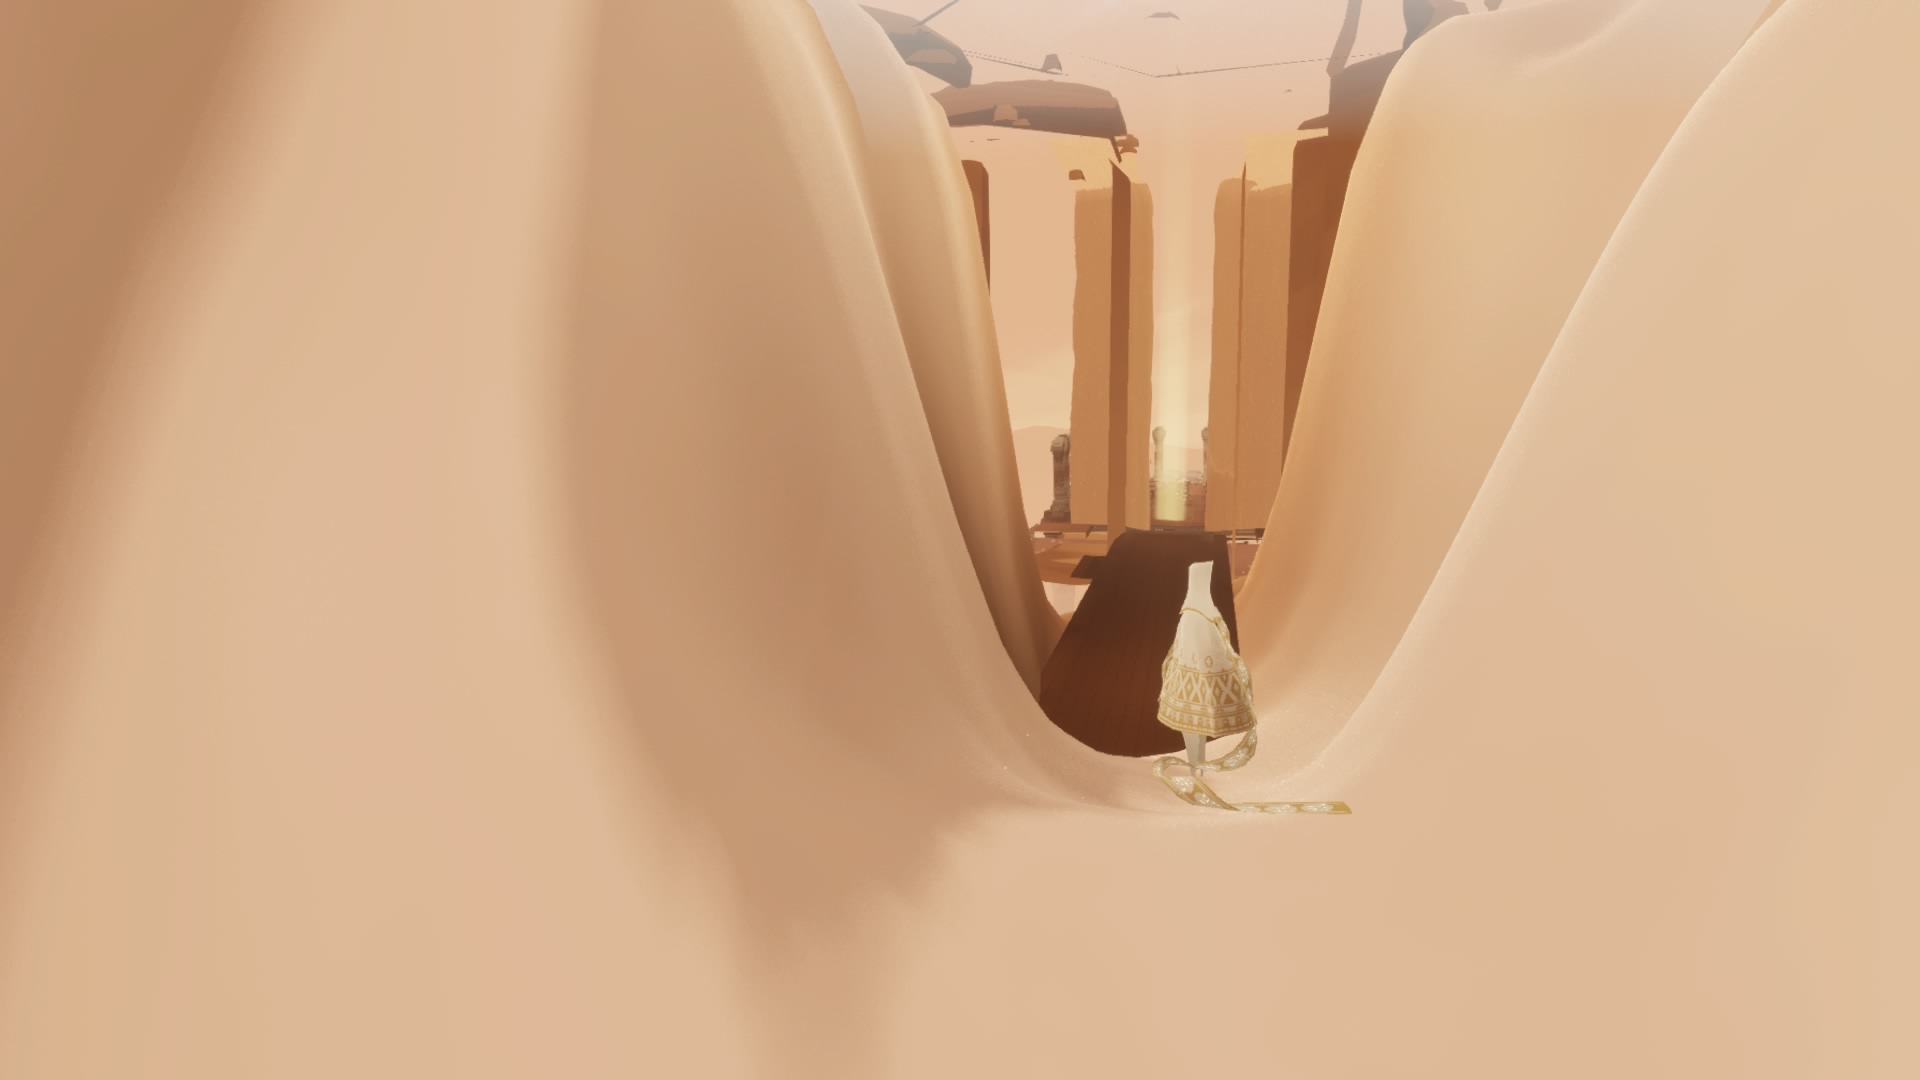
The ground OOB is not too huge, so you have to go up first. Meaning climbing the north-side sandwall, which marks the end of the regular Broken Bridge Level. If you try to fly up before passing the glyph the wind will push you away from that sandwall. Just follow the wind wall around and behind the glyph structure. The camera may snap and show the glyph not you; just keep walking forward, then the camera will be normal again, once you passed the glyph.
Sandfall to the East
The huge "sandfall" in the north-east of the in-bounds area (past the ledge where you collect one of the symbols) is non-solid and can be used to enter OOB. This method requires some height and momentum.
Behind the last Pillar
It is possible to get out of bounds by hitting the crevice behind the last pillar (below the platform, at about the height of where the thicker, decorated part of the pillar begins). You will then drop into that crevice all the way back to the ground. From there, follow the same path as with the Headbonkers Cave entrance: traverse east, behind the glyph cave and up the sand wall avoiding the wind.
This method is best done using Charge Boosting to gain enough height and speed to bypass the wind zone.
Over the Wind Walls
The video below shows how to get out of bounds by charge boosting from the start of the level and flying over the south wind wall.
![]() It was previously suggested that it's possible to get OOB "pretty much anywhere if you are high enough" (with Charge Boosting suggested as a common way to do it). However, this appears to be only possible along the South side since both East and West sides are limited by boundary rails (infinite height), as is most of the North side with some gaps. This is currently under investigation.
It was previously suggested that it's possible to get OOB "pretty much anywhere if you are high enough" (with Charge Boosting suggested as a common way to do it). However, this appears to be only possible along the South side since both East and West sides are limited by boundary rails (infinite height), as is most of the North side with some gaps. This is currently under investigation.
From the Invisible Platform
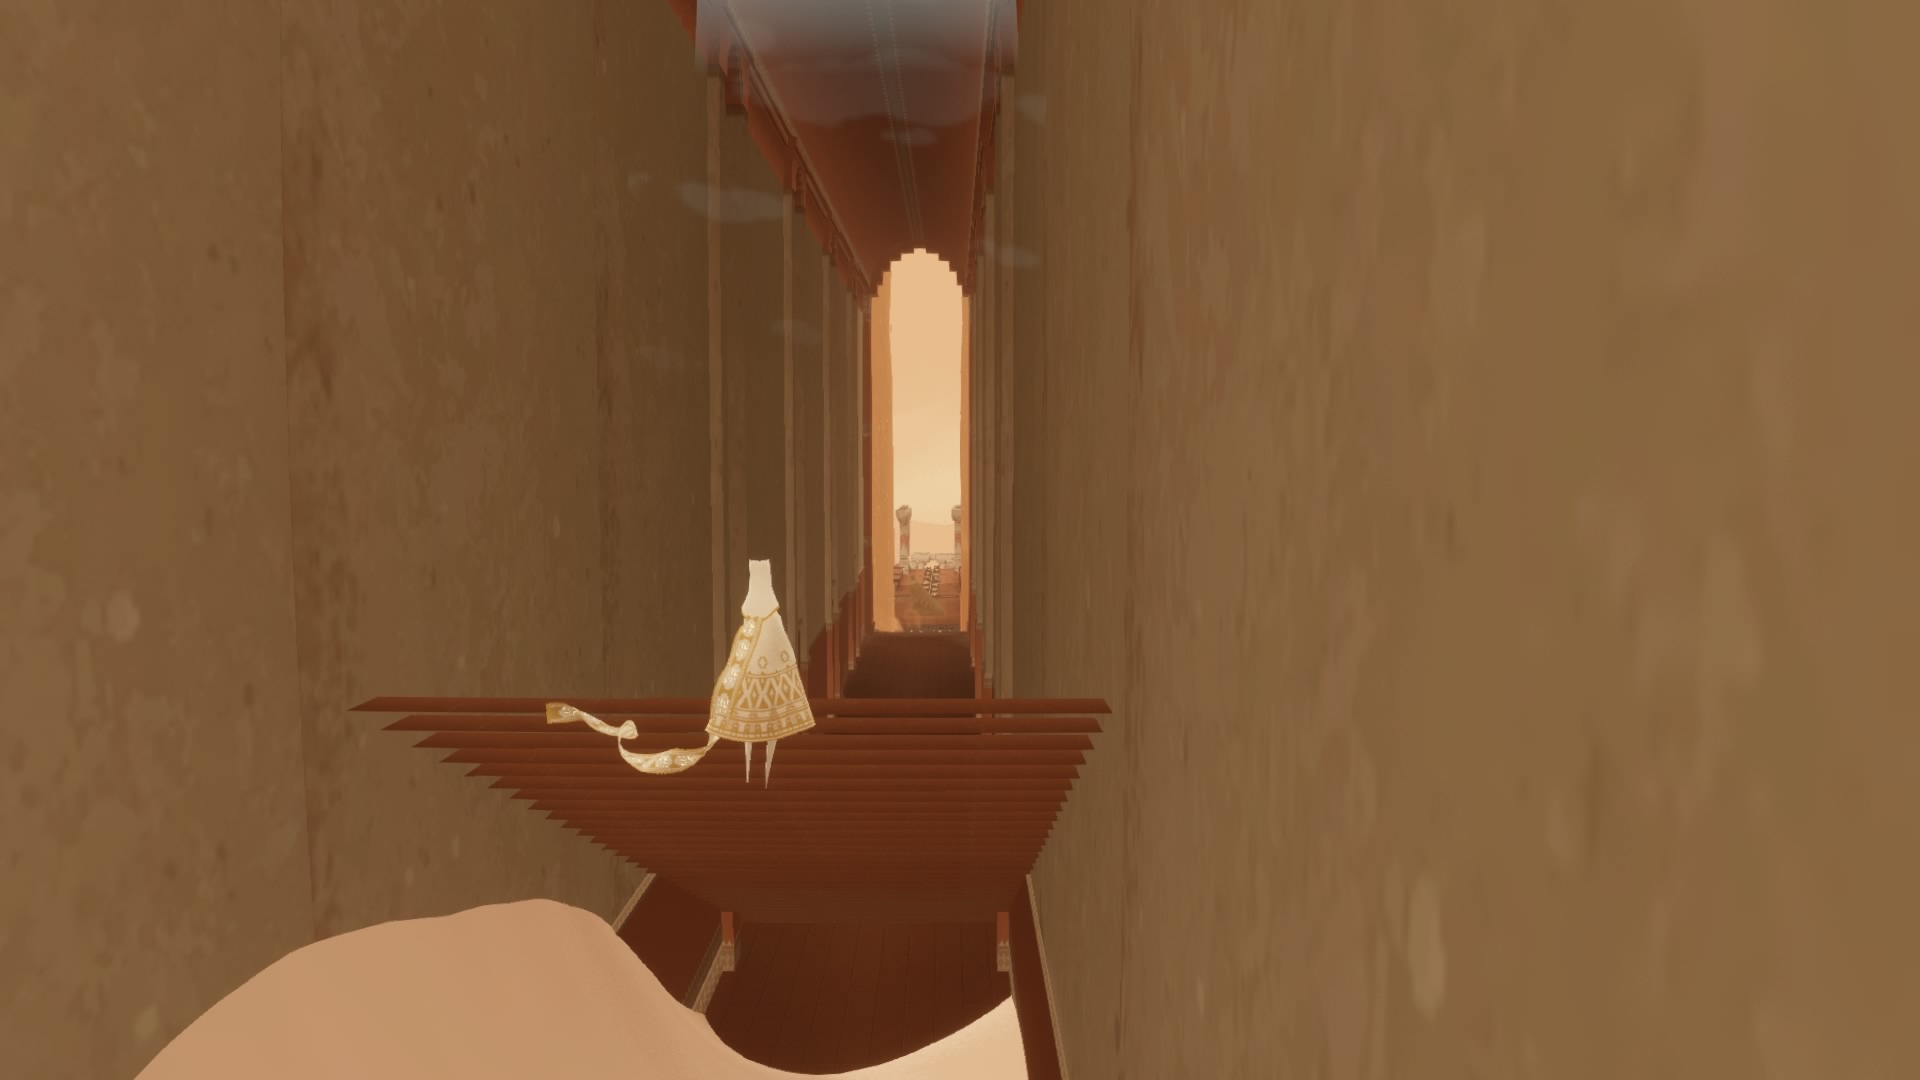
The invisible platform in the south-east corner of the in-bounds level can be used to enter the south side of the OOB directly. Details of how to reach the platform can be found below in the Sights section. Once there, simply walk or fly off the platform towards south-east. Be careful not to go south-west though: there you can fall between invisible geometry and get stuck.
This method is more for fun rather than a necessity, as the Headbonkers Cave is much easier overall, but the invisible platform could be used as a great starting point for an experienced wayfarer willing to play around and experiment with Broken Bridge OOB beyond the most popular routes.
Maps
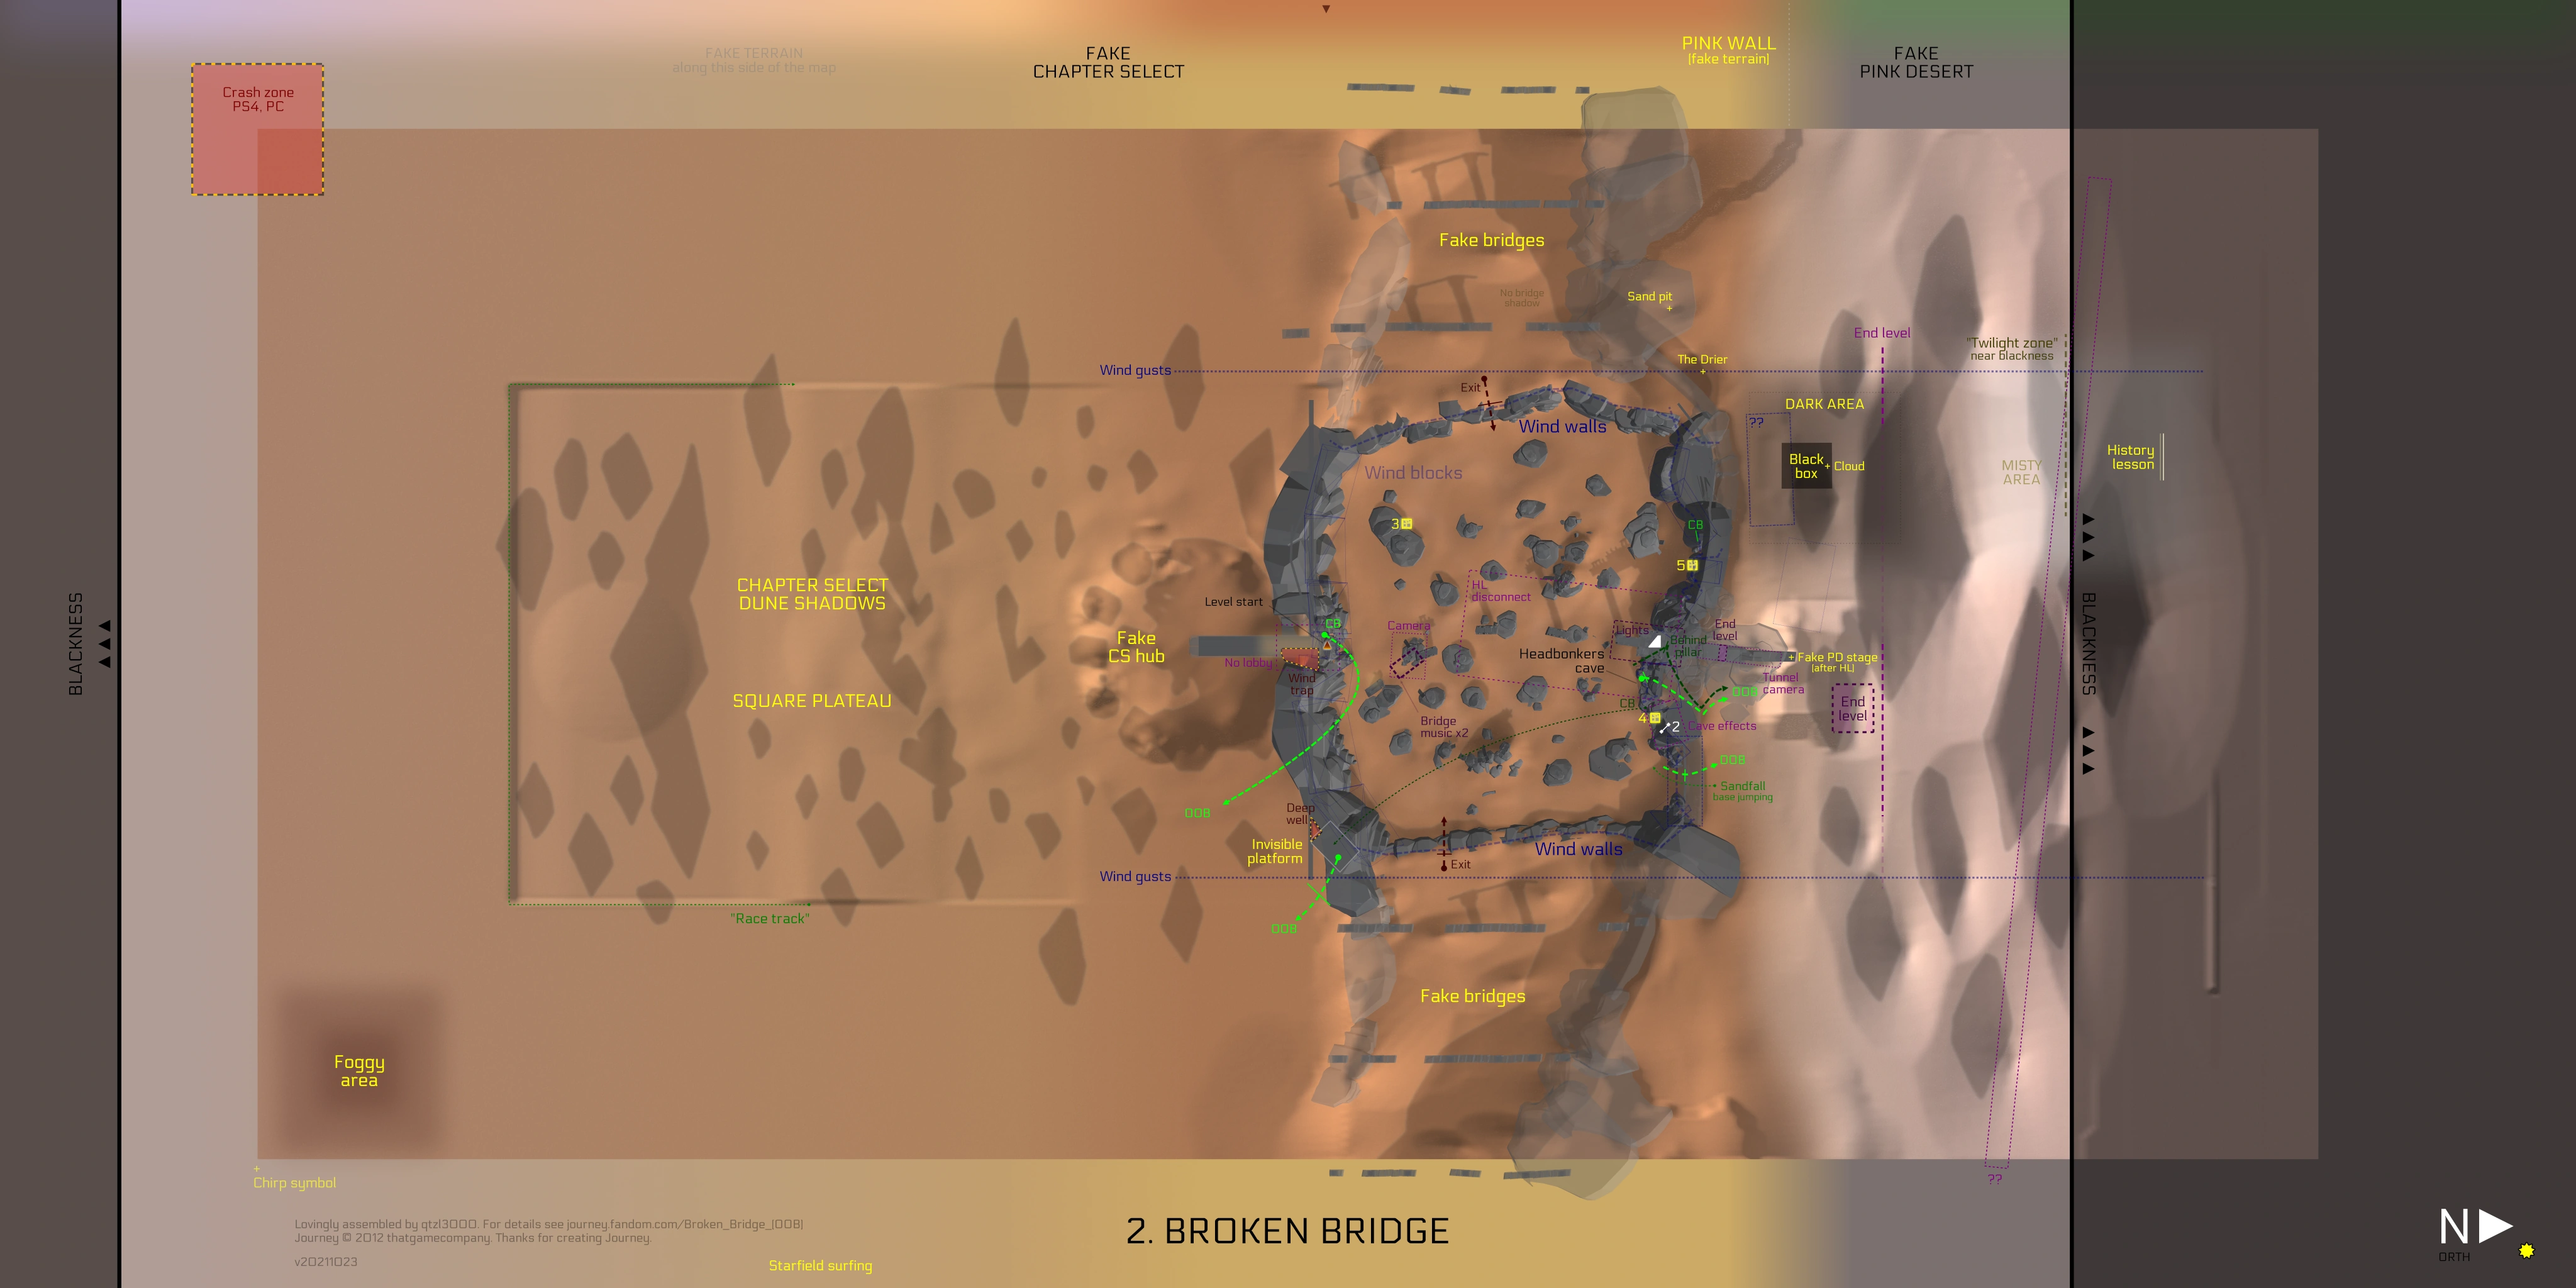
Overview map
This hand-drawn map shows the whole Broken Bridge area and OOB, including crash zones for PS4 / PC and some key sights.
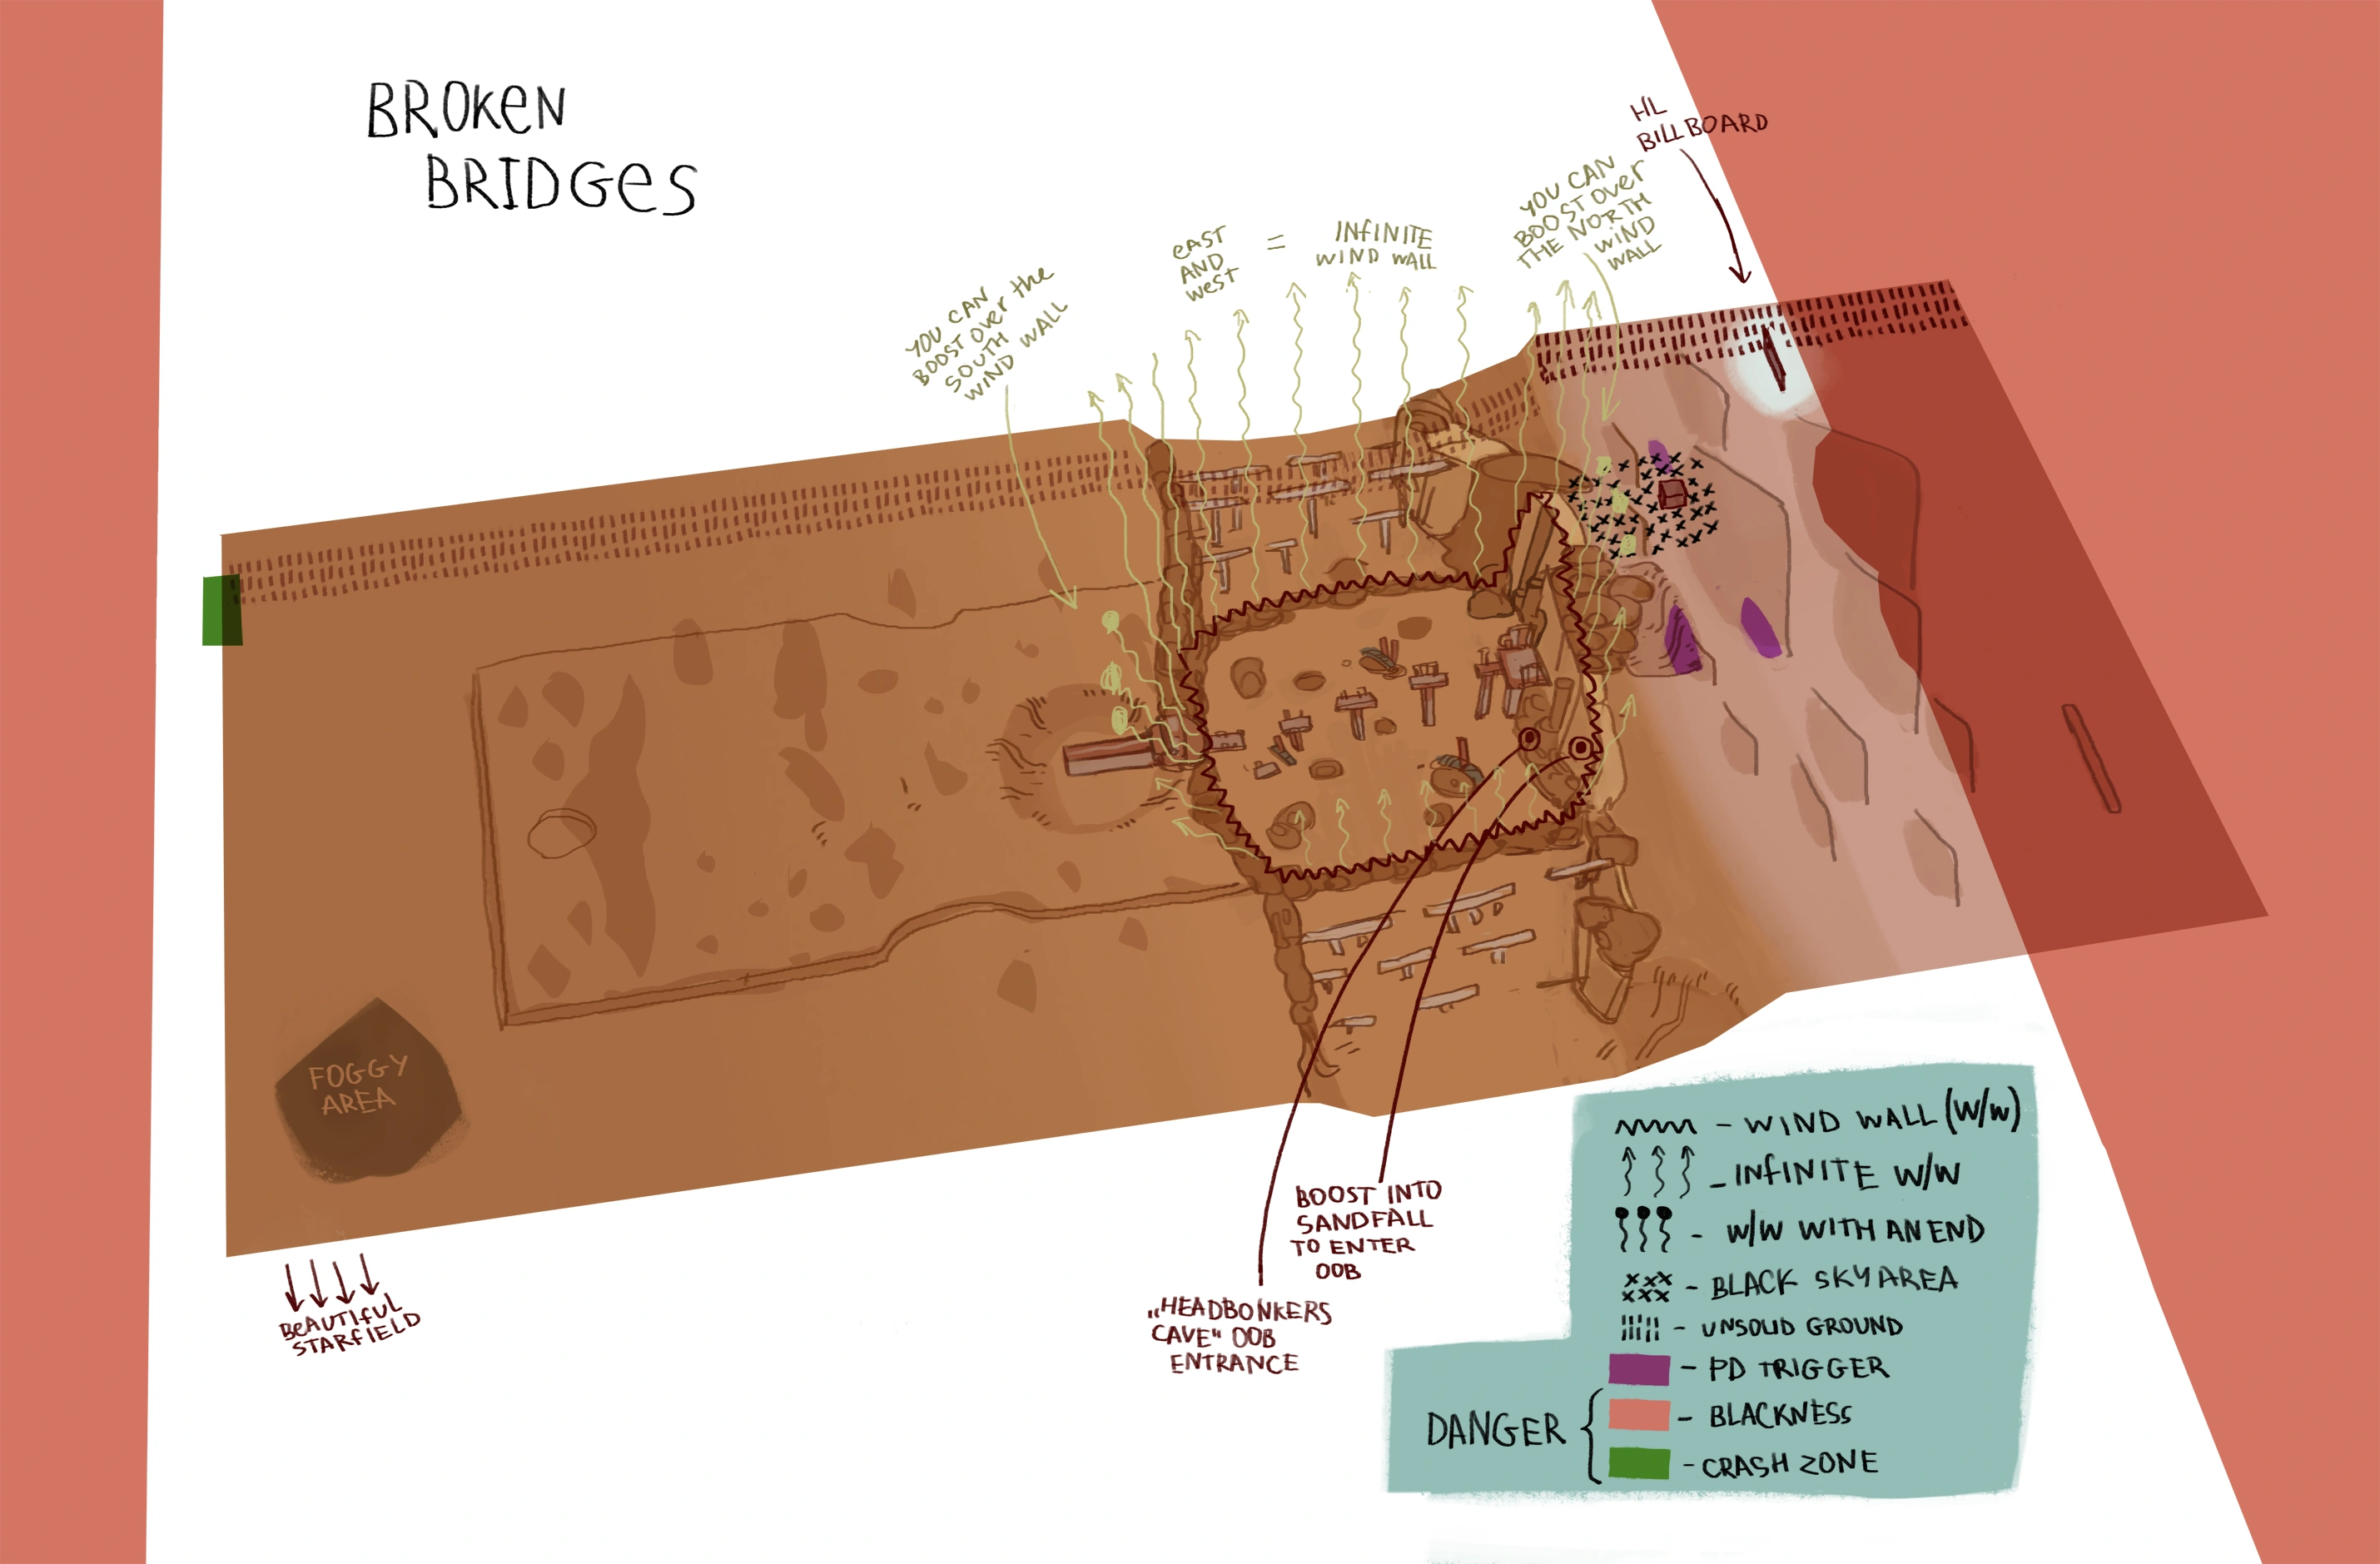
Map for PS4 (some crash zones and visual effects might be different on PS3)
Detailed map
This map shows a detailed top-down view of the level including sights, landmarks, triggers and navigation elements.
Sights
The sights in this section are generally sorted by location, from south to north. Please refer to the accompanying level map for exact locations.
Hidden chirp symbol
Right below the south-east corner of the map, a hidden glowing chirp symbol can sometimes be seen.
See the level map for location.
Foggy Area
Located near the south-east edge of the visible surface. It's a small area that has very close fog distance. Best place to play hide and seek with a Companion.

Foggy area on south-east corner of the BB map.

South-east map corner. The chirp bubble marks the location of the foggy area.


Invisible platform
There is an invisible platform in the south-east end of the main level area, at approximately the height of the level entrance.
It can be reached by Charge Boosting from the opposite side of the map (the famous CB practice spot). There you can sit and meditate mid-air whilst observing the level (most of the OOB as well as the entire in-bounds area are visible, as are the fake bridges on the east/west side).


There is another invisible platform on the North side of the level, above the Sandfall with the gate that marks the end of the level. It also can be reached via CBing.
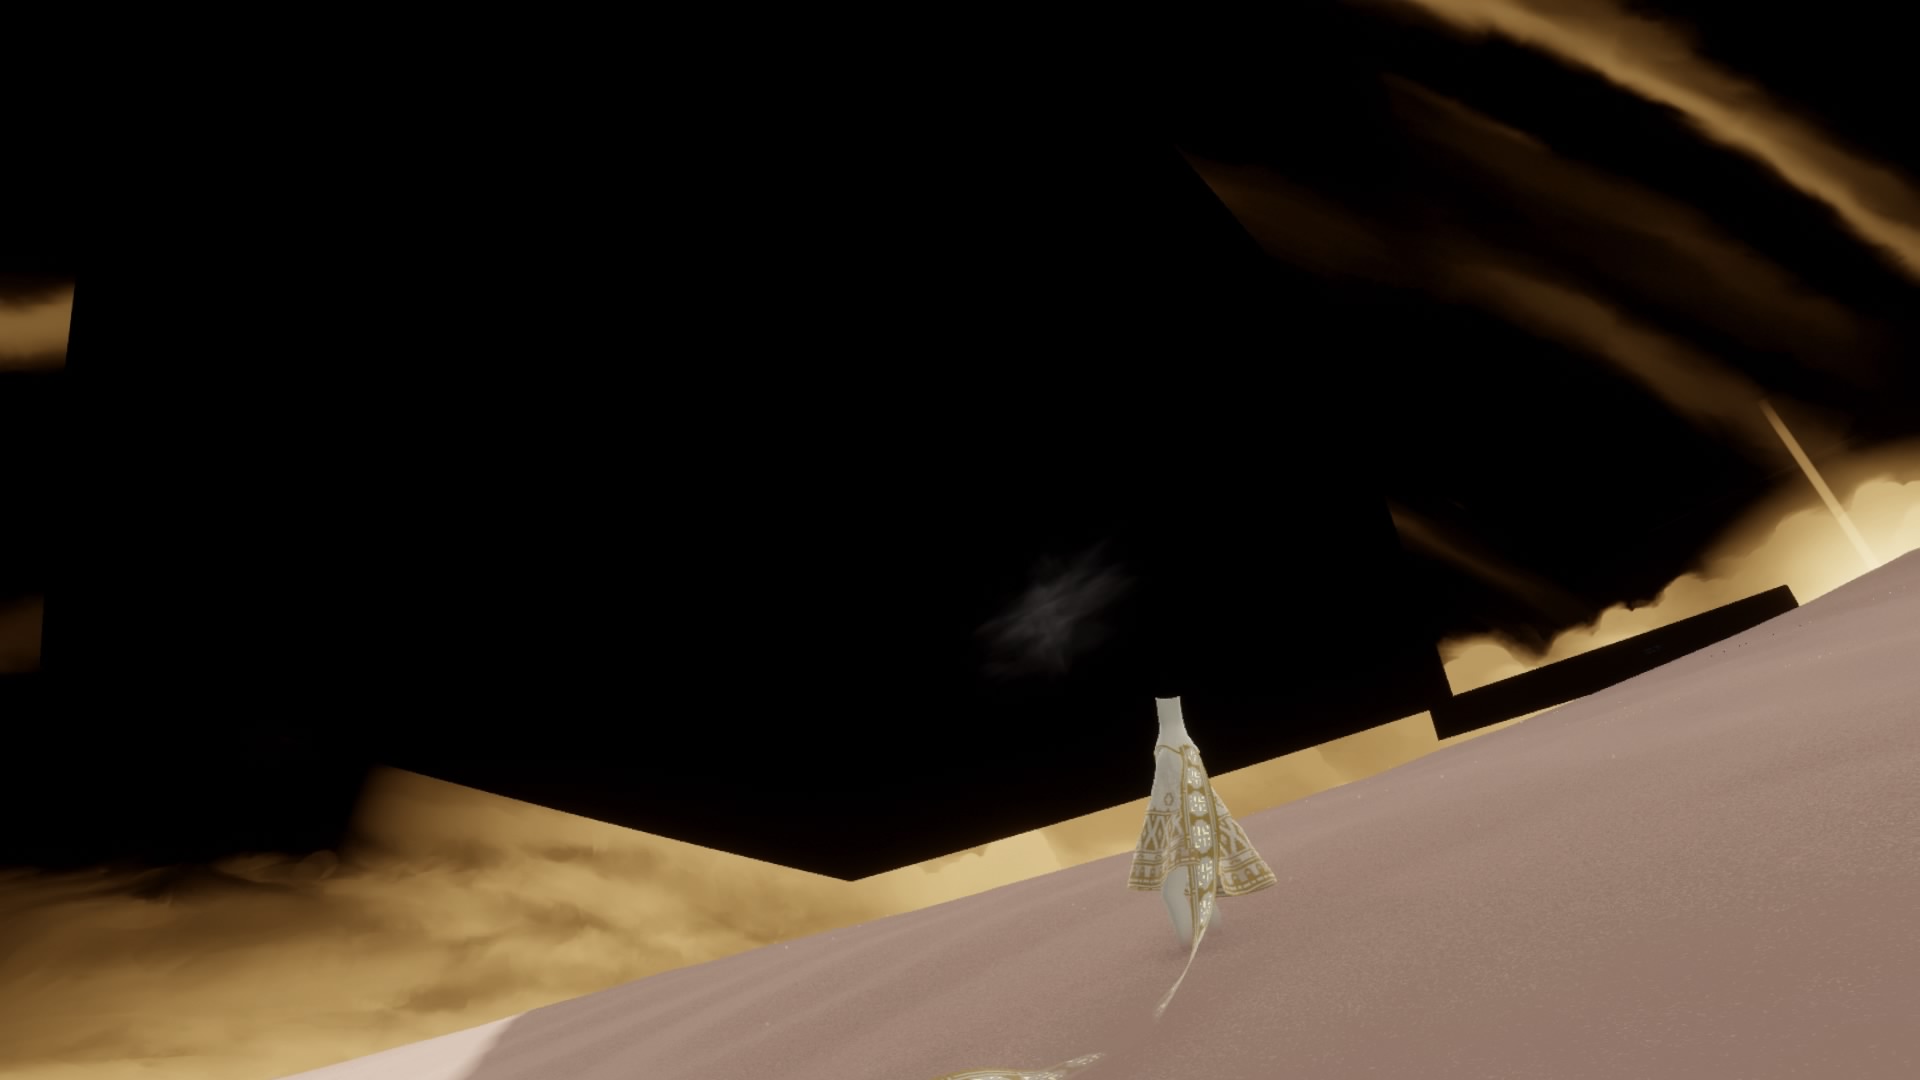
Black Cube
Before the HL banner is another hill and on top of that is a "black cube" hanging in the air.
You will not see it from far only when you go onto the hill. You can fly into it and will be able to see your companion, just the environment will be black as long as you are in the cube. As with most (perhaps all?) of these black cubes, a small cloud can be found inside.

"The Tumbler"

There are certain places where the wind throws you on your back. This alone is a fun thing, that many enjoy.
Sometimes you just keep on rotating.
PD "decorations"
There is a rectangular pit on the north side of the canyon (where you exit into after walking through the corridor at the end of the level if playing normally). A circle of fake clouds can be seen in that area if going through OOB but not much else.
However, if you visit this area after sitting through the History Lesson, you'll find a green backdrop from Pink Desert, some fake pink dunes (low resolution and pretty flat), plus some new walls and a staircase, all of which are used in the end-of-level sequence.
The screenshots below show this area before and after HL:
Looking south, before HL...
...after HL
Looking north, before HL...
...after HL
Side view of the "PD stage"


.jpg)
HL Banner
It can be seen near the Black Cube. It's located to the North-West.
The "twilight zone"
In the north-west part of the OOB, stretching along the edge of the northern Blackness, there is an unusual area where everything becomes dark and washed out. Unlike "normal" blackness which cuts in instantly, this area is more of a "twilight zone" where depending on camera angle some parts of the level remain visible (as are chirps).
In a way it's similar to semi-blackness found at the start of the Underground level in OOB. It is possible to experience various degrees of fading by walking along the shoulder of the pink hill and rotating the camera, but be careful as the actual blackness is right next to this area.
Here is a brief video showing the location and the behavior of this unusual "twilight zone":
Liquid Sand Falls
All along the west side of the map, there is an unstable layer that looks like tiles or stripes of sand which peel and bend as you walk. A similar effect can also be found in the Snow level.
Here is a short video how it looks like:
Additional videos
Far south, west side
After entering the OOB (headbonkers) fly up to the top and to the far west. Then bypass the whole level, heading where the chapter select level would be.
Trivia
- The location and size of the Foggy Area in this OOB match precisely with the unreachable Cube Mountain in Tower OOB (unreachable because it's far inside Blackness). There is no explanation for this, and no other evidence that they are somehow connected, but it's a curious feature.
- A similar foggy area also exists in the same corner in Beta Pink Desert (Level 9), further suggesting that this was a development artefact left behind.
Quotes
. . .
See also
. . .
References
. . .