 |
Navigation help for Level-articles: Levels
Remember that by reading further then the Overview you might get exposed to spoilers! The Wiki intends to describe every little detail and background knowledge (as soon as available and verified). Detailed help for Trophies, Glyphs and Symbols are given under that headline. In the Sections part, there will be just hints. |
Remember that by reading further then the Overview you might get exposed to spoilers! The Wiki intends to describe every little detail and background knowledge (as soon as available and verified).
Detailed help for Trophies, Glyphs and Symbols are given under that headline. In the Sections part, there will be just hints.| Sunken City | |
|---|---|
| |
| Details | |
Level#/Abrv. |
4, Sunken City |
| 3 | |
| 2 | |
Sections |
Short Sand Slalom Rest Area Long Sand Slalom Sunset Hallway Pit As well as three Slides sections. |
Keywords |
"WHEEEEE!!" |
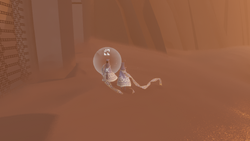
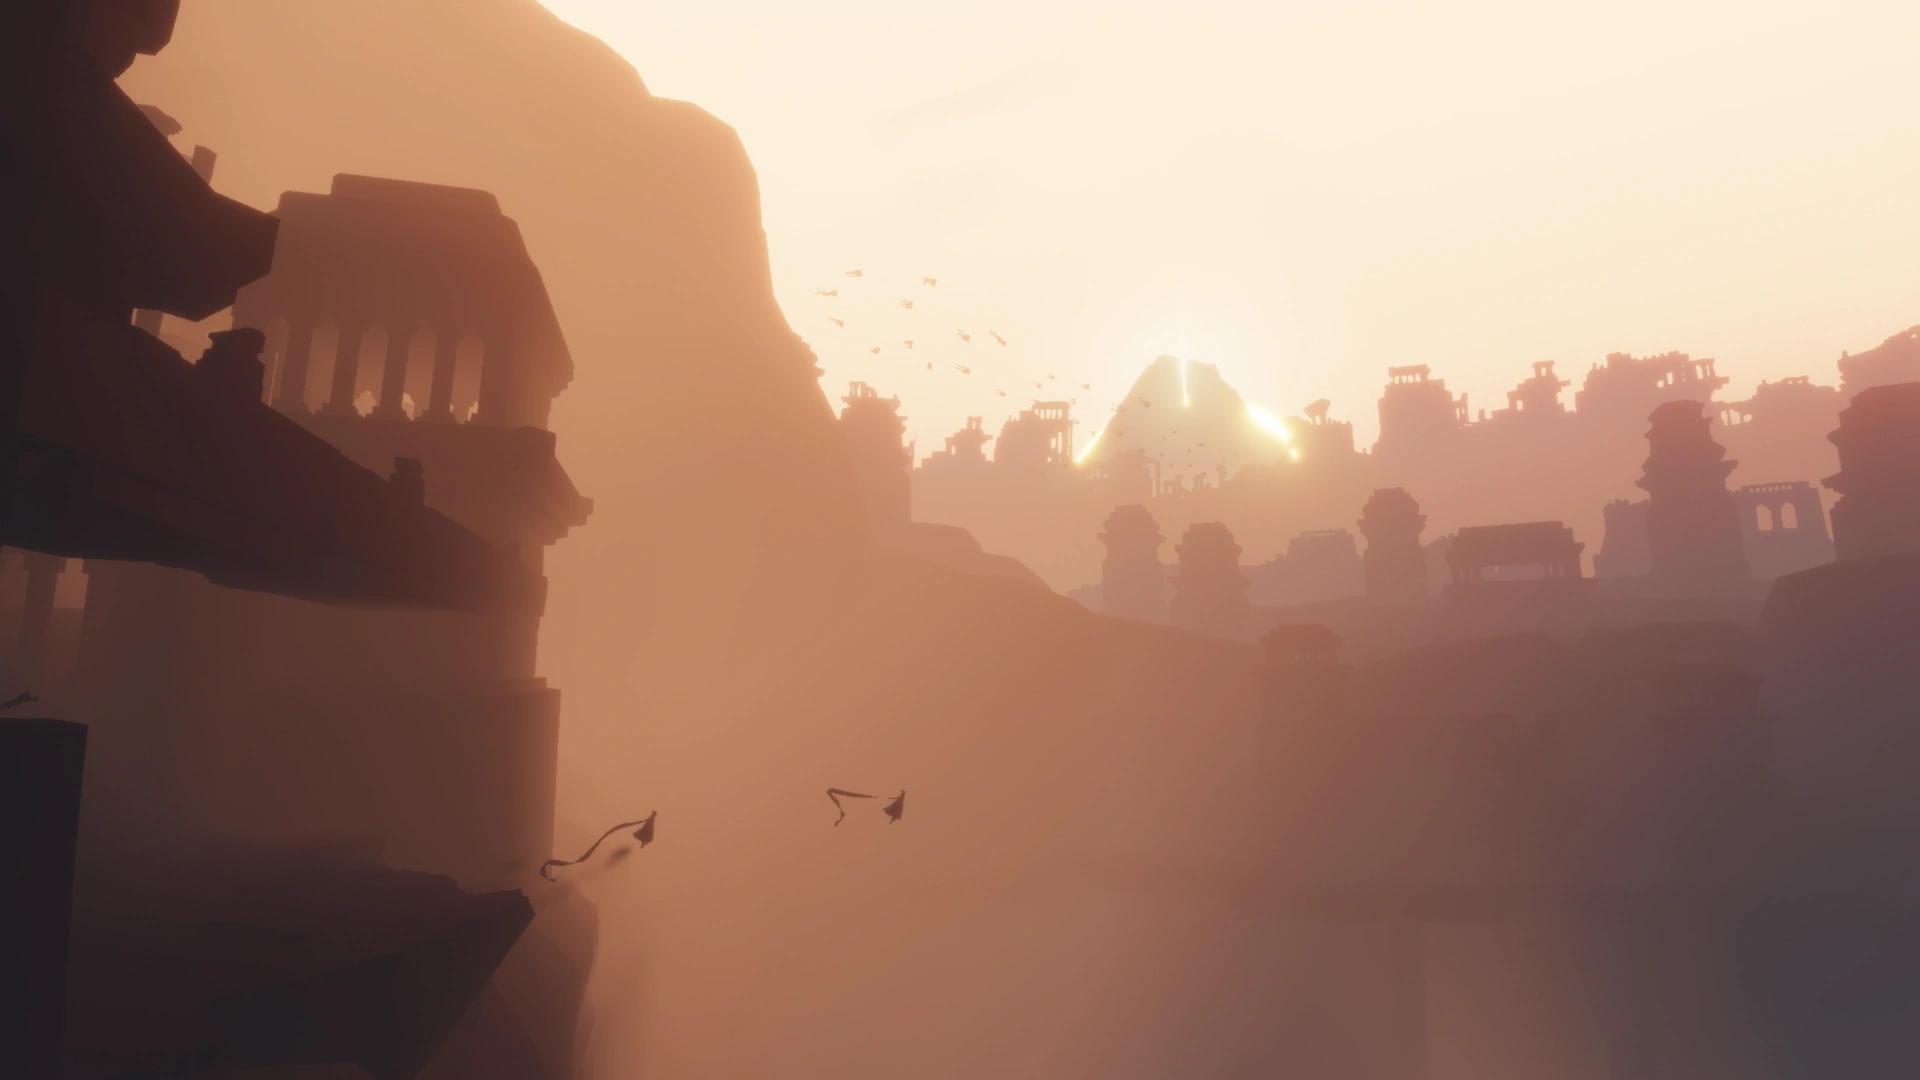
Sunken City is the level where you slide down most of the time and get magnificent views, golden sand.
Alternative Names:[]
Descent, Sand Slide, Shifting Sands, Sand Surfing, Ruined Metropolis, Canyon
Overview[]
The Underground is sometimes mistakenly referred to as the Sunken City, but if you check the description of the Adventure trophy, you can find that the name "Sunken City" refers to this level.
In this level you are mostly sliding and not able to just walk around. Besides the end with the Shrine there are two places where you stop sliding.
Two Symbols to catch while sliding and one in an area where you can just walk around.
The Trophy Adventure can be obtained by sliding through 15 gates in this level.
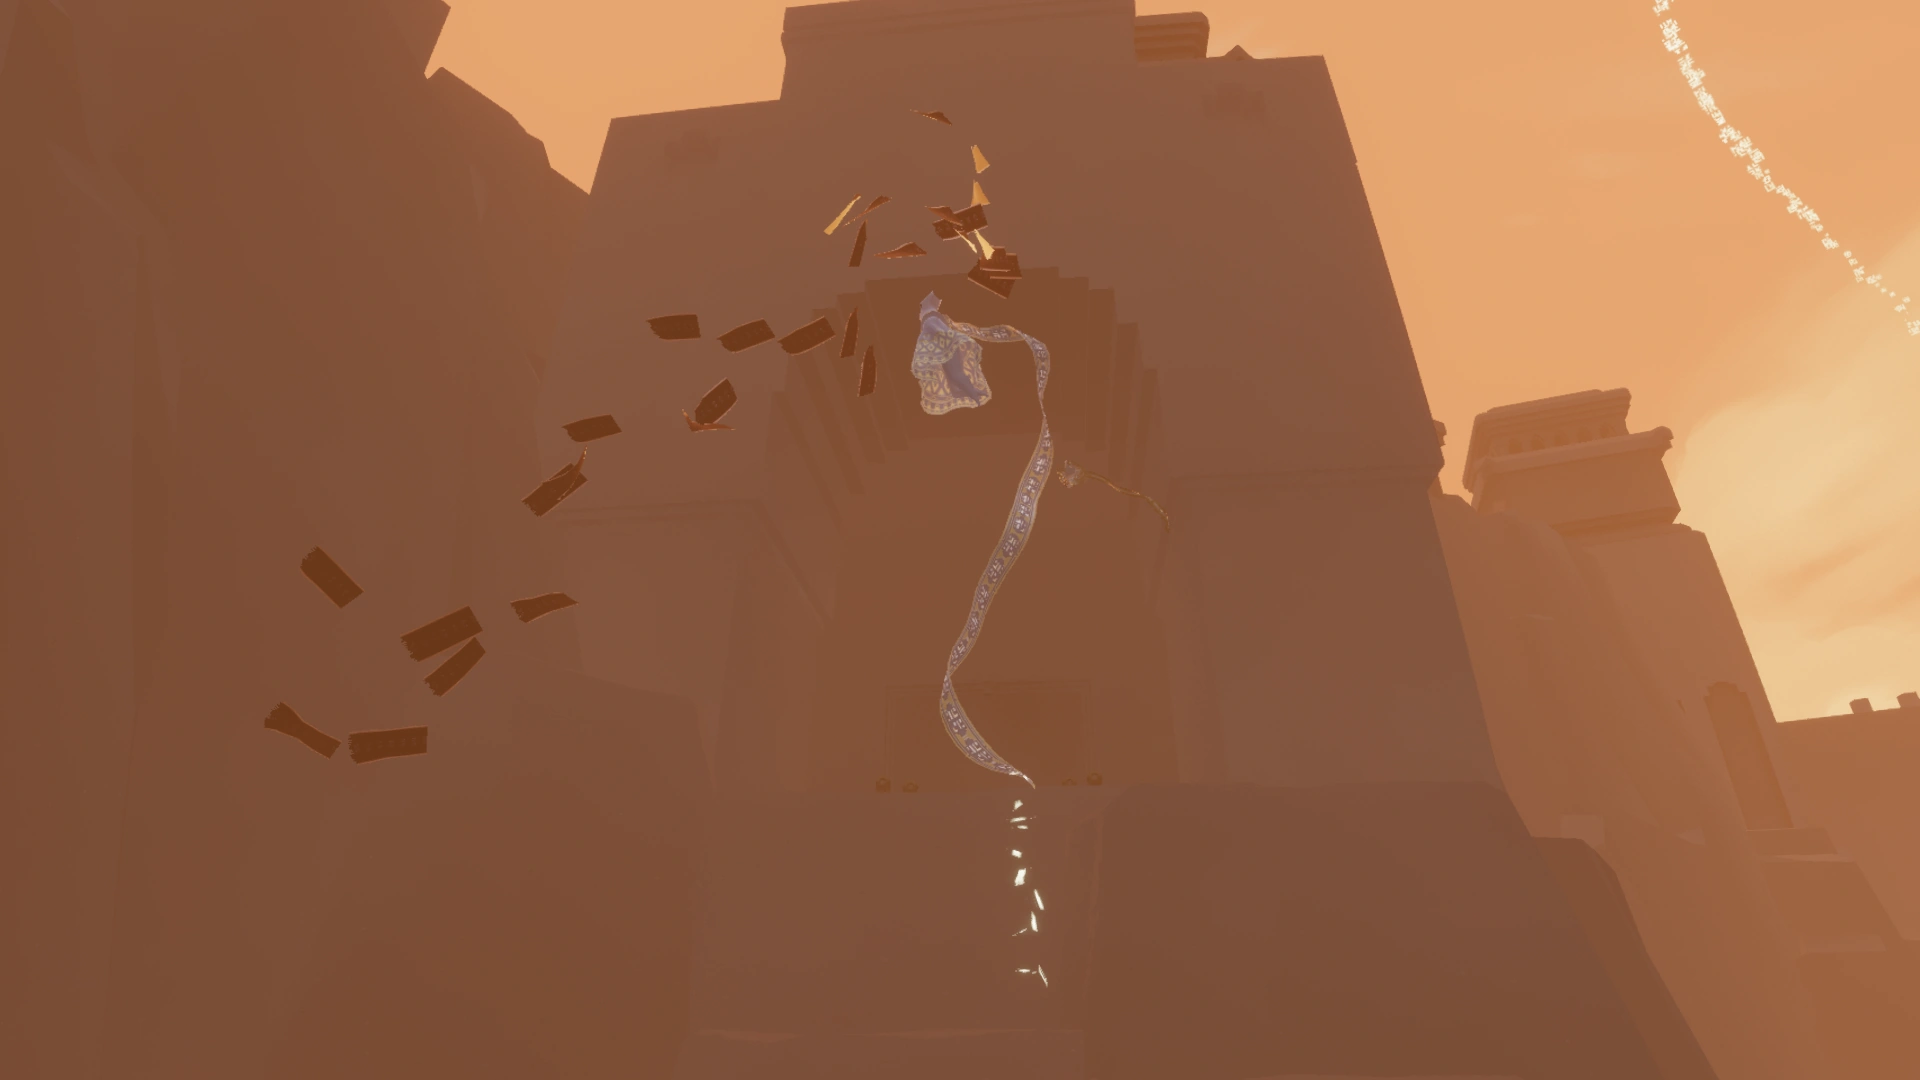
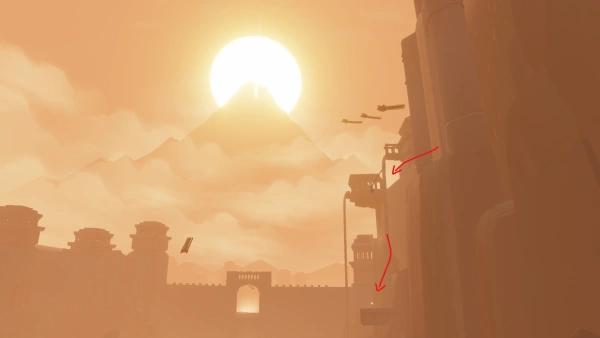
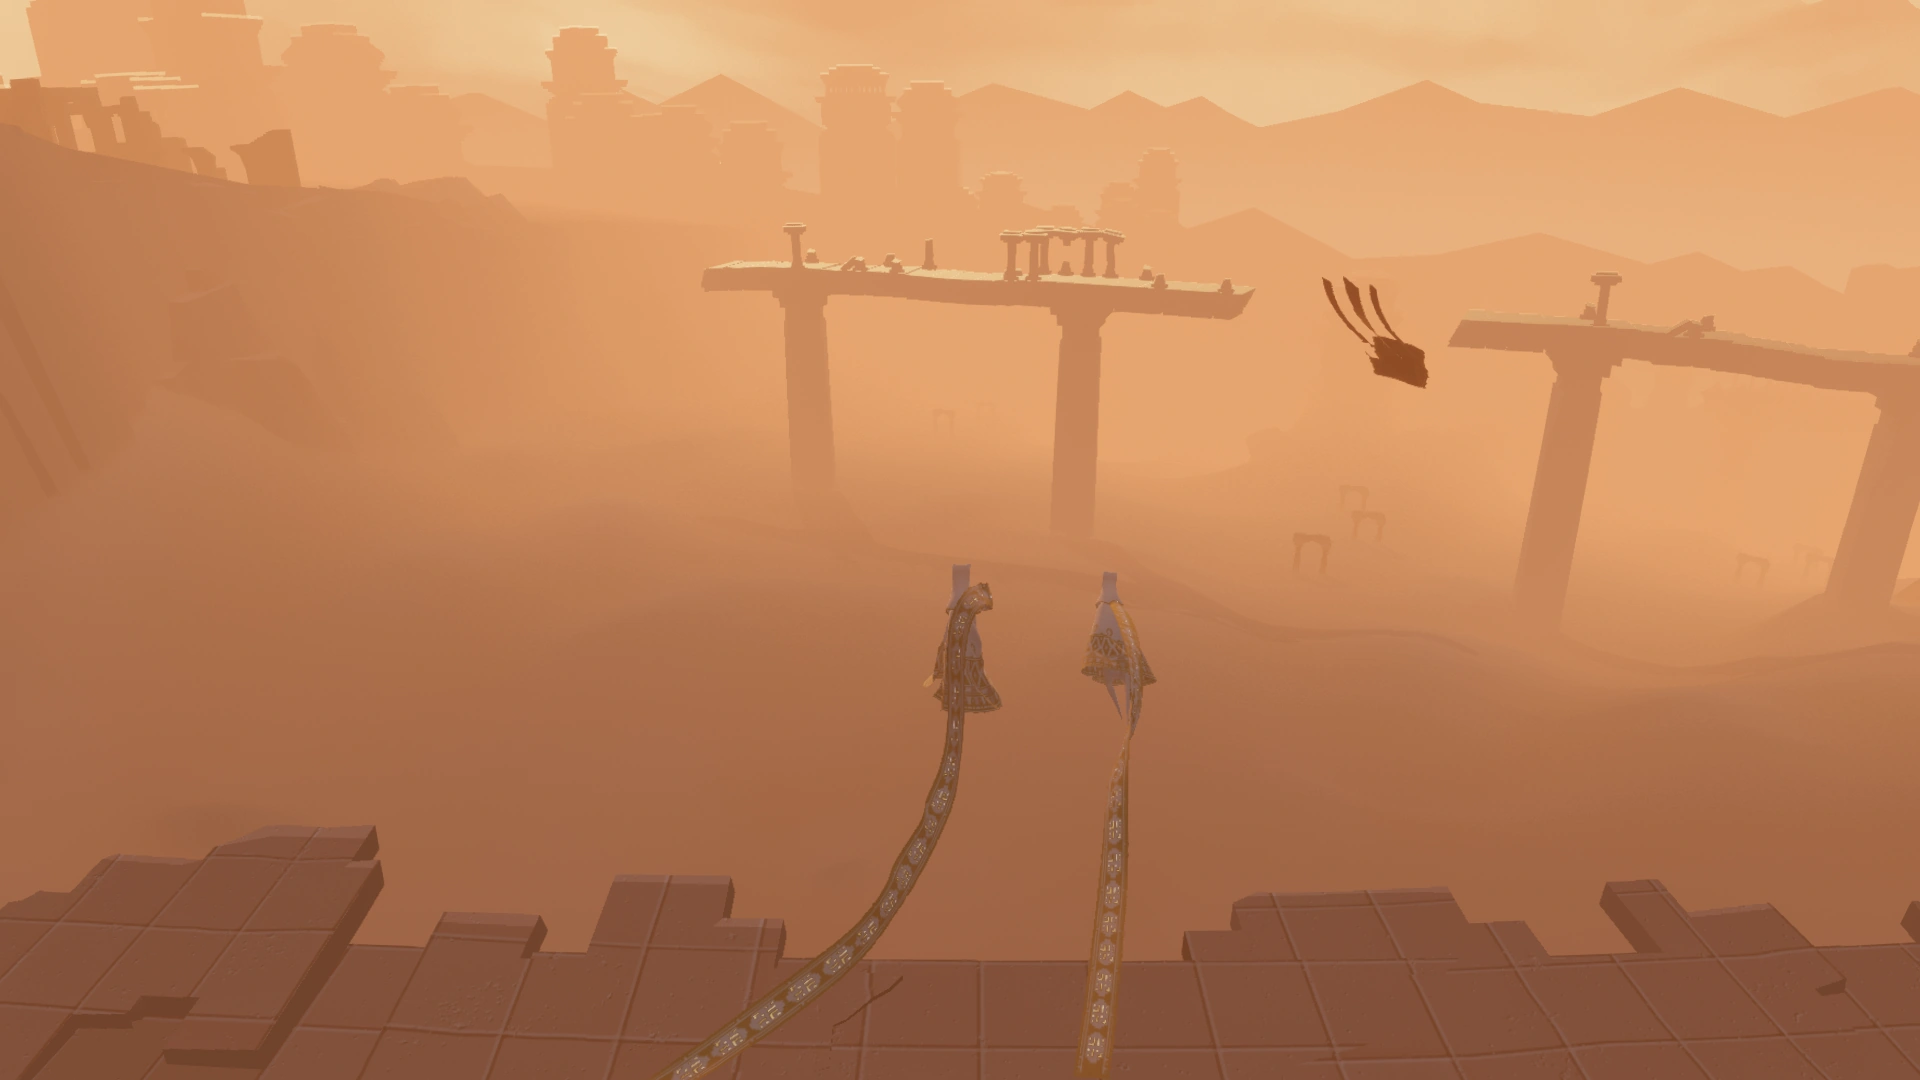
| After the carpet dropped you off you start sliding down a canyon. Try to catch the first Symbol straight after the first tower in the middle.
Keep your scarf charged and catch the second Symbol right when leaving the corridor. Then you drop down to the rest area. Activate the Banners to free the carpets and search for the Glyph here. Use your Chirp nearby the big swarm of flyers. Big Chirps several times will lift you high up so you can reach the platform that leads to the next sliding area. Flyers can be also used to get the Symbol. At the next slide, stay to the middle of the level and follow the stream. There is a rather hard to get Symbol hidden in a cleavage. In best case, a Carpet will pick you up and flying you over to the rock with the cleavage. After that, its mostly sliding and a long fall to the pit at the end. In this pit to the West side in a little ruin you will find the second Glyph. The Shrine is highlighted by a beam from above. | |
| Spoilers end here. | |
Sections/walkthrough[]
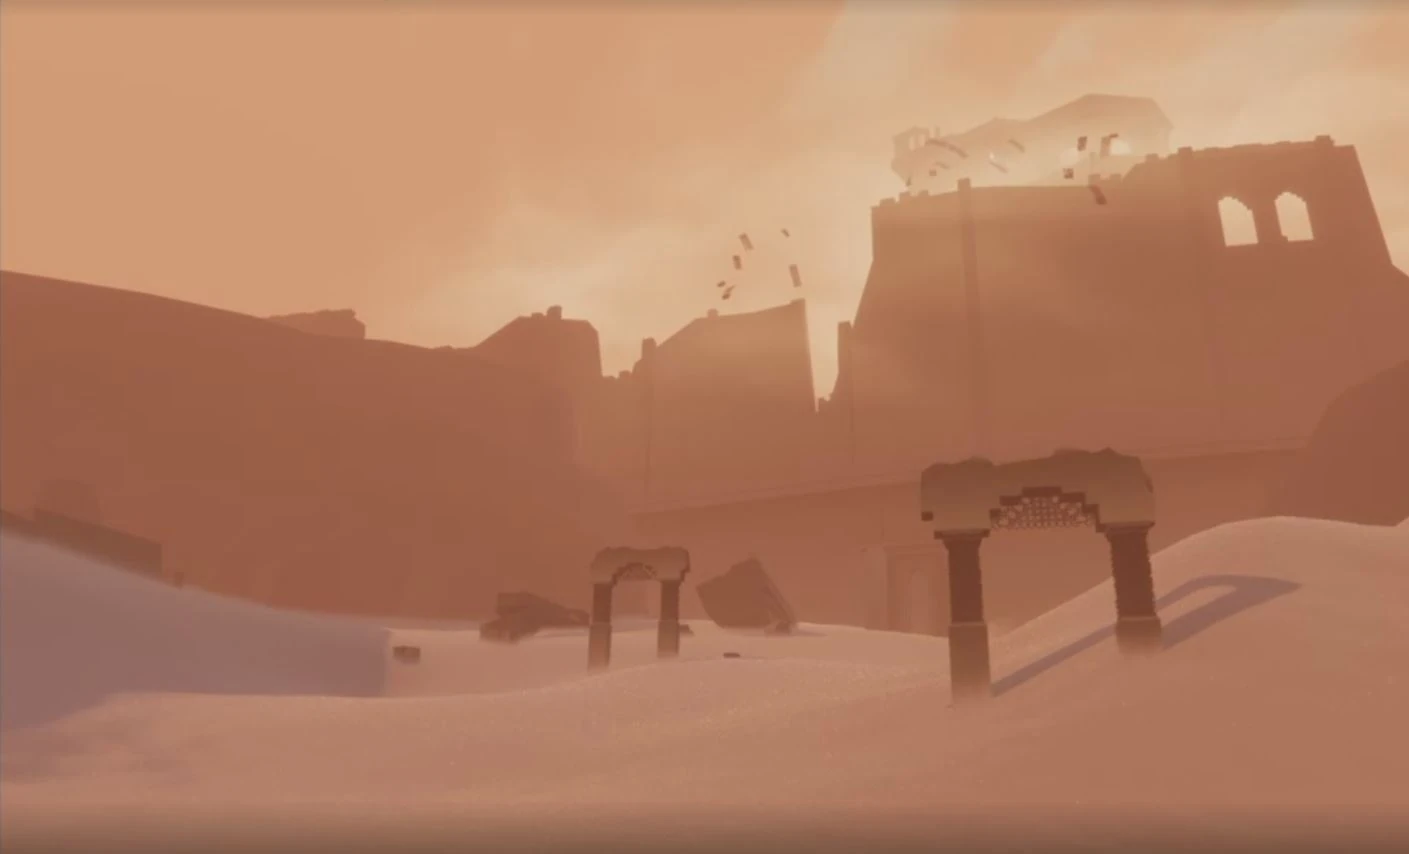
Entering the level. View towards last level.
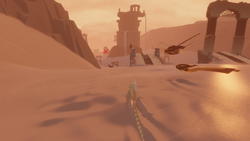
Towards the level. Short Sand Slalom part.
After the carpet dropped you off you start sliding down a canyon. The whole level is a slope downwards. Scattered through the level are rocks and broken bridge parts (they look like made out of the same material as the bridge in the second level).
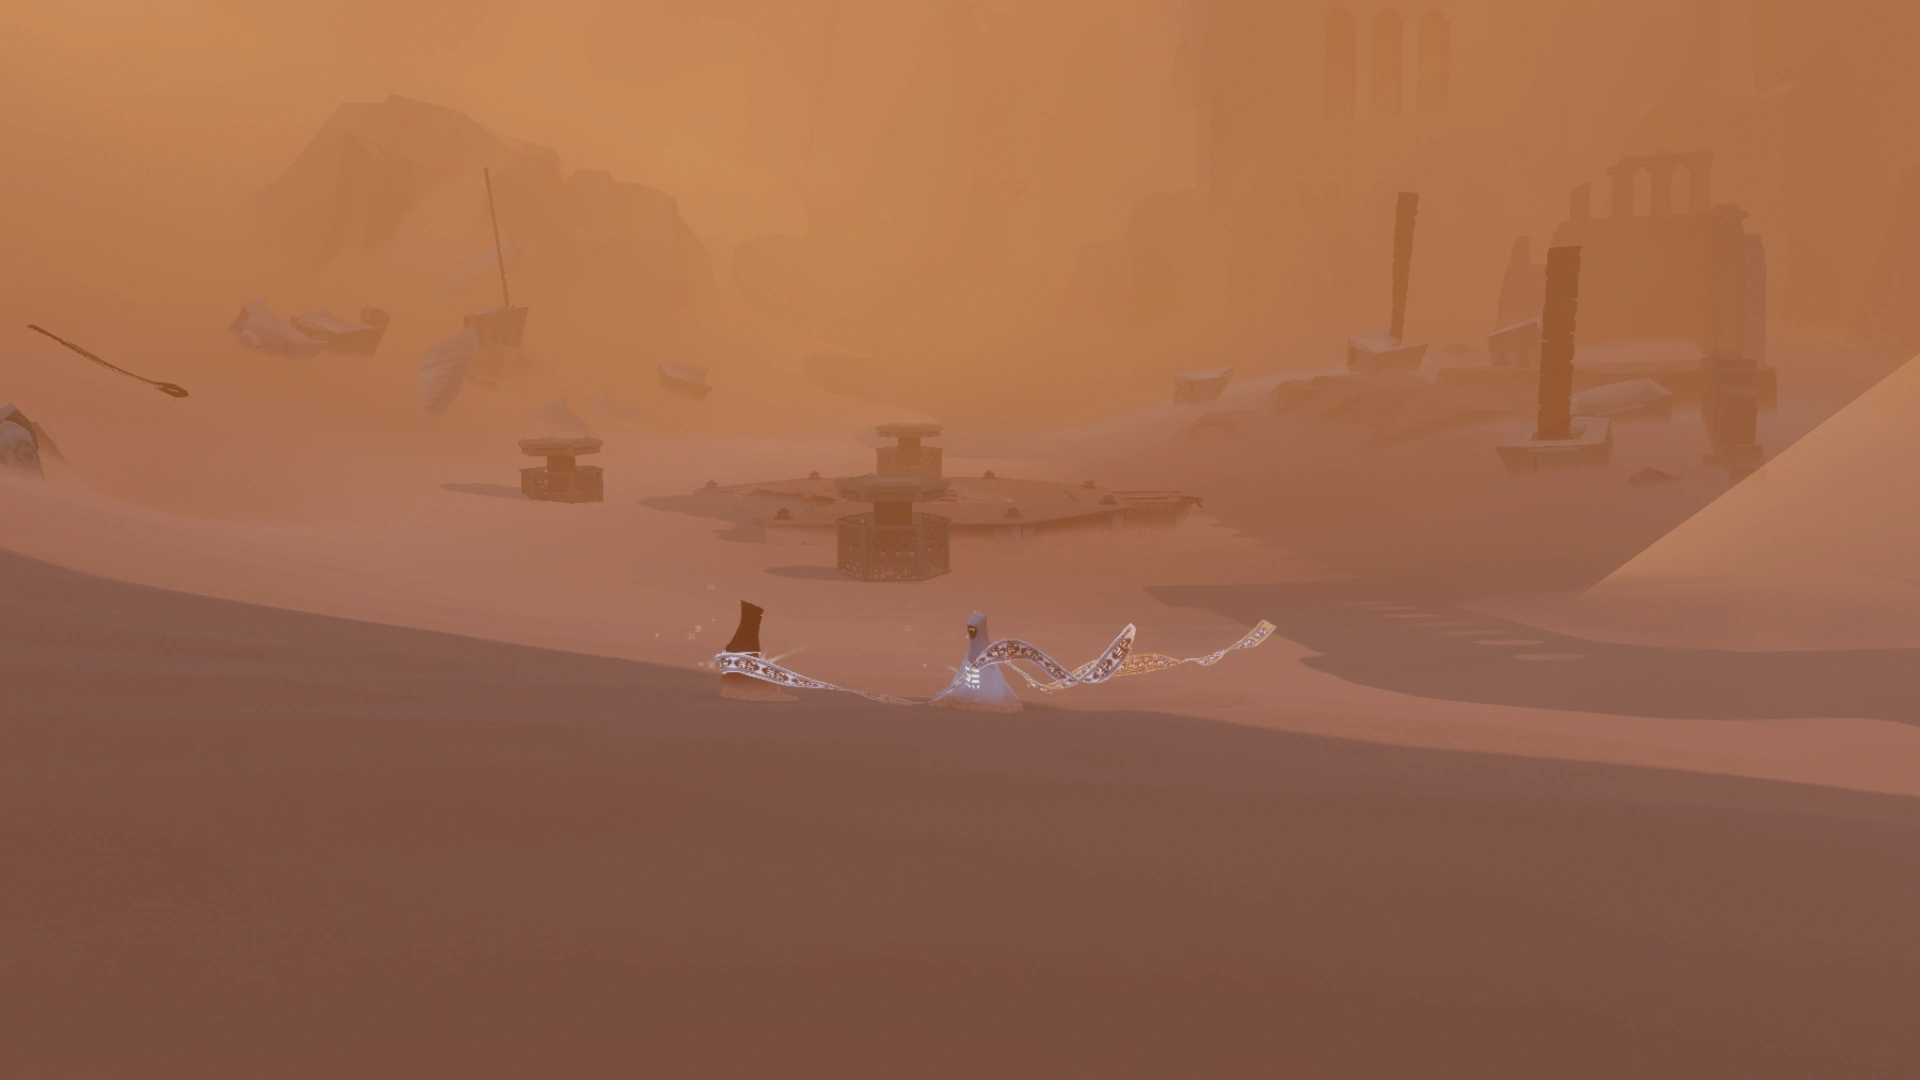
The rest area.
You pass ruined building and can see buildings all around the level in the distance, thus the name.
Carpets will fly by from time to time and shooting stars leave their trails in the sky.
| Names used for the sections | |||
|---|---|---|---|
| Standard section name | Other naming | More names | Description |
| 1st slide | short sand slalom | symbol at the beginning | |
| 1st stop | rest area, pit stop | 1st pit | the one with the symbol and glyph |
| 2nd slide | long sand slalom | ends at the sunset hallway | ends in the horizontal slide |
| 2nd stop | rest stop | at the end of the sunset hallway | waiting for the carpet |
| 3rd slide | falling down | ||
| Pit | Glyph and Shrine | ||
Short Sand Slalom[]
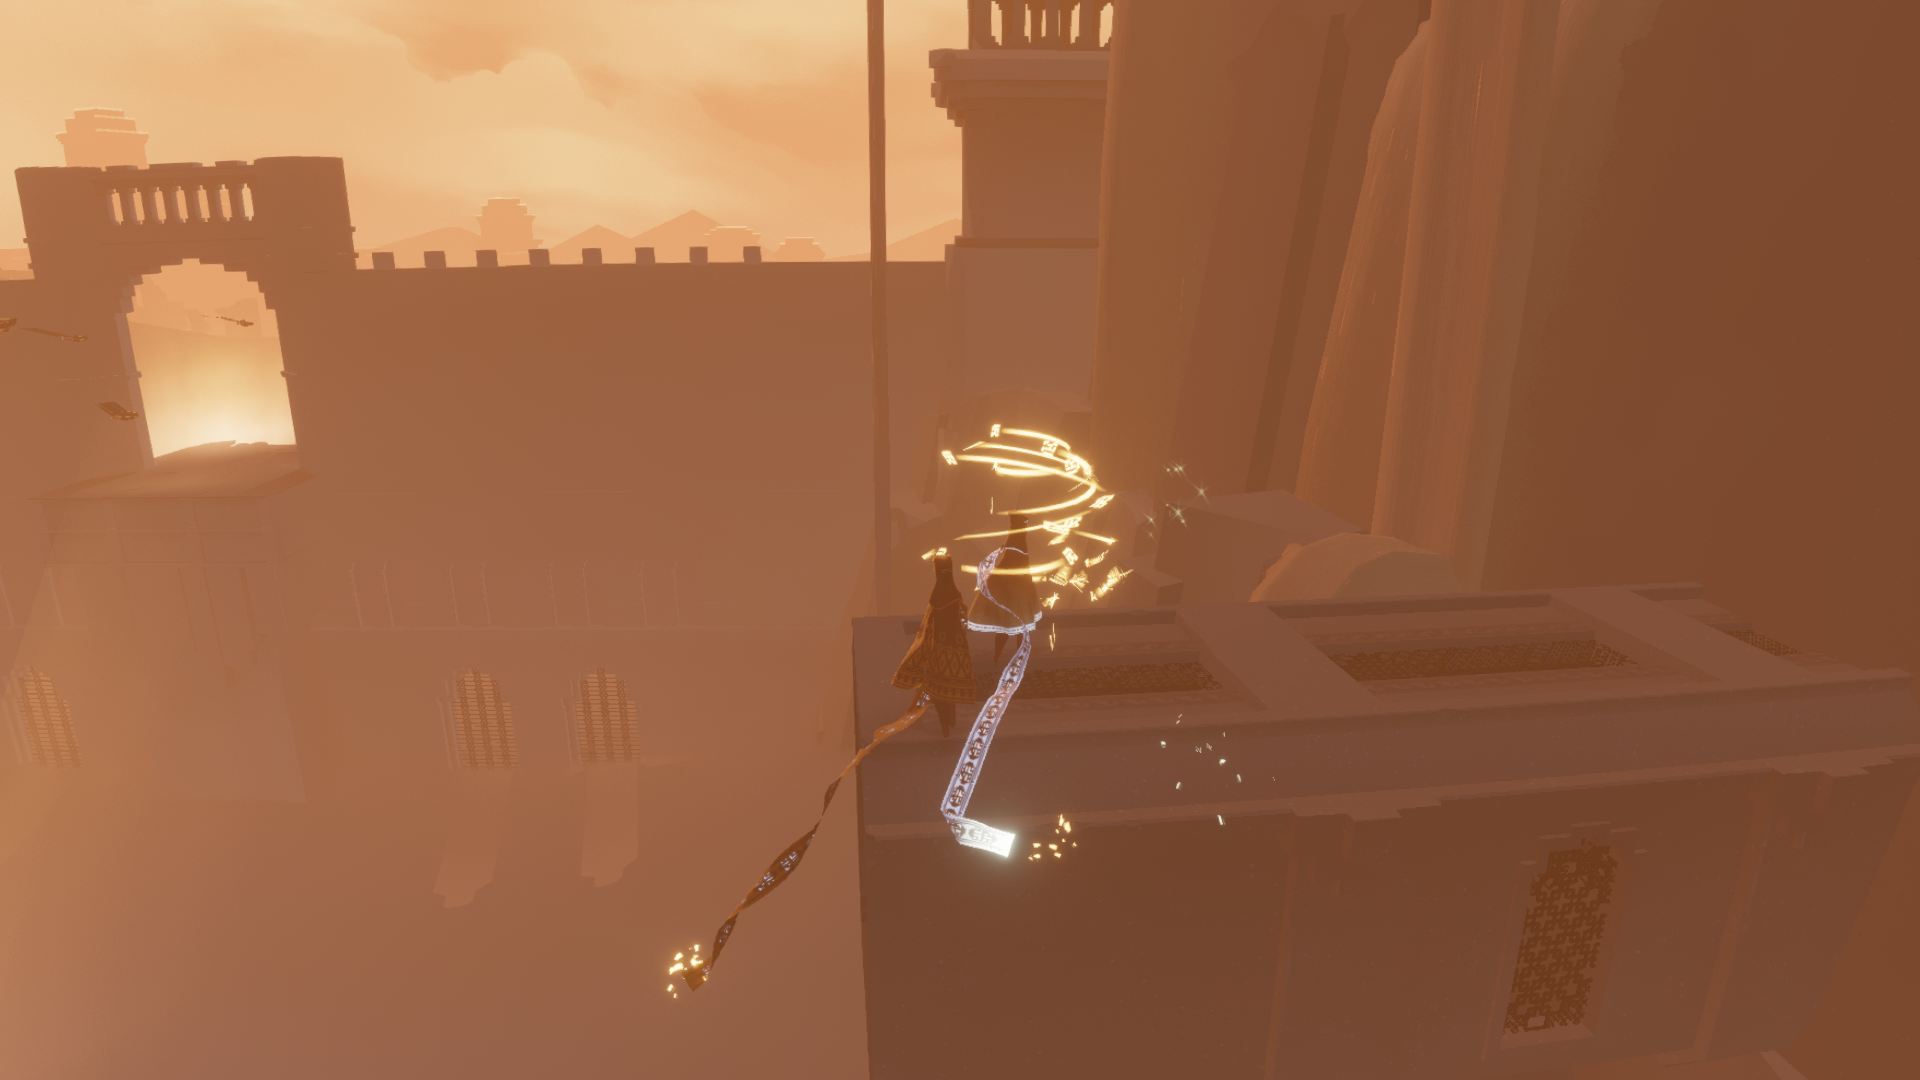
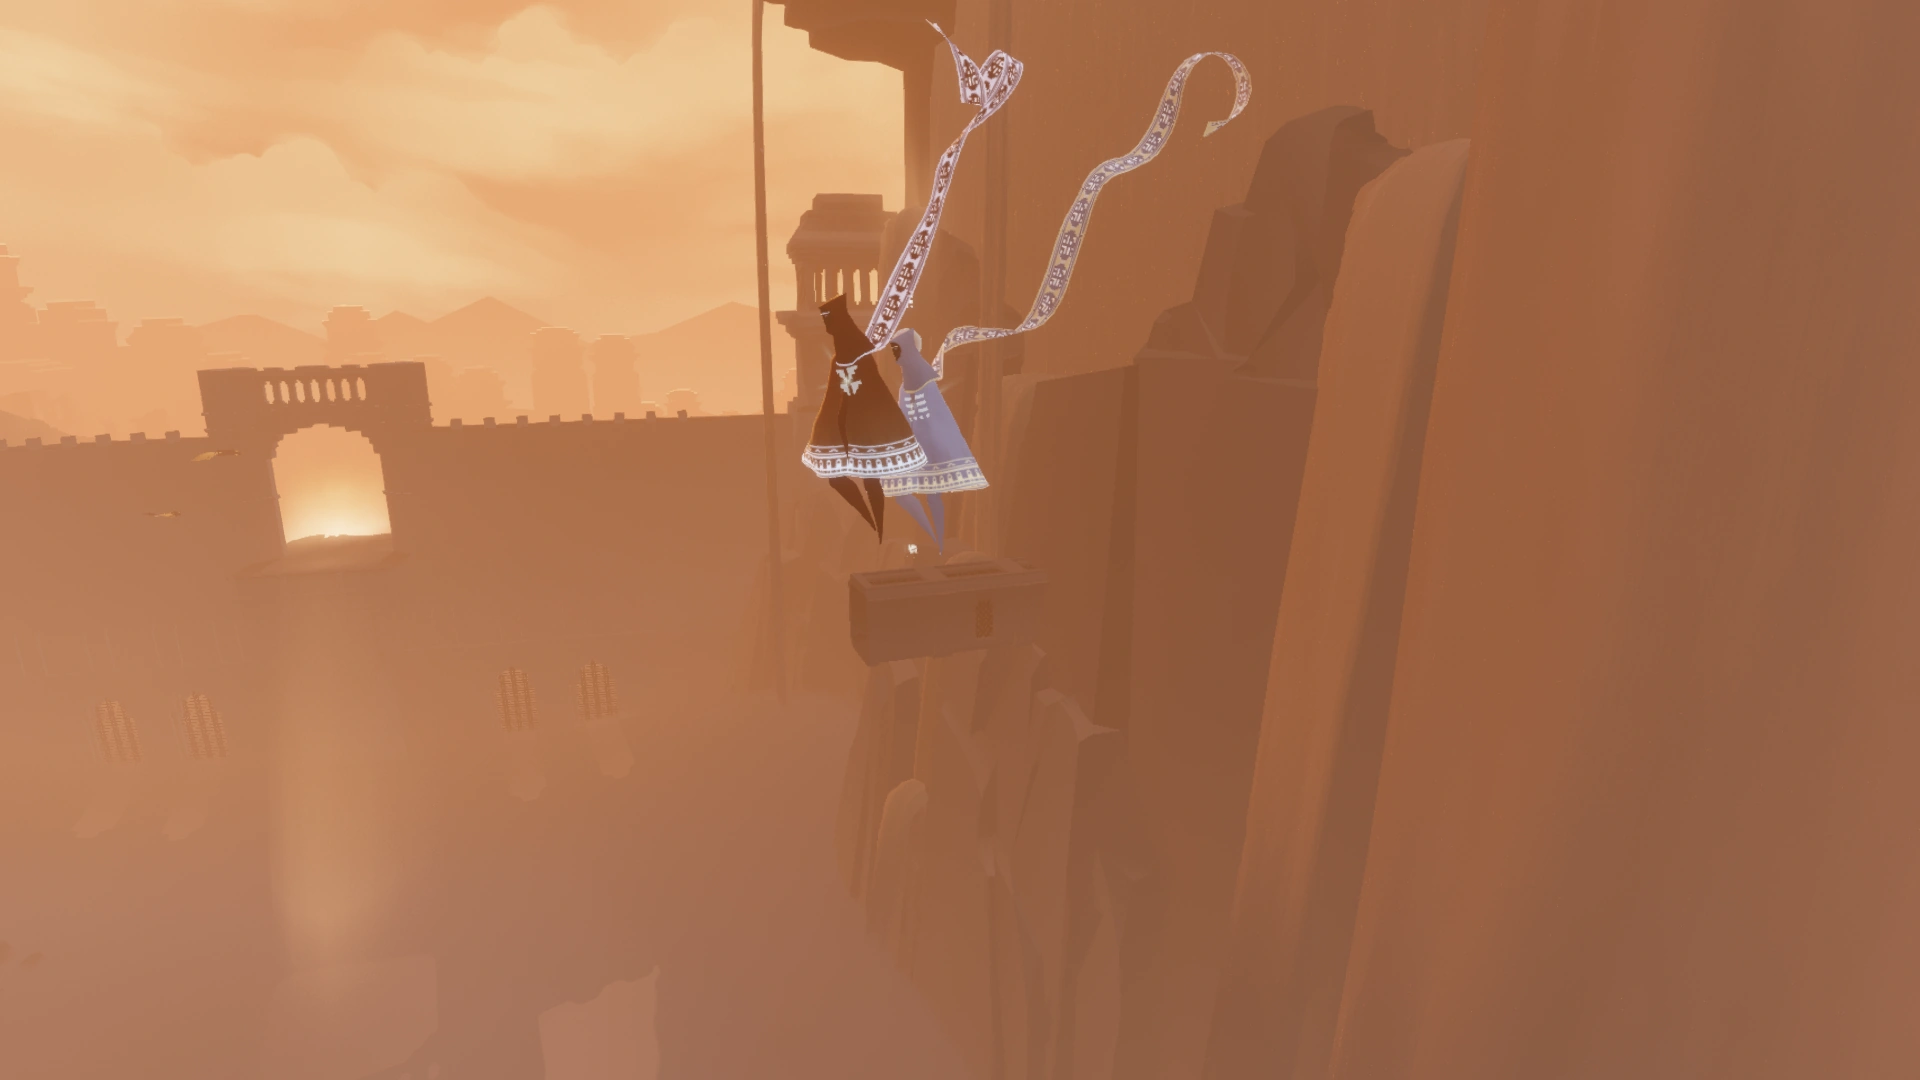
Standing at a window outside of the rest area. On the right of the image, starts the Long Sand Slalom
Try to catch the first Symbol straight after the first tower in the middle.
Keep your scarf charged to be able to catch the second Symbol on the right when leaving the corridor.
Rest Area[]
Note: The name "Rest Area" is sometimes also used for the other rest place, after the horizontal slide. But this is just a hall, while the actual Rest Area is a much bigger place. On this Wiki we are using "Rest Area" and "Rest Stop" (Hall) to differ them.
You leave the corridor often with Carpets around you and get "spit out" of the corridor. There are normally 4 Banners in the area, if activated a Carpet will try to touch and circle around you to give you charge and help to get to the next Banner.
After activating all Banners, Carpets will fly to the little pillars (ventilation?) and enter them. They seem to activate something down there, then the grid in the middle will open and release a cloud of flyers. They will "settle" towards the outrance of the area.
Get the symbol, free the carpets, find the glyph and use big chirps at the flyers to reach the platform that leads to the next sliding area. Flyers can be also used to get the Symbol.

Sunset Hallway / Hall of Light / Horizontal Slide
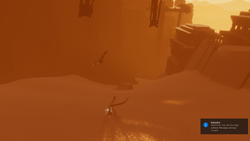
Long Sand Slalom[]
At the second slide, stay to the middle of the level and follow the stream. There is a rather hard to get Symbol hidden in a cleavage. In best case, a Carpet will pick you up and flying you over to the rock with the cleavage.
Of course you can just enjoy exploring the sides of the level too, especially if you are going for the 15 gates Trophy.
Sunset Hallway[]
Alternative Names: Horizontal Slide, Hall of Light

Waiting Point
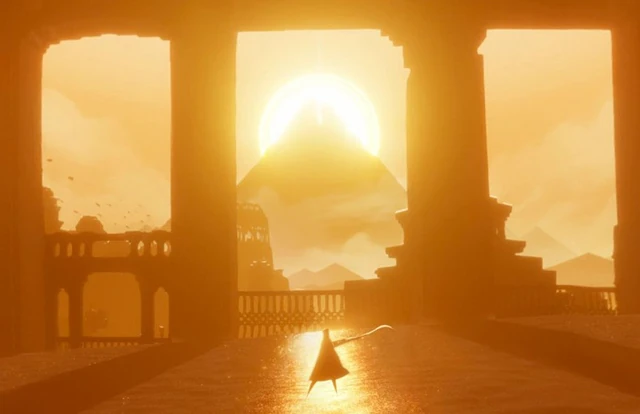
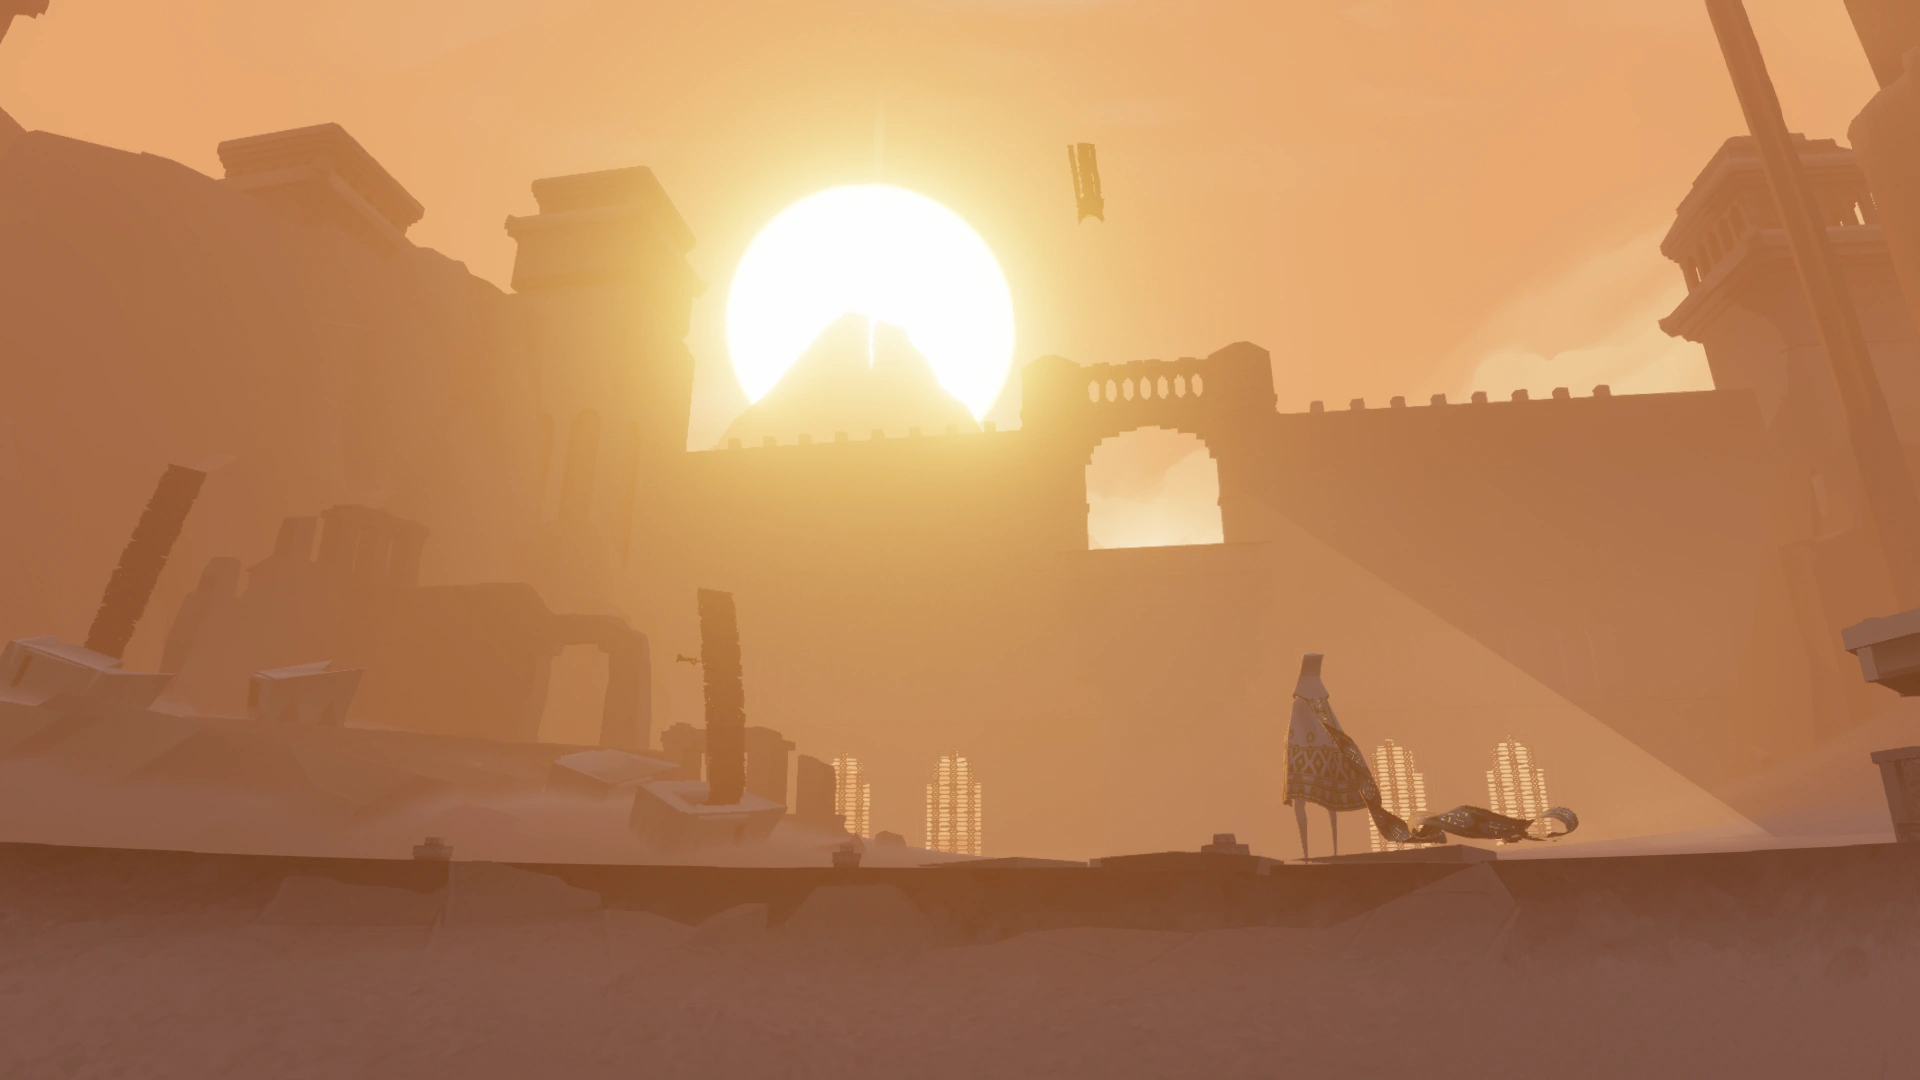
Also know as the "most beautiful part of the game" as many call it. After sliding forwards the whole time, the slide takes a turn to the left here and you enter the Sunset Hallway. It provides a gorgeous view to the outside laying ruins/buildings, the sunset is shining from mountain side and setting all in an almost golden light.
While sliding sidewards, its possible to slide over several rocks laying in the way. Many players like to slide over them to cause a little (or higher) jump.
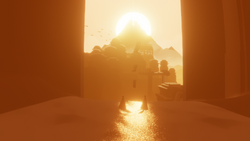
The slide ends at at the rest stop. Its very inviting to stay here and enjoy the view and the "waiting" is not in vain, see Sights.
Third Slide[]

The third and last slide part.
This is the last slide, it ends with a dramatic music and the slope is getting real steep. It creates a feeling of going towards the deadly waterfall... and in the end you fall down to the pit.
Drop to the pit. See general hints.
Many players try to avoid sliding down fast, they fly up to hit the bridges or left and right to the buildings. Just pressing "back" to make one slower and heavy chirping is also common.
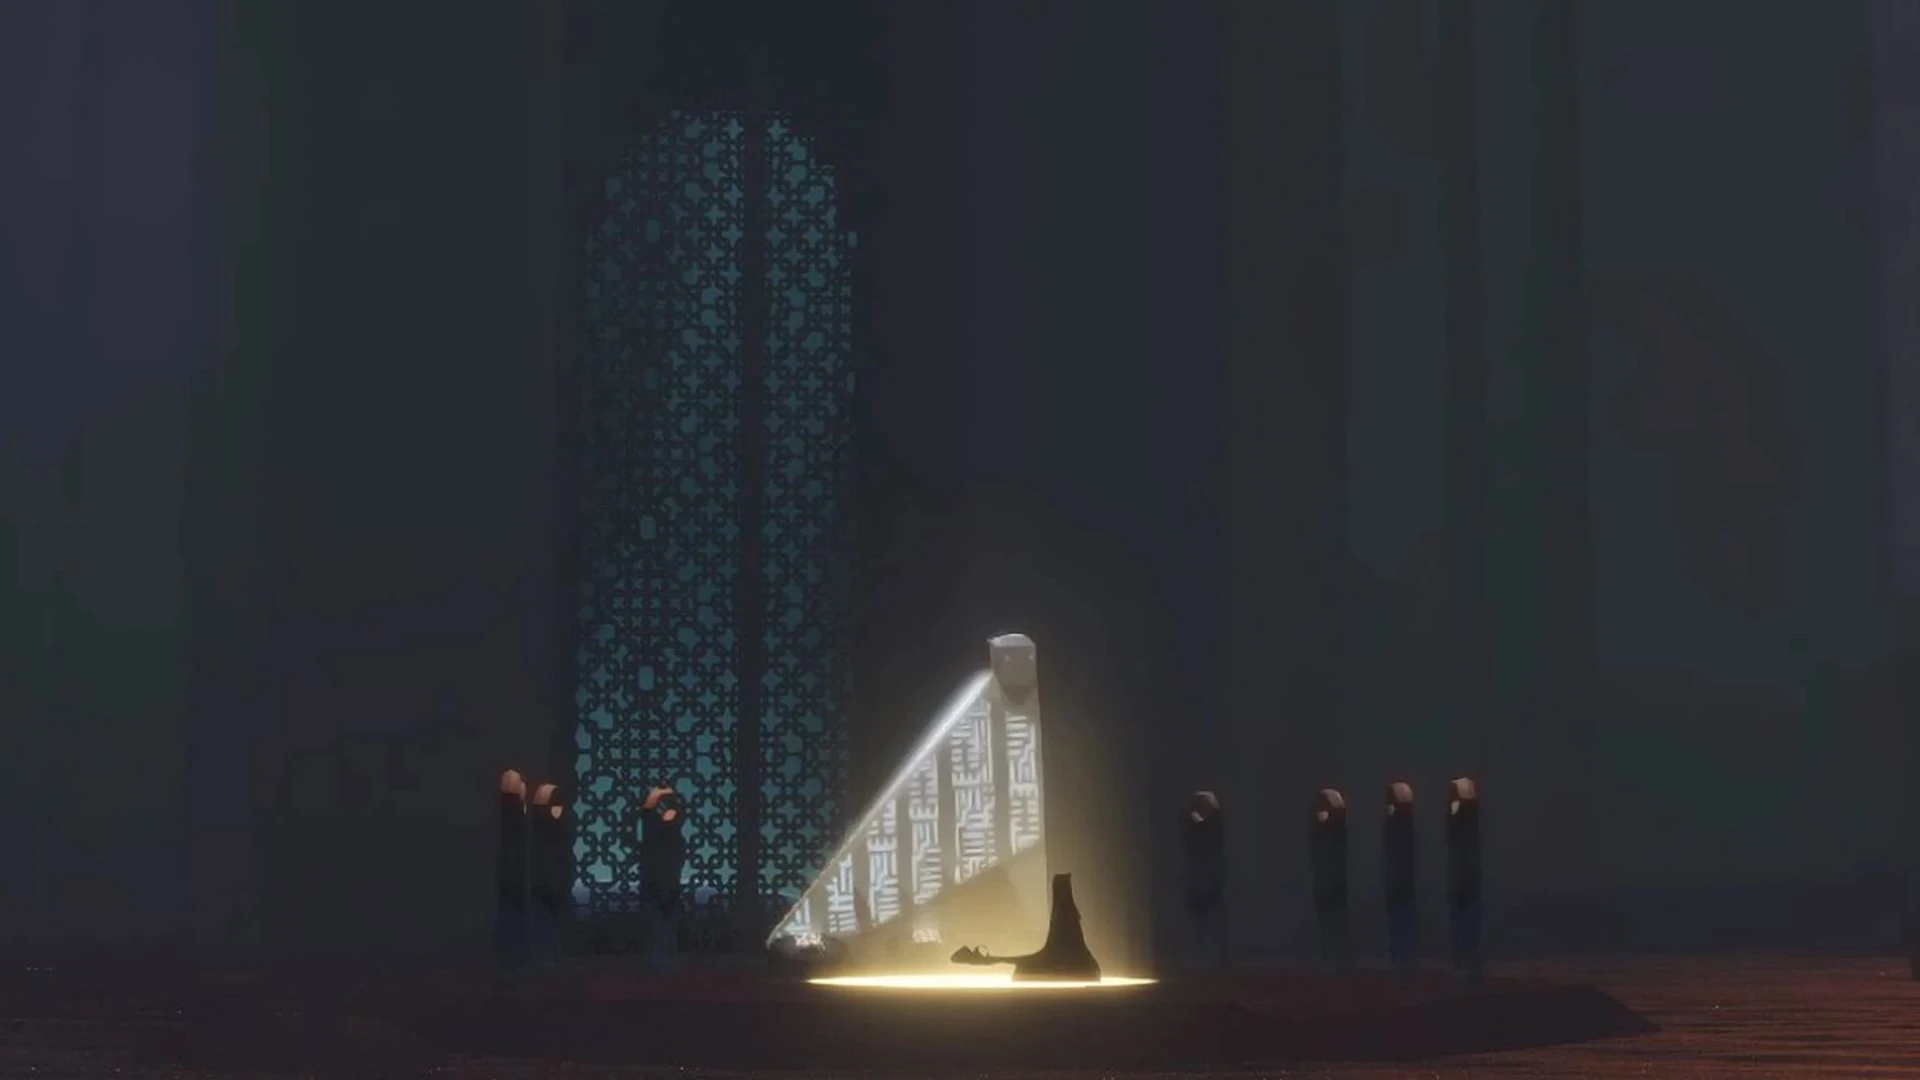
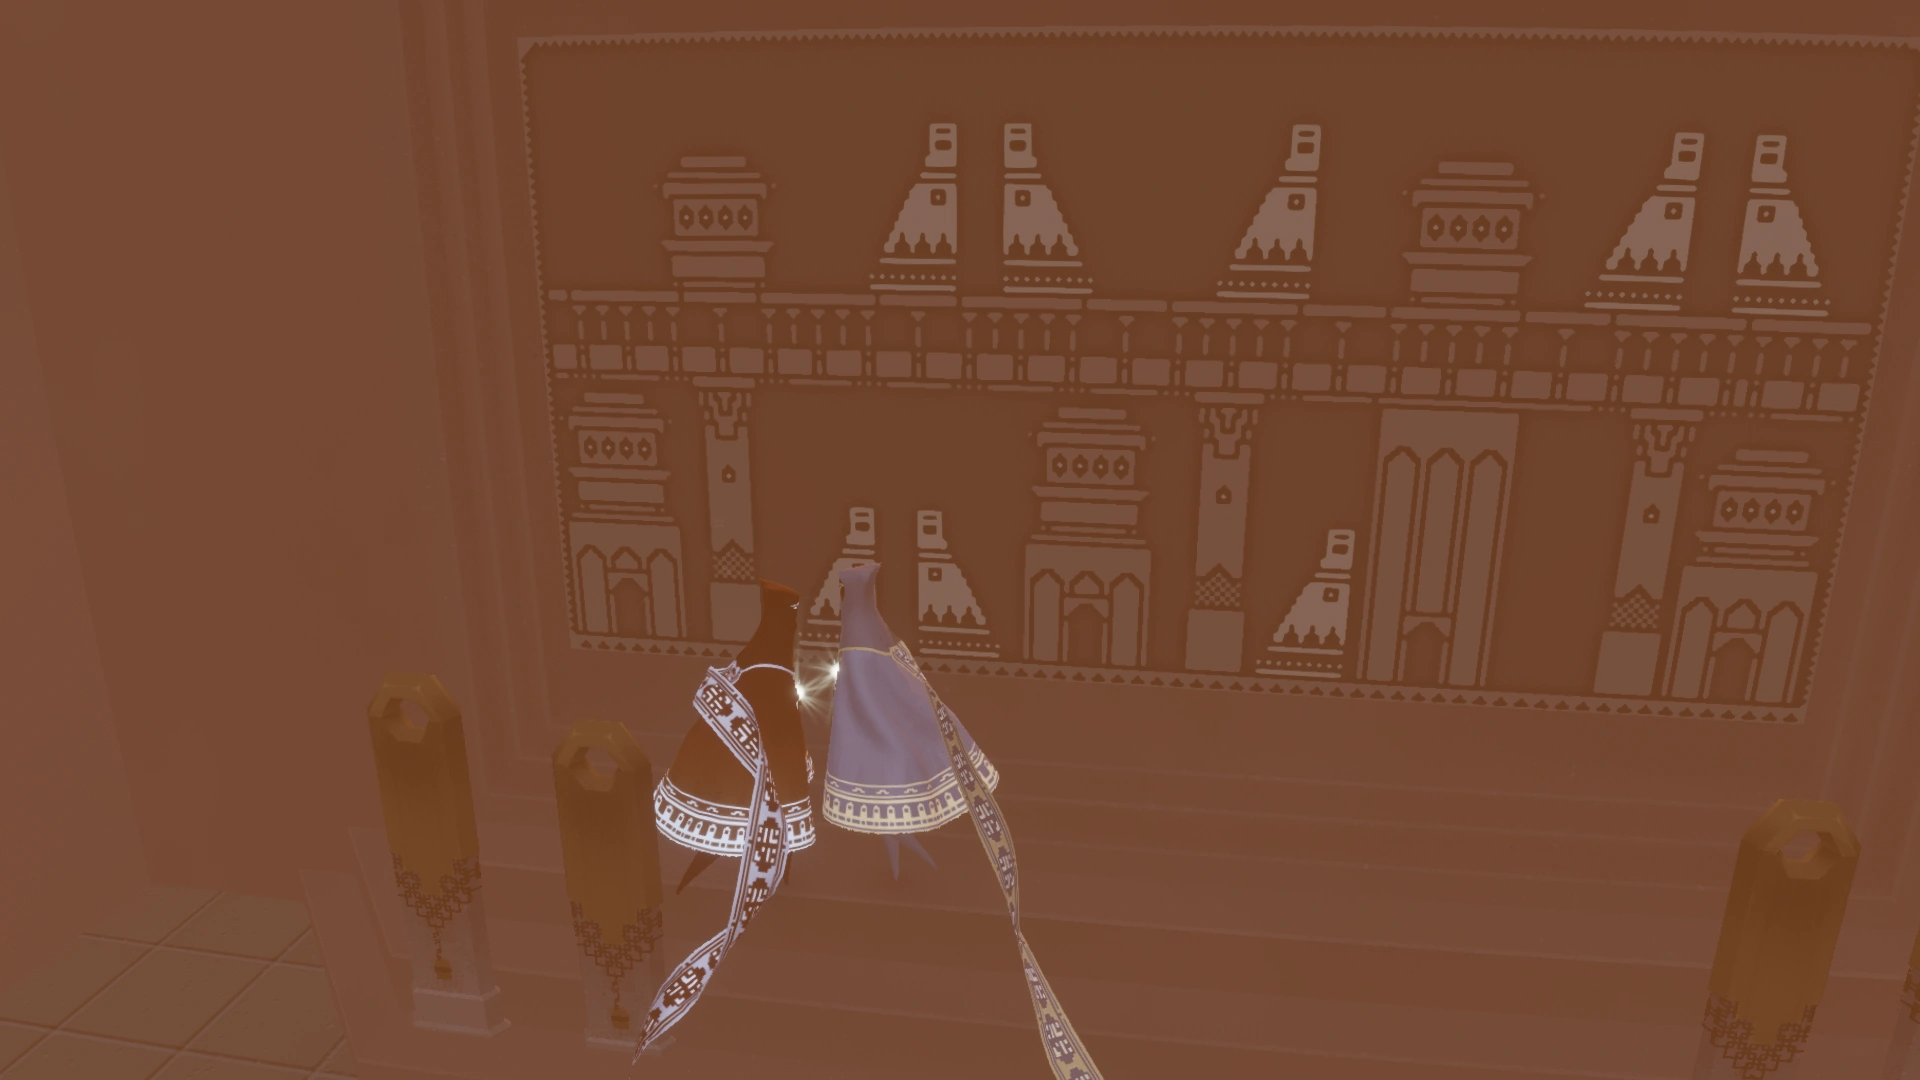
The Pit, History Lesson place
Pit[]
After that, its mostly sliding and a long fall to the pit at the end. In this pit to the West side in a little ruin you will find the second Glyph. The Shrine is highlighted by a beam from above.
Hints and Tricks[]
 Connection and Companion hints[]
- The shooting stars are only visible for one individual, everyone sees them at a different time. If you see one, your Companion probably does not see it too.
- Disconnects: See To connect or to disconnect! for general infos too. Example, rest area. If you fly up to the wall and your Companion has problems getting there, do not start sliding as you do not know how long it will take them. The distance created between you sliding down and them in the rest area might cause a disconnect. However you can help them up or wait for them to make it on their own. Same counts for the last stop after the horizontal slide. If one skips through the hall at the end and slides, while the other was pushed to the hall --> distance. Also its hard to see if your Companion is in the hall, thus no shine on the screen or if they went on (searching around in the hall takes time, creates more distance to the sliding player).
- At stops you can wait for a lost Companion, do not activate the banners in the rest area though, as they might just fly over it without activating them.
- With a Companion you can rather easy fly high up and avoid sliding for long time. At the rest area, climb the highest point of the wall before the slide and start flying foward while chirping each other. The game will try to push you down to the ground, but if both manage to stay up it will become easier to stay above the level. Also possible after the horizontal slide or at the last part before you fall to the pit.
General hints[]
- You can skip the first rest area by landing on the first symbol as described above and then simply flying across the wall to the next slalom section. Works for both Red and White cloaks, when using the time when the Symbol is charging you. Just start flying towards the wall right after picking, do not stop.
Trophies, Glyphs, Symbols[]

West side of rest area. Look for flyers to pick you up to the first glyph
Trophy[]
Pass through 15 gates while surfing through the Sunken City.

The first Glyph in SC.
Glyphs[]
Two Glyphs can be found in this level.

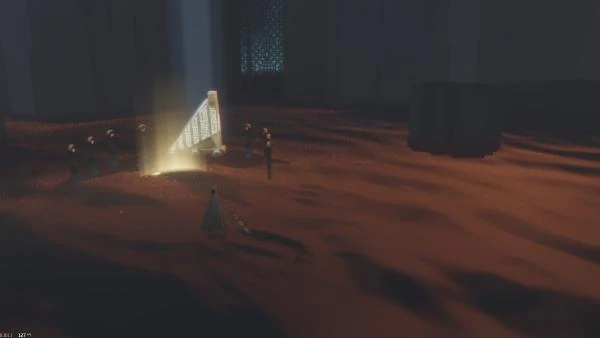
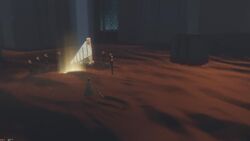
Second glyph, in the pit
- The first is in the rest area, to the west of the round area you can see some flyers hinting to "something". Use them to to get up to a room where you find the Glyph.
- The second one is in the pit with the statue/Shrine at the end of the level. After droping down, head to the West side to a little ruin. Since its in a dark place its easy to miss this one, they rectangle of the Glyph and the stones beside it are barely seeable from far.
Symbols[]
Symbol 1[]
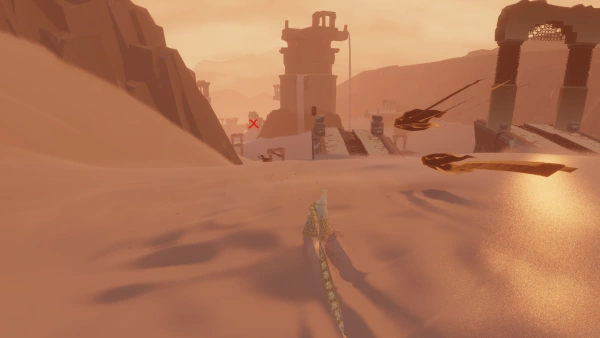
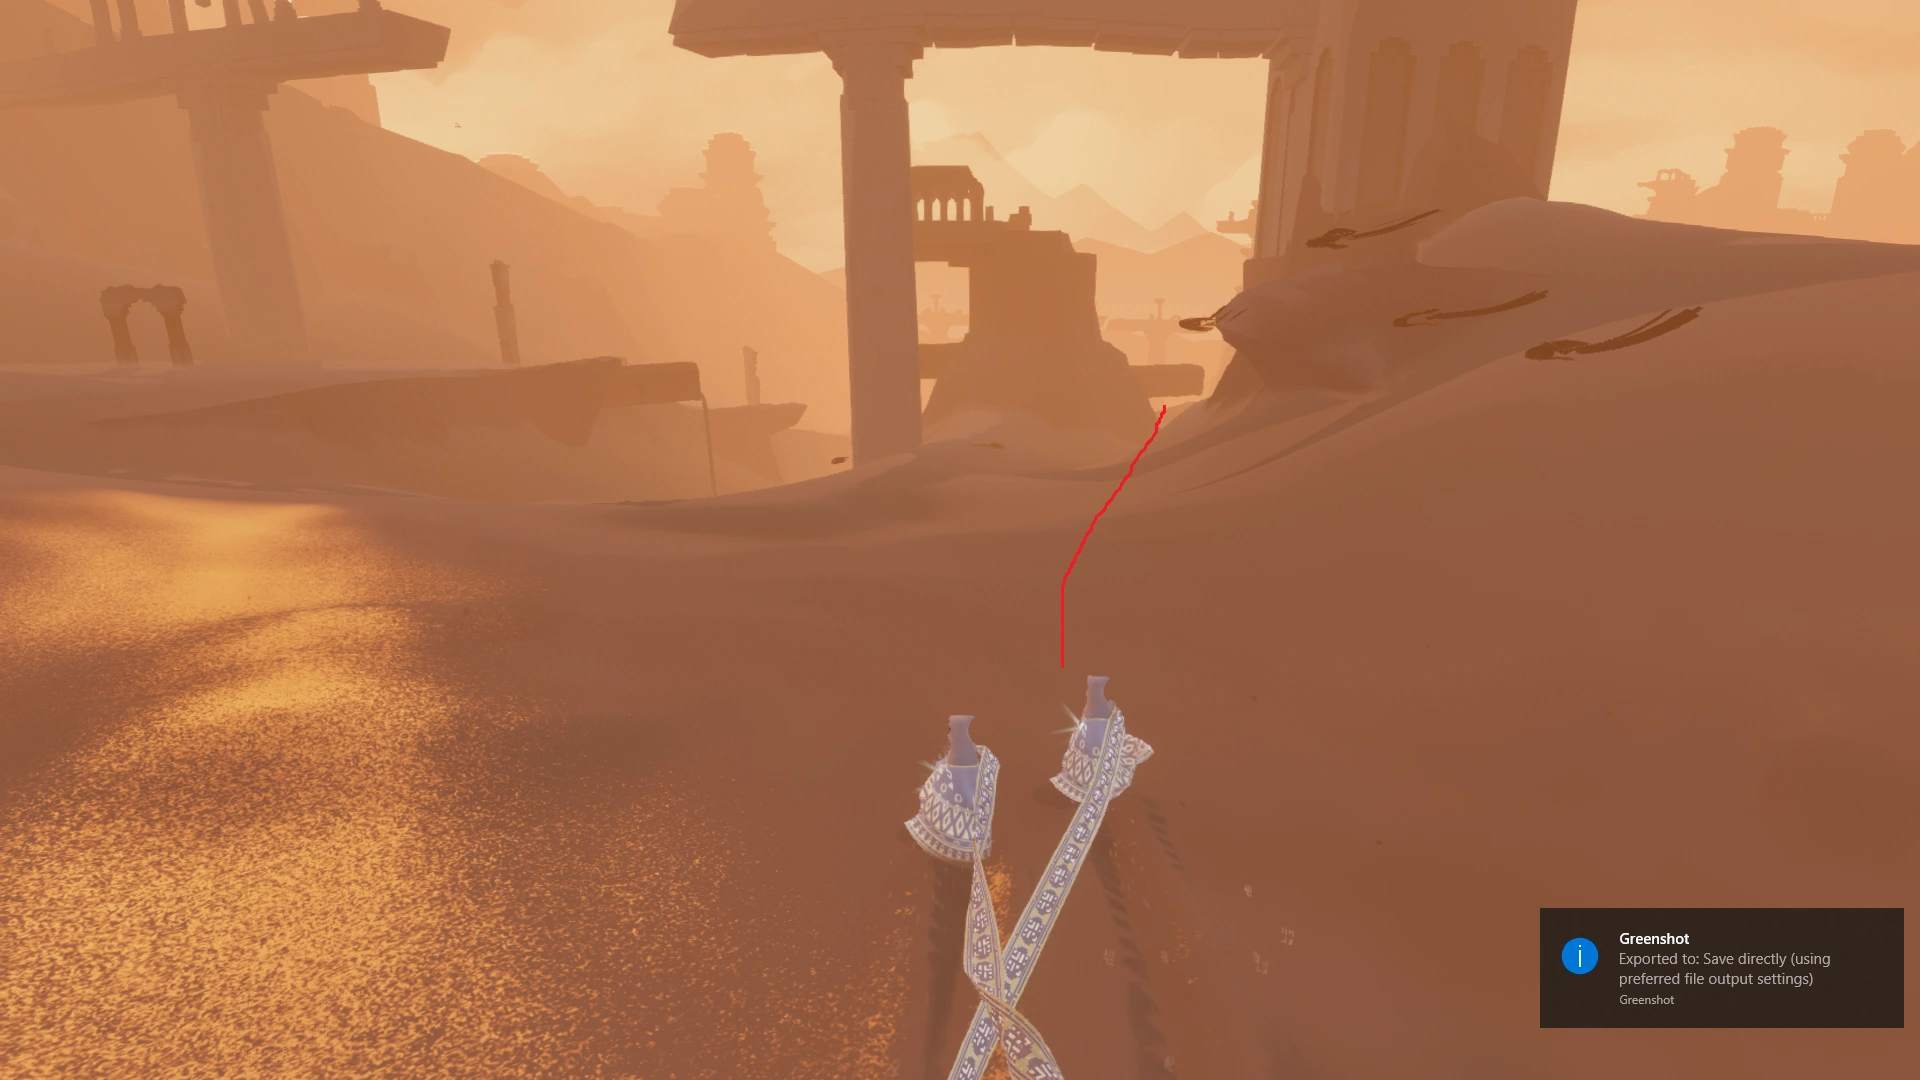
At the start of your slide you see a Tower in the middle of your way. Directly behind that is a hallway-ruin and at the end of that is the first symbol.
- First Sunken City Symbol

There is a red cross hinting to where to aim.
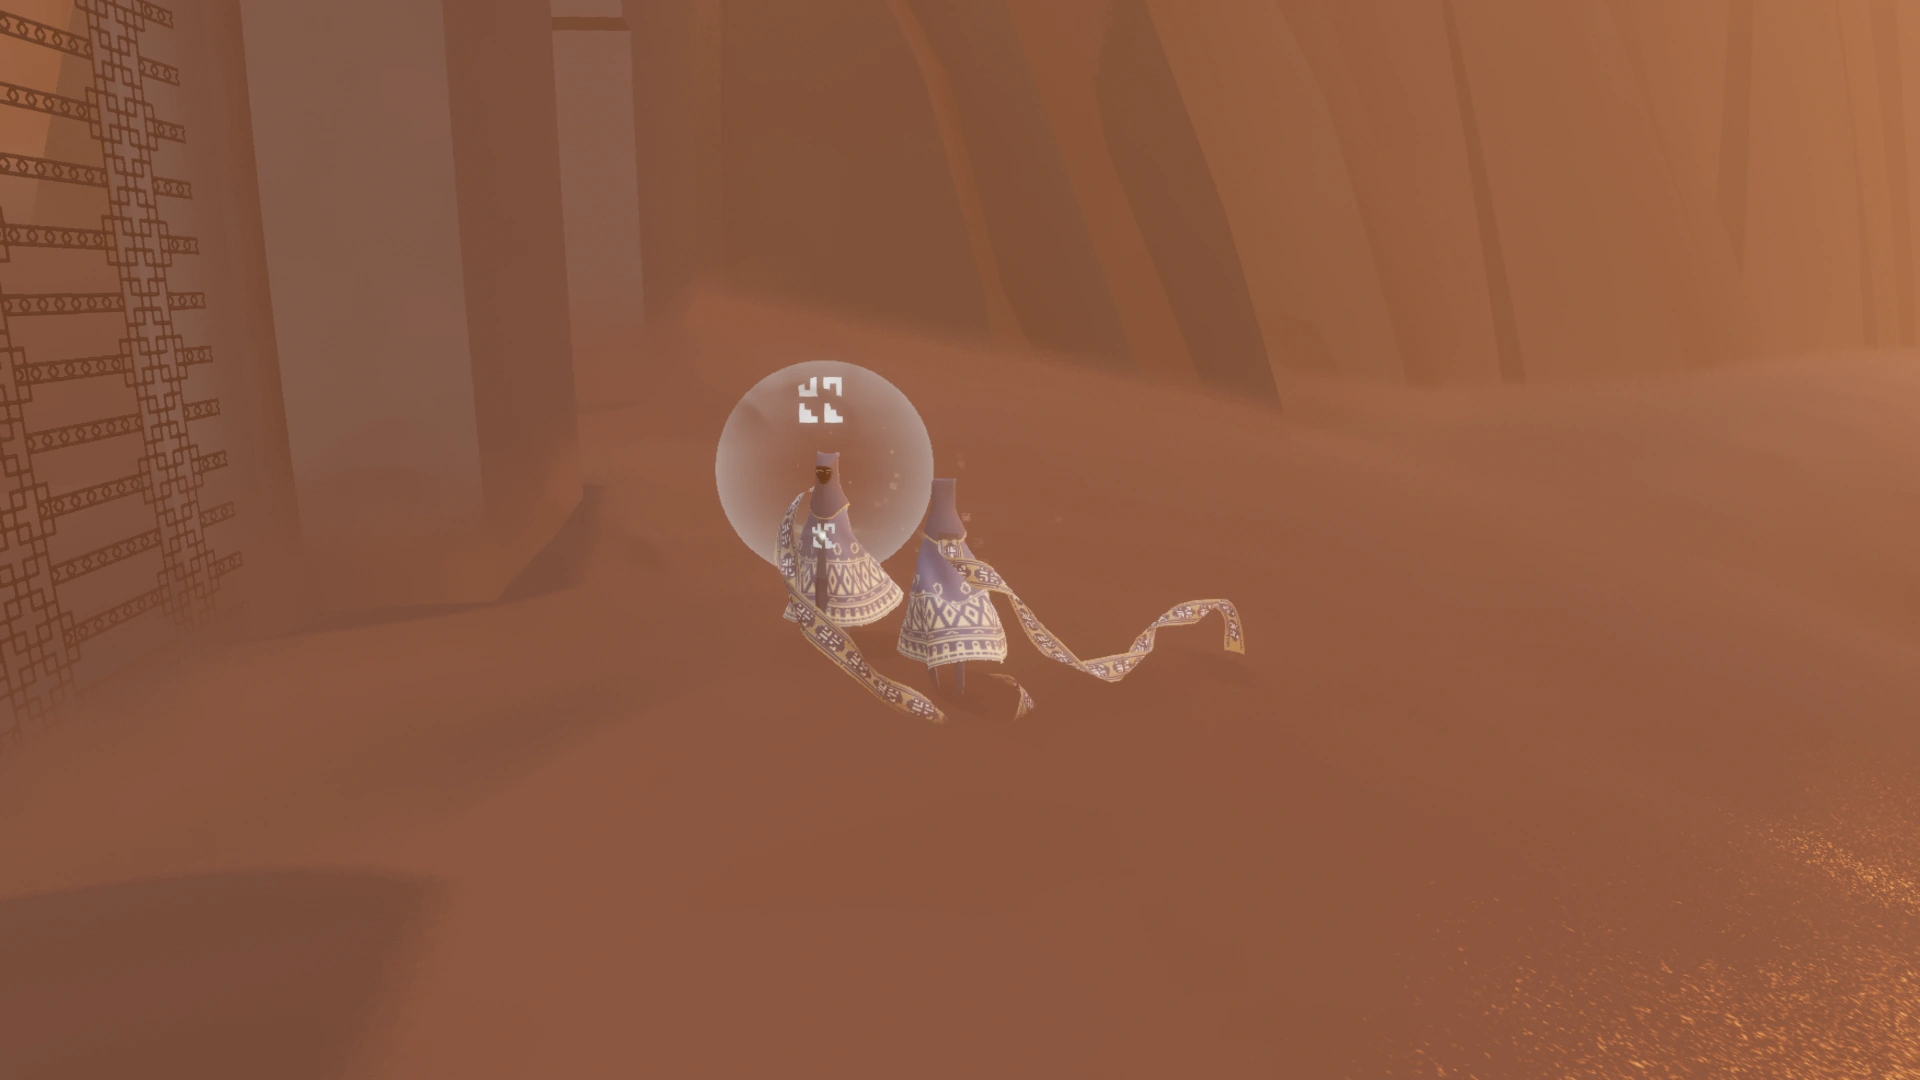
Symbol 2[]
Several options:
- Grab the Symbol when leaving the corridor. Stay up in the air and aim for the Symbol, the camera is still zoomed out, but it will adjust while you fly towards the Symbol.
- Once the Flyers got released, use your Chirp nearby the big swarm of flyers. Several times big Chirps will lift you high up, start flying towards the Symbol and do more big Chirps to make the Flyers charge and follow you.
- Best with a Companion (slightly tricky for a White Robe, if not using other techniques): Fly up the wall under the Symbol, while chirping at each other.
- Second Sunken City Symbol

If in red, keep your scarf power during the corridor (carpets might charge it a bit too).

Start flying after leaving the corridor (dont keep on the button).
Fly or fall down to get the Symbol.
Two Players managed to stay in touch at the end of corridor and not starting to fly or move, thus Beaming Down.
After activating those banners, flyers are avaiable towards the North, using them will also get you to the Symbol.

Symbol 3[]
There are at least 4 ways to get that symbol.
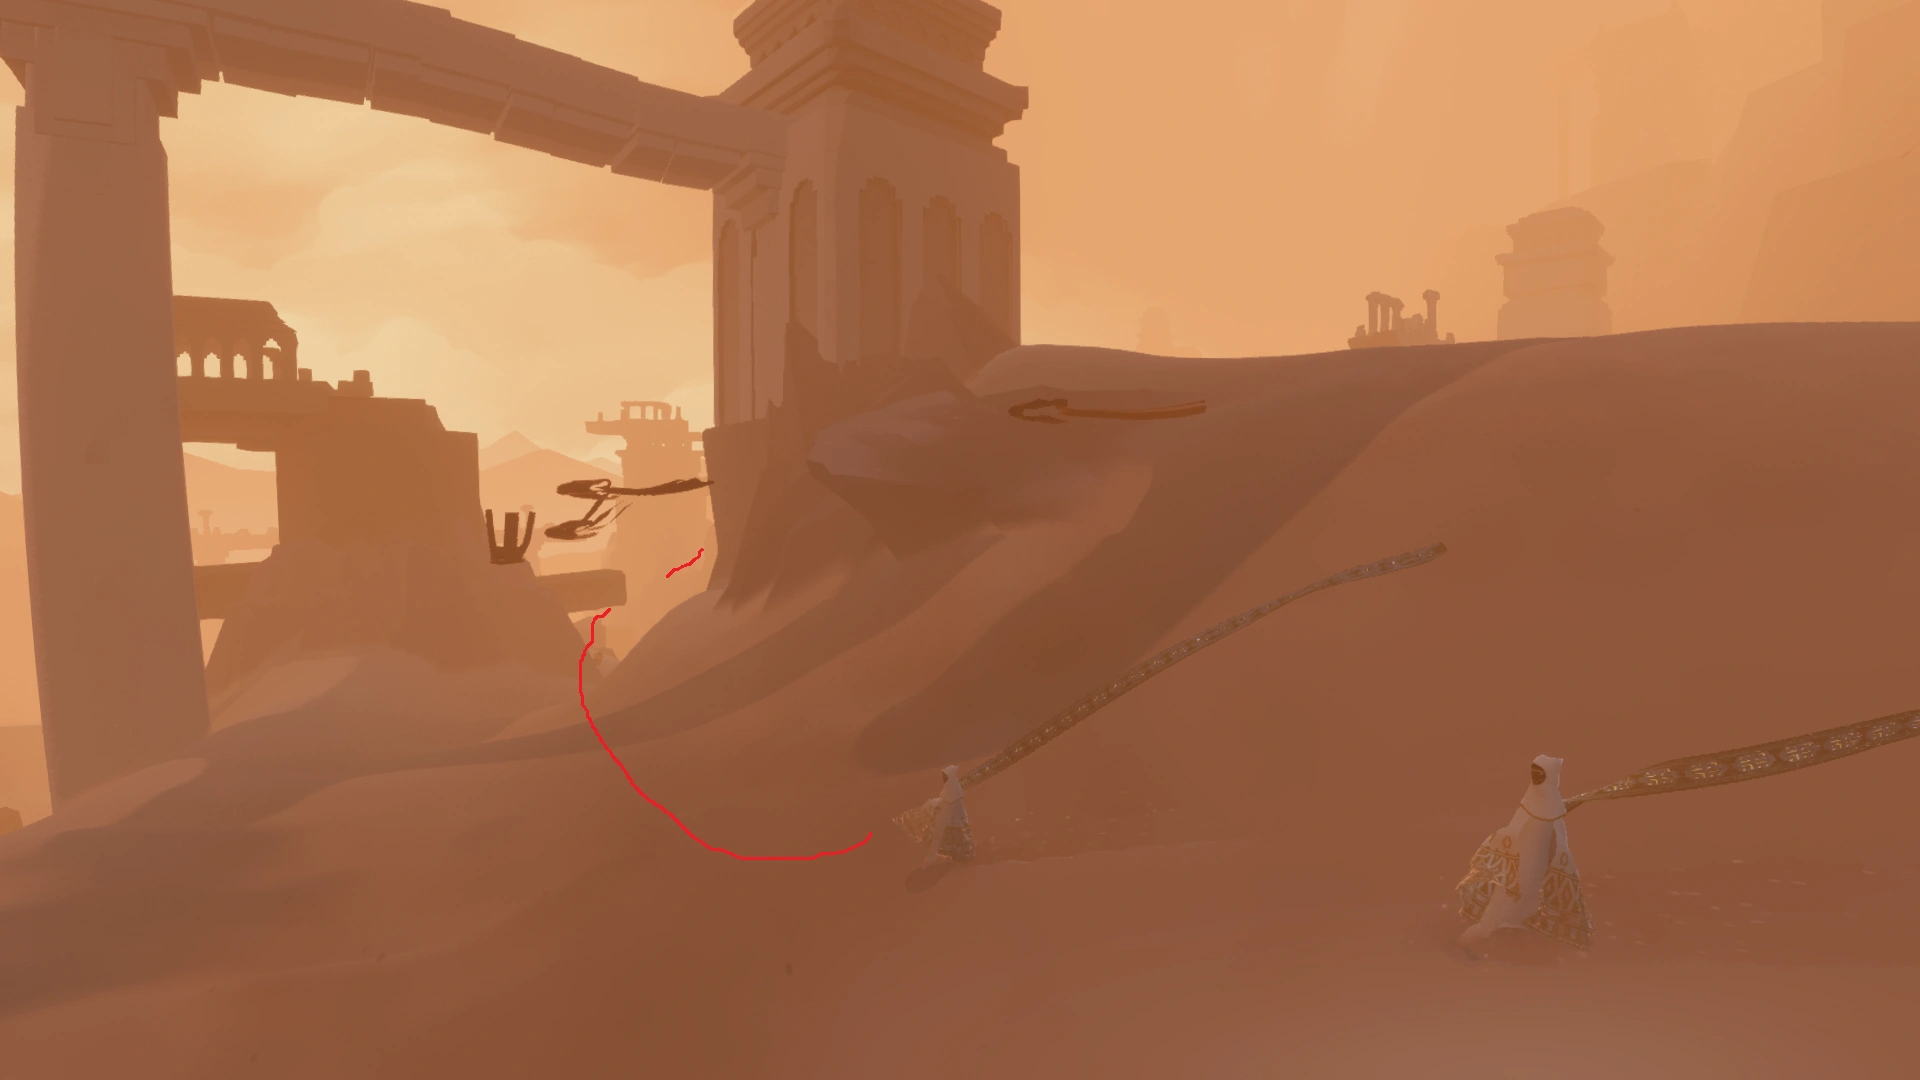
- If you stay in the middle of the map you will see a canyon, try to use the "broken bridge"-stone to slide towards the canyon, the carpets normally come and help you. But careful, they will drop you off short before reaching the canyon.
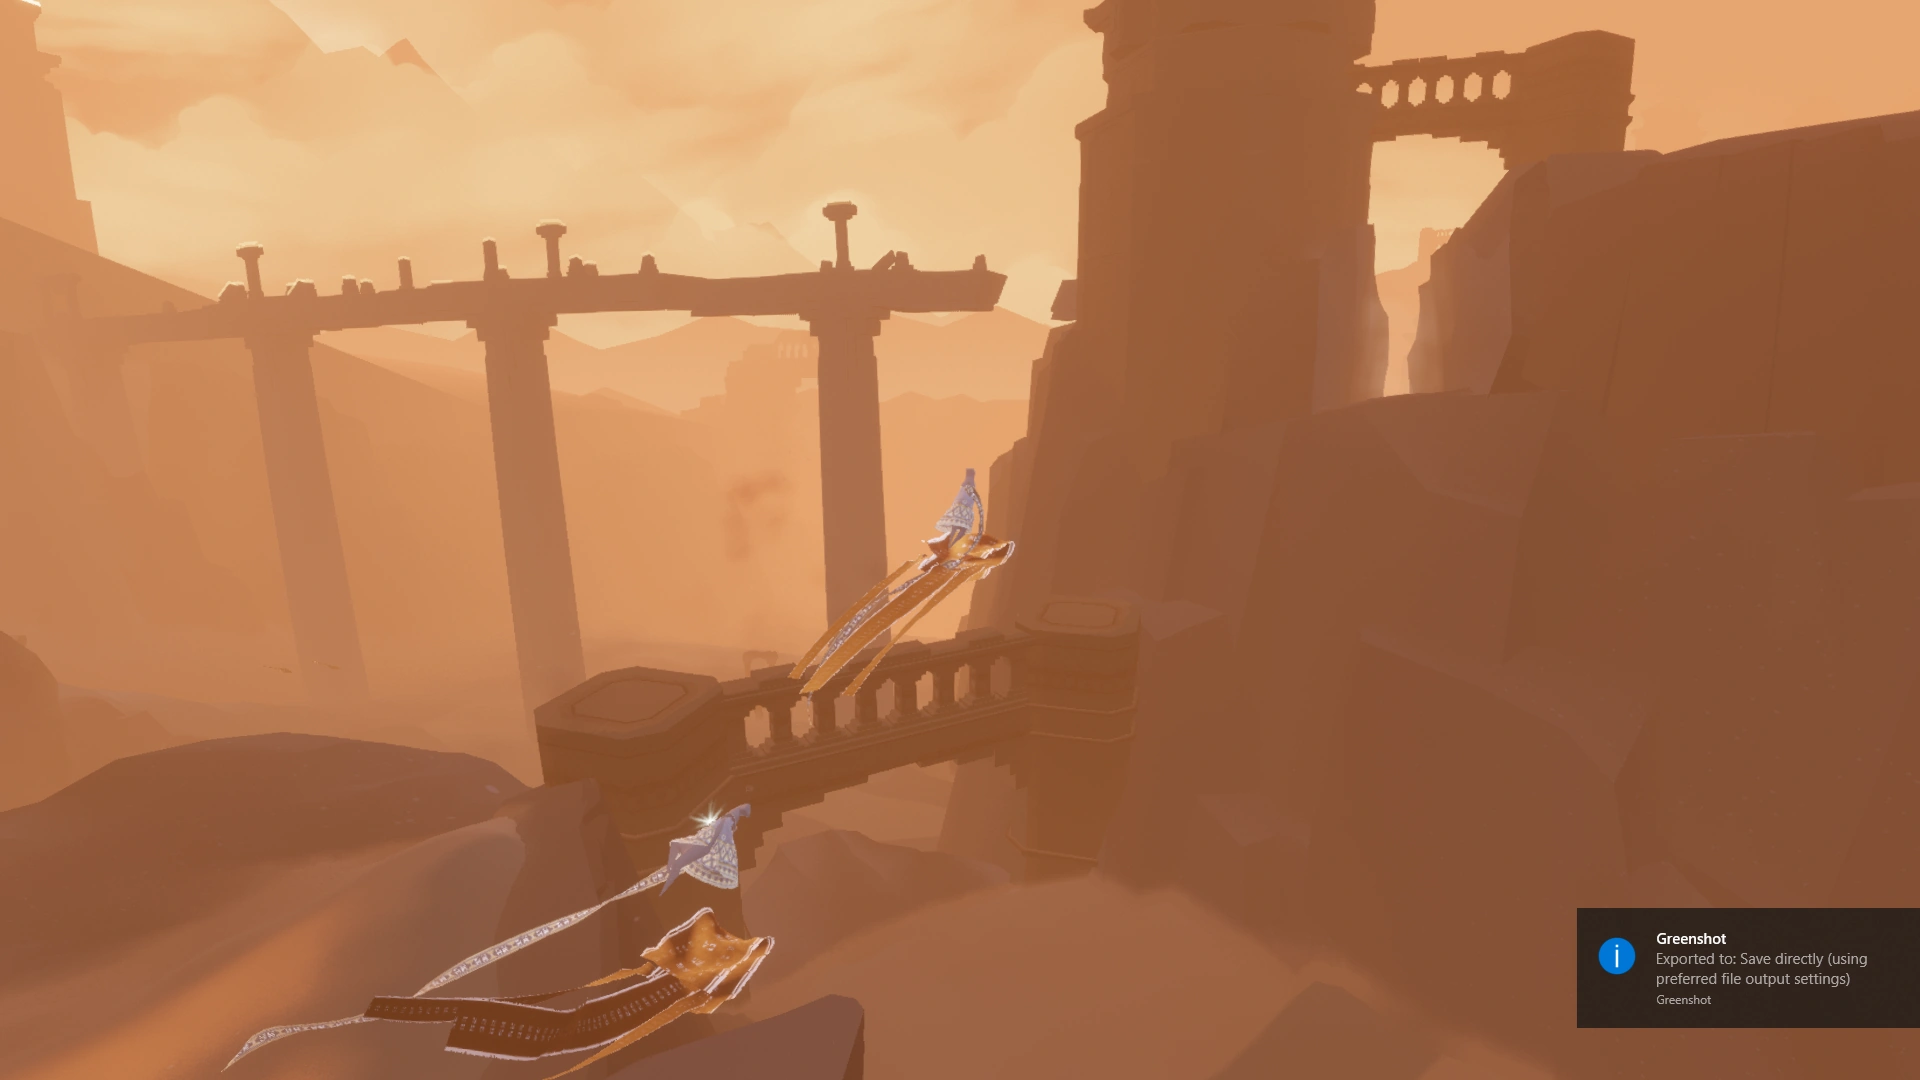
- As seen in the image there is a tower in the middle. You can fly or slide either left or right to reach the canyon where the carpets pick you up.
- Far right way is over a mountain. You dont need to fly at first, glide over the mountain, then use 2-3 flaps to cross the canyon and land on top of the split rock, lets yourself fall into the gap and slide to the symbol at the end.
- Even more to the right, bypassing the mountain (to your left side), you can also try to fly up and reach the Symbol, without using the corridor shown in the last image of the gallery. This is rather tricky and you probably need a full scarf before starting to fly up. A helping carpet appears on this side too, lifts you up to the Symbol. Its also possible to let yourself be pushed up the rock by the wind.
- Third Sunken City Symbol
After crossing the gate thing and starting to slide...
Jump down and stay in the middle.
Three of at least 4 ways to get the third Symbol. Following pictures show the left and middle way.
Slide around the pillar/tower thing, either to the left or right.
Sliding with the pillar thing to the right side.
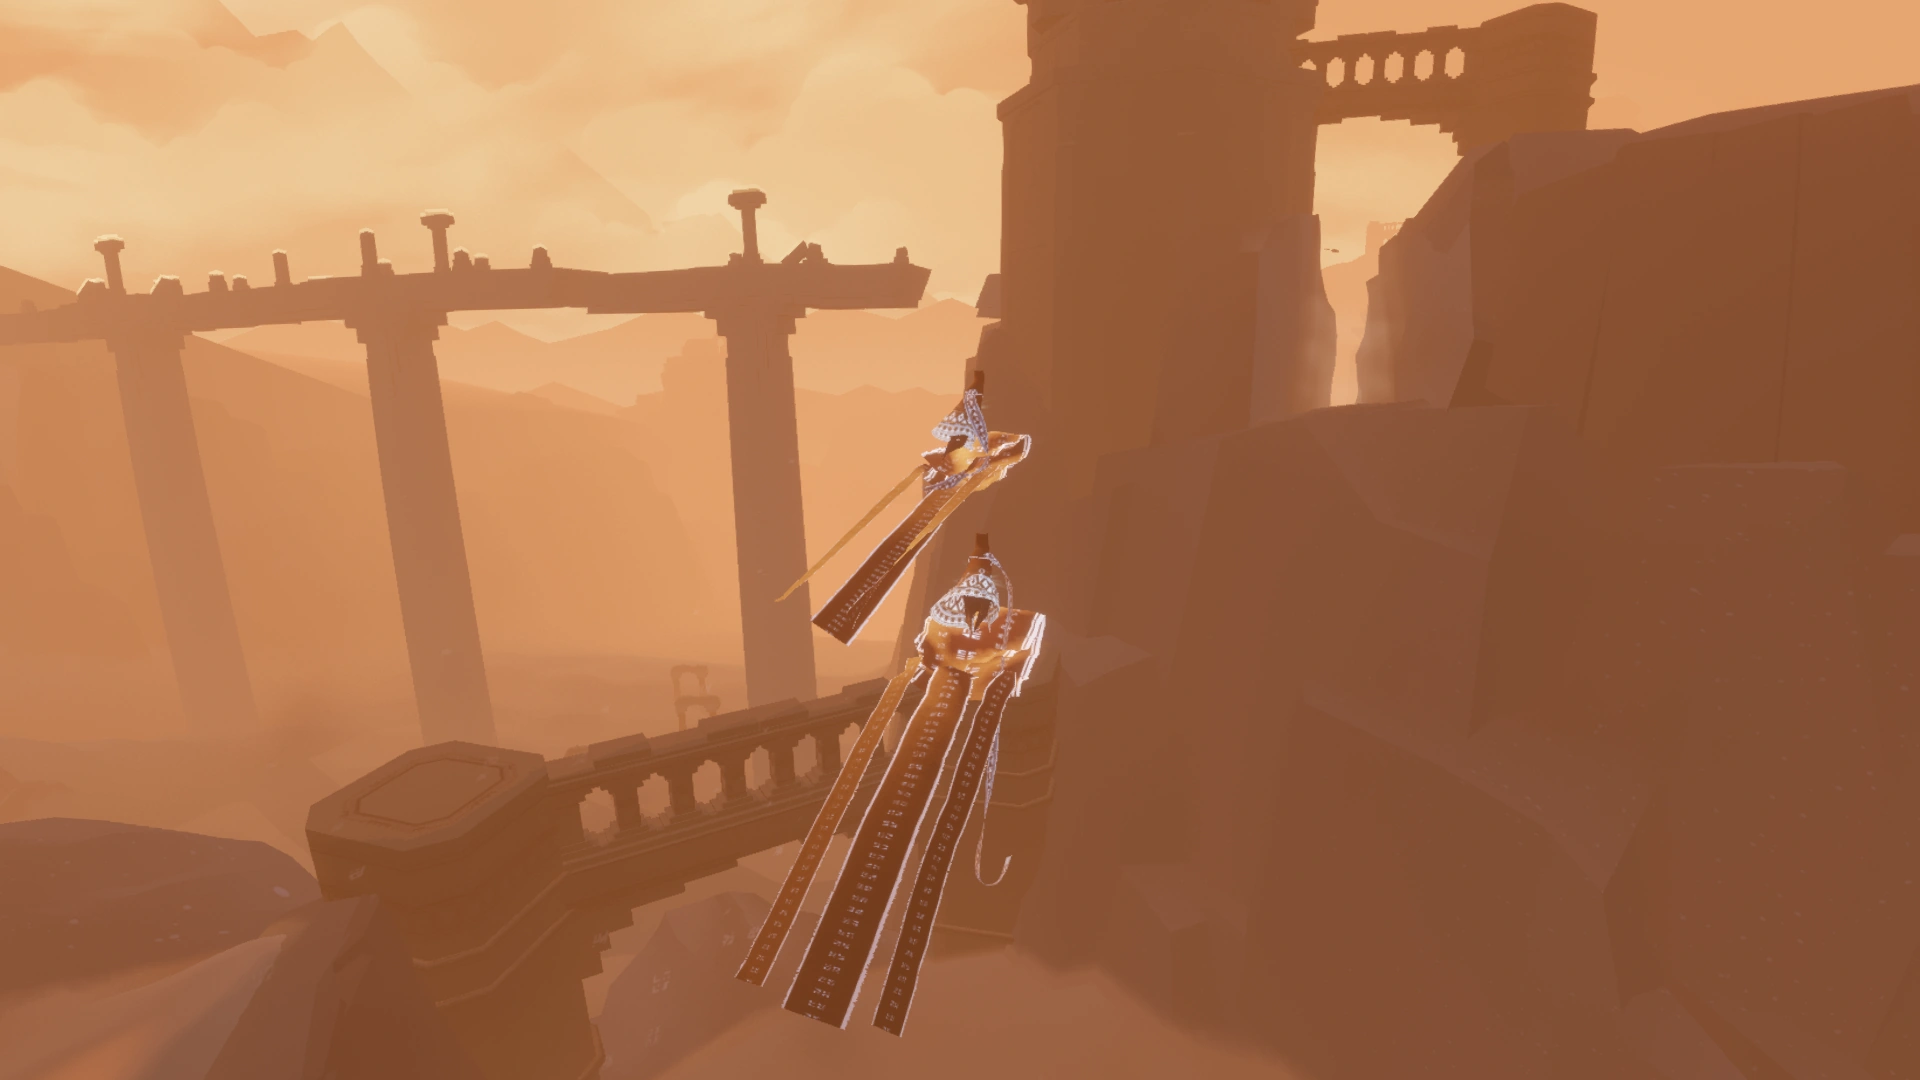
There is this little ramp, when sliding/flying...
...towards the gap on the other side, carpets will come and pick you up.
Warning: they often drop you off short before they crossed the gap. Start flying in time, like a last hop to reach the corridor.
Tadaa. Symbol at the end of the corridor.


Sights[]
The "waiting point"
Waiting Point[]
| ...a Carpet will come. Specifics are unkown, see Investigation-box below. Wait rather close to the exit of the hall.
The Carpet will fly a bit into the hall, but not further. The body language and the chirps make it look like the carpet wants to motivate you to go on. | |
| Spoilers end here. | |
|
|
|
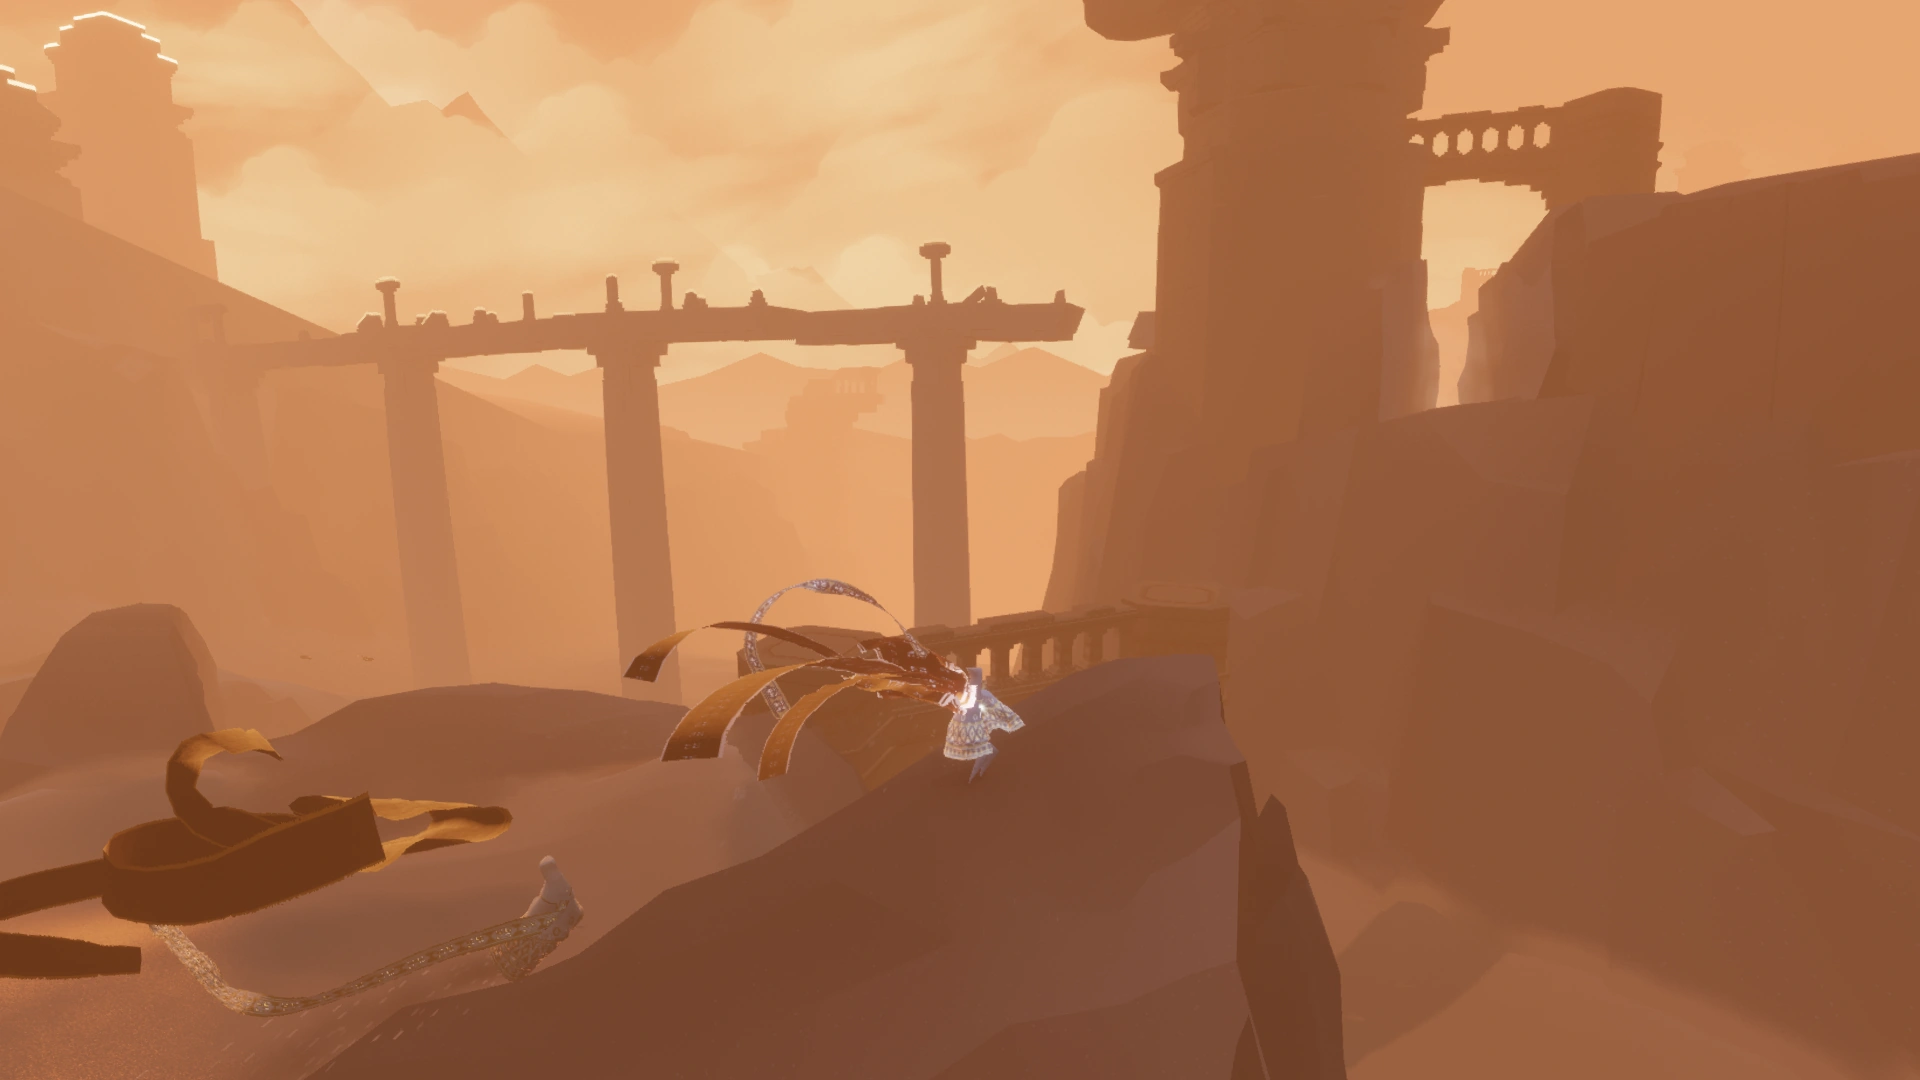
Frozen Carpets (SC)[]
A little trick at the end of the first slide. With just one button you can make the carpets stand still at one point.
Sand in the History Lesson[]
It's possible to get your robe and scarf dirty with sand at the start of the History Lesson. See Dirty robe trick article for details.
Dirty robe trick, preparation
Trivia[]
- This stage was called "Canyon" in the original journey concept.
- The Sunset Hallway is simply called "Light Tunnel" in game files.
- The player's figure on this level is set to 90% of its normal size.
- Some rocks in the slide and horizontal slide can be used to do "stunts", like at a skate park or when snowboarding. Slide over the ramp-like stones and try to accomplish a turn or even a somersault (pressing/moving certain buttons might help).
- At the last platform before you drop down to the pit: "at the right moment" before the falling animation starts, press the pause/screensaver button, this will make you sit while sliding over the edge. You will quickly fall to the ground (speedrunner's trick, but it can help to catch up with a Companion.
- At the rest area: Sometimes one or more of the 4 banners is/are missing. This might be related to the carpets that fly with you through the level and also a companion. See Sunken City (Glitches) section: Missing banners in rest area for more information.
- After picking the first Symbol, there is a bridge to the left, leading to a building in the middle of the slide. Two Carpets are waiting at the bridge and normally start flying forward when going towards the building. Somehow it's possible to meet them or make them not leave the place.[1]
Quotes[]
| “ | It's beautiful | „ |
| ~ Everyone who played the game |
| “ | When sliding alone in SC, i like to press the screensaver-button and sit down. Sometimes i will very slowly still slide down in my meditating position and its very relaxing to watch "me". | „ |
| ~ Ravingmadness |
See also[]
2 Broken Bridge (BB)
3 Pink Desert (PD)
4 Sunken City (SC)
5 Underground (UG)
6 Tower
7 Snow
8 Paradise
9 Credits
Category:Levels
2 Broken Bridge (BB)
3 Pink Desert (PD)
4 Sunken City (SC)
5 Underground (UG)
6 Tower
7 Snow
8 Paradise
9 Credits
Category:Levels
Recommended How to play guide for Journey • Chirp/Scarf • Tandem Flying • Dusting / to dust/Common Behaviors • Companions Met Along the Way (CMATW)
Frequently Asked Questions • PC Version FAQ •
2 Broken Bridge (BB)
3 Pink Desert (PD)
4 Sunken City (SC)
5 Underground (UG)
6 Tower
7 Snow
8 Paradise
9 Credits
Category:Levels
2 Broken Bridge (BB)
3 Pink Desert (PD)
4 Sunken City (SC)
5 Underground (UG)
6 Tower
7 Snow
8 Paradise
9 Credits
Category:Levels
Recommended How to play guide for Journey • Chirp/Scarf • Tandem Flying • Dusting / to dust/Common Behaviors • Companions Met Along the Way (CMATW)
Frequently Asked Questions • PC Version FAQ •
References[]
- ↑ Ravingmadness: i saw West8008 on Twitch sitting on that bridge, with those carpets.