 |
This article falls under the category Expert Mode.
To avoid frustration or confusion, we recommend getting familiar with the Expert Mode first. Further more, in-depth knowledge of Gameplay Basics is assumed at Expert Mode articles.
| ||||||
Charge Boost is an advanced movement technique which involves gaining energy by running into a wall or another vertical surface for some time and then boost very high.
How to Charge Boost[]
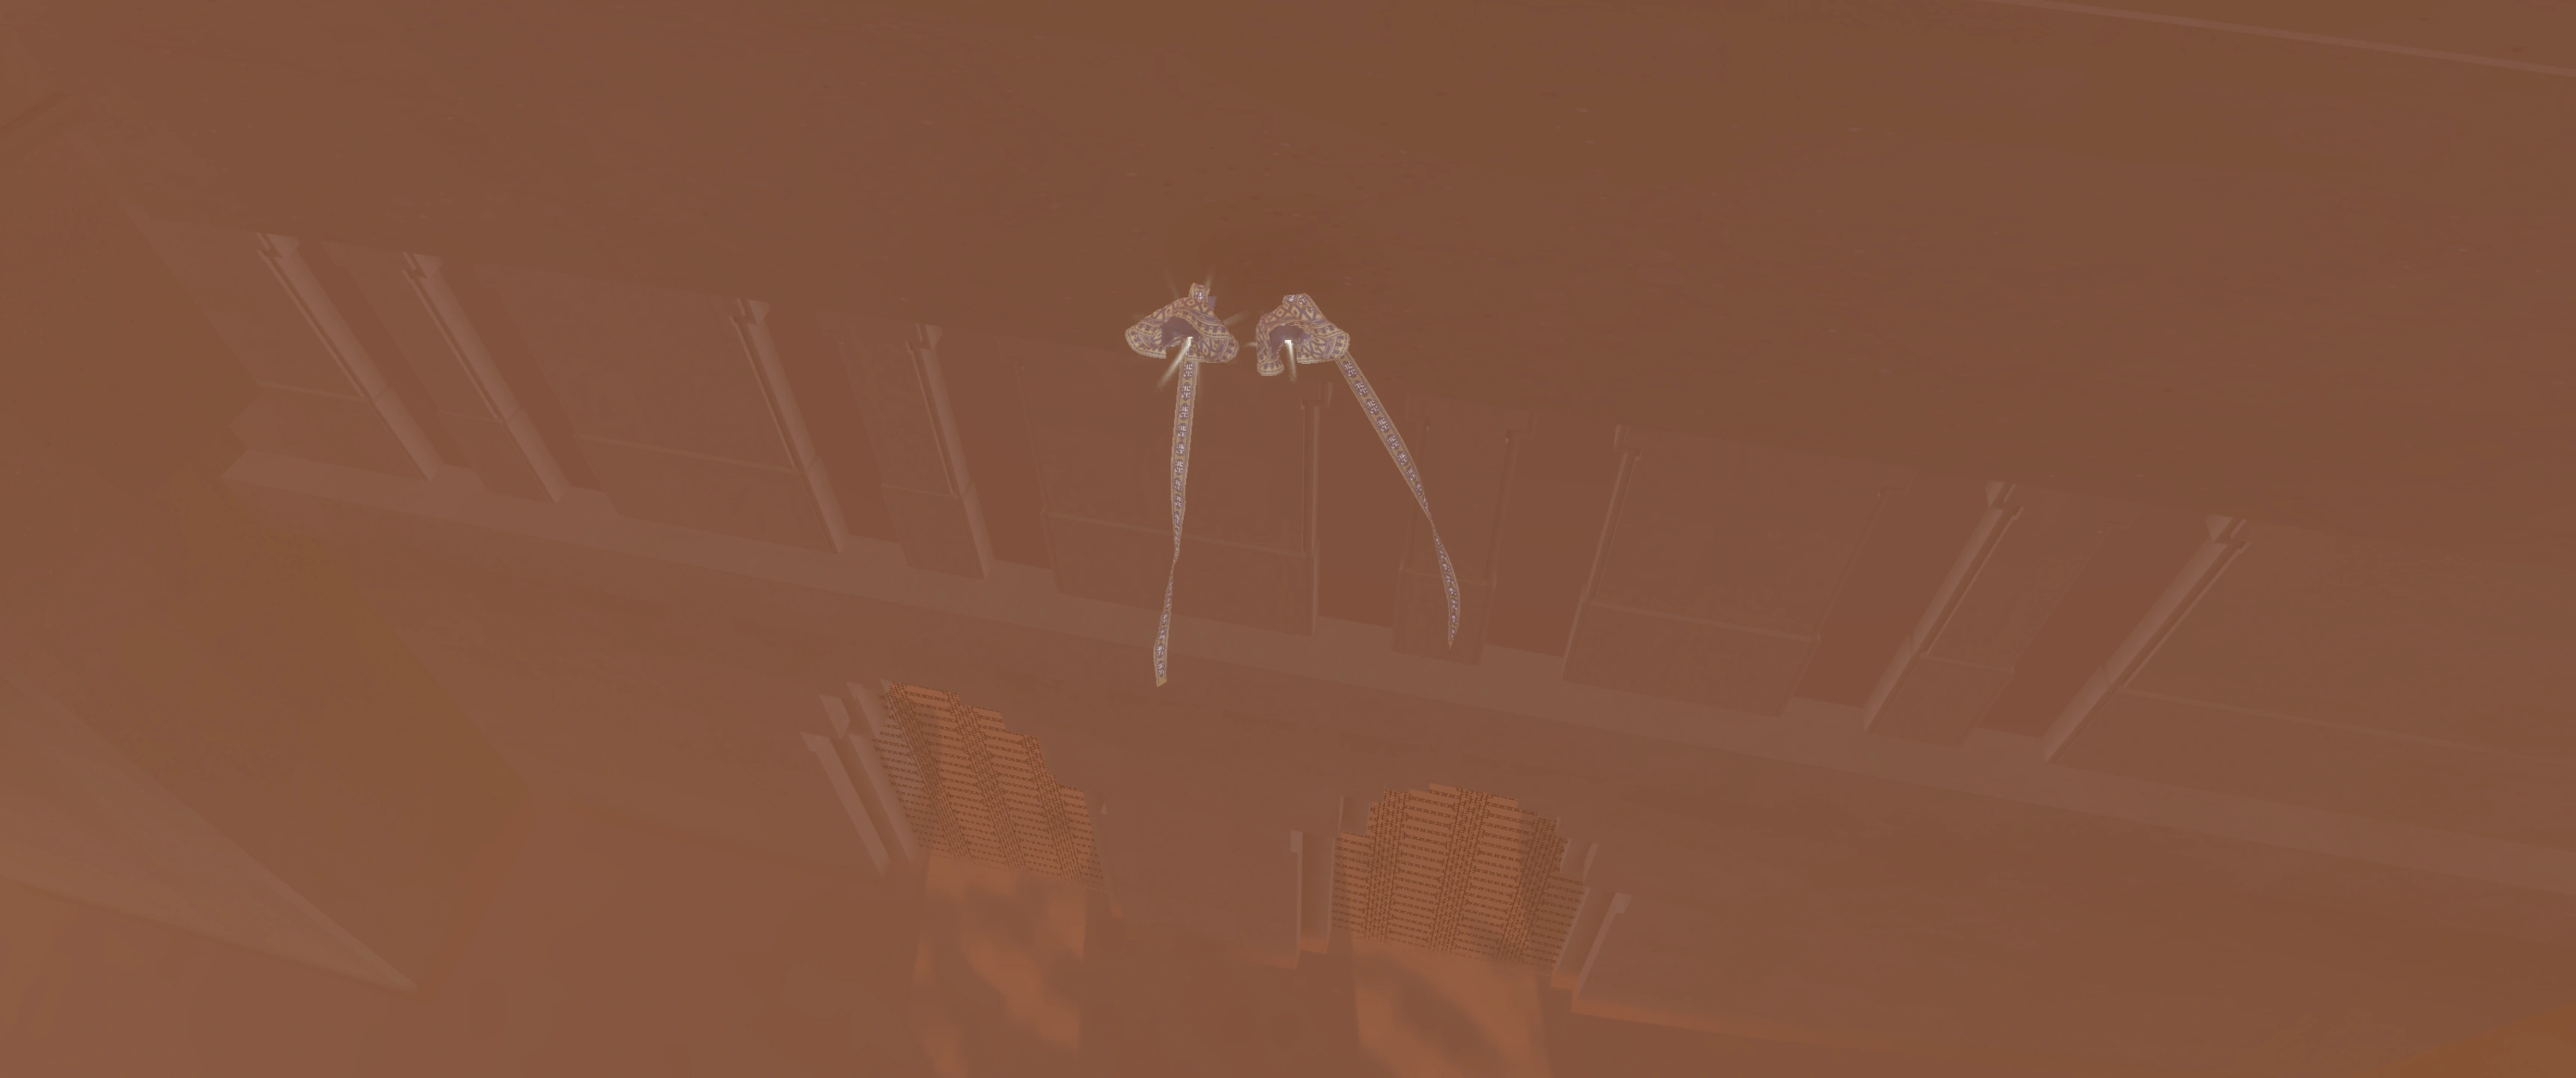
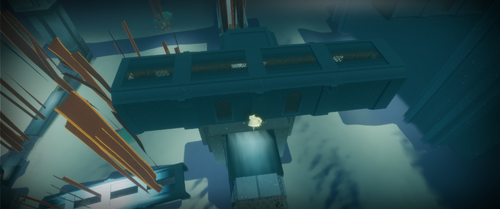
How it looks like. Famous CB-Point in BB
Another way of taking off after charging
Difficulty: ![]() Especially if you already learned the most basic boost: Dive Boost (DB). The CB is fairly simple, but difficulty varies by Charge Boost point.
Especially if you already learned the most basic boost: Dive Boost (DB). The CB is fairly simple, but difficulty varies by Charge Boost point.
As the name suggests, CB consists of two actions:
- "charging" for some time against a wall (sometimes a wind wall).
- "boosting" up in the air (boost means flying fast like a rocket, without pressing the jump button)
Not every wall is a Charge Boost point.
You can find them by just testing out if you can get attached to the wall, or lookup the (work in progress) list below. There are many CB-points and the Wiki might not be able to cover them all. Companions often like to show and share those points though.
![]() This technique works well with a controller, keyboard only, and keyboard + mouse. With a mouse it can be trickier to keep a great camera angle to charge well in the CB point though (you better very slowly move the mouse continuously to point the camera down, and not risk running out of desk space).
This technique works well with a controller, keyboard only, and keyboard + mouse. With a mouse it can be trickier to keep a great camera angle to charge well in the CB point though (you better very slowly move the mouse continuously to point the camera down, and not risk running out of desk space).
Tutorial Videos[]
This video shows the three basic boosting methods at the start of it, including the charge boost (at 2:15):
More video examples are shown below, classified per level: see charge boost points.
Suggested Training[]
You need to find a spot that allows you to fly into the wall while staying on the ground. It might take several attempts until you get a feeling for getting stuck in the wall, as well as for boosting nicely after.
Just keep on trying, watch videos, streams and/or read these instructions, but best is a Companion in-game that can analyse any mistakes make (see Guide to meet a certain person).
Recommended for first attempts is this CB point, as it is a very useful one to get OOB in Broken Bridge level over the northern wind walls, and it is rather easy to use since you can hold your position well in the corner:
Broken Bridge, right side where the Symbol is (over the mural hidden within a cave)
There are slightly different methods to get the head stuck in the wall. The main one is this:
- Jump once or twice in the air, away from the platform, while pushing the camera to the ground.
- Then let yourself "drop down" in the corner by moving forward. Continue pushing the camera down to make sure you start a dive.
- Press and hold the jump button down the moment you hit the floor to keep on diving against the wall. It doesn't matter much whether you hit the wall first, the floor, or the corner directly, as long as you time well the moment you jump.
- Sometimes you can jump slightly before hitting the ground and it will still work.
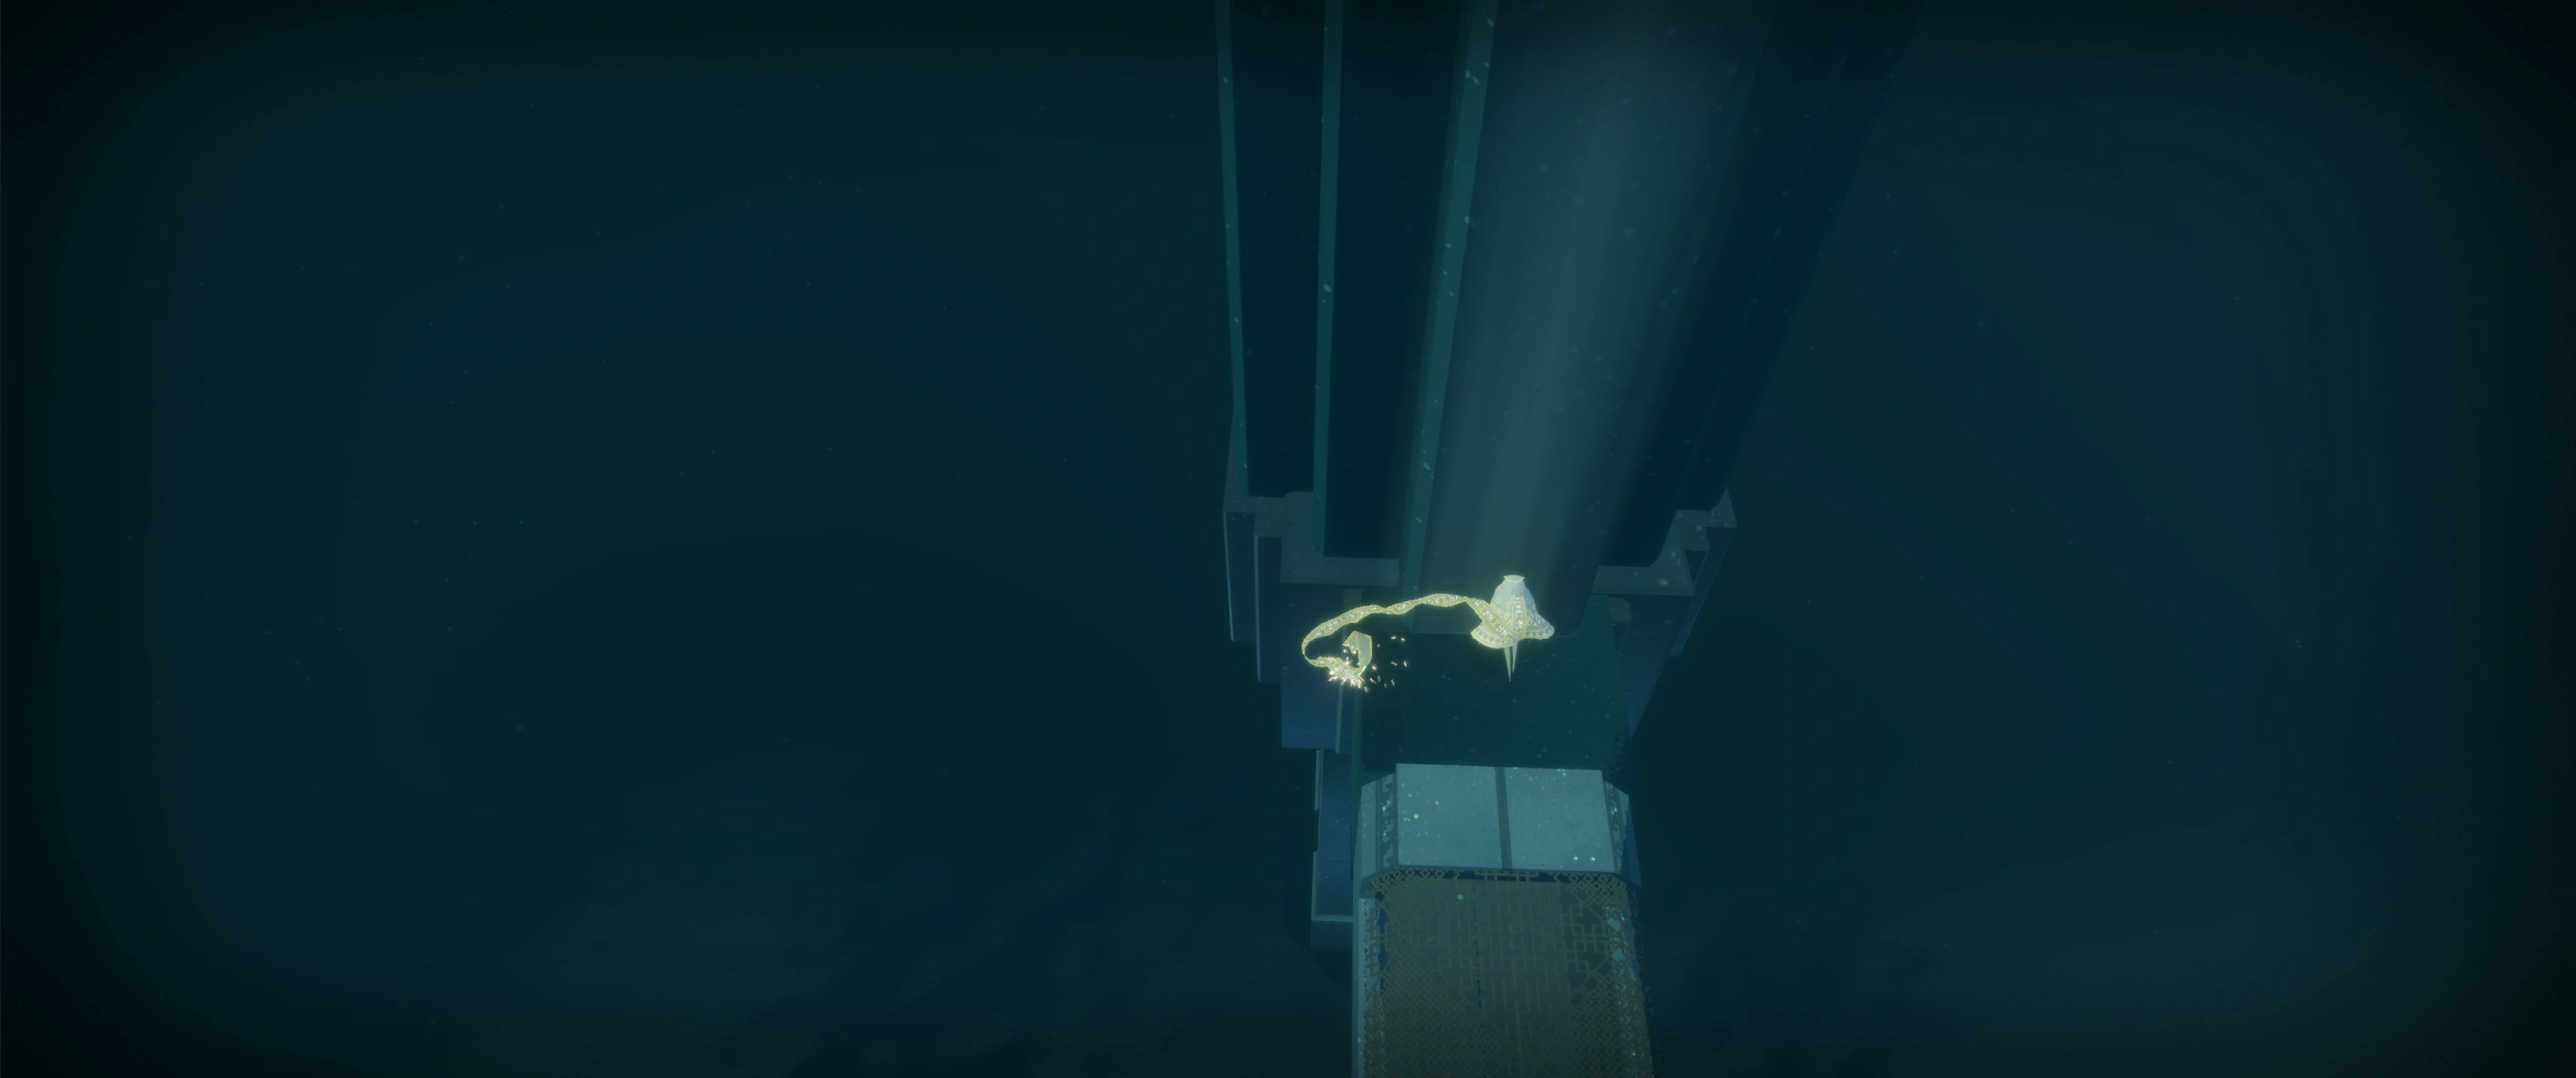
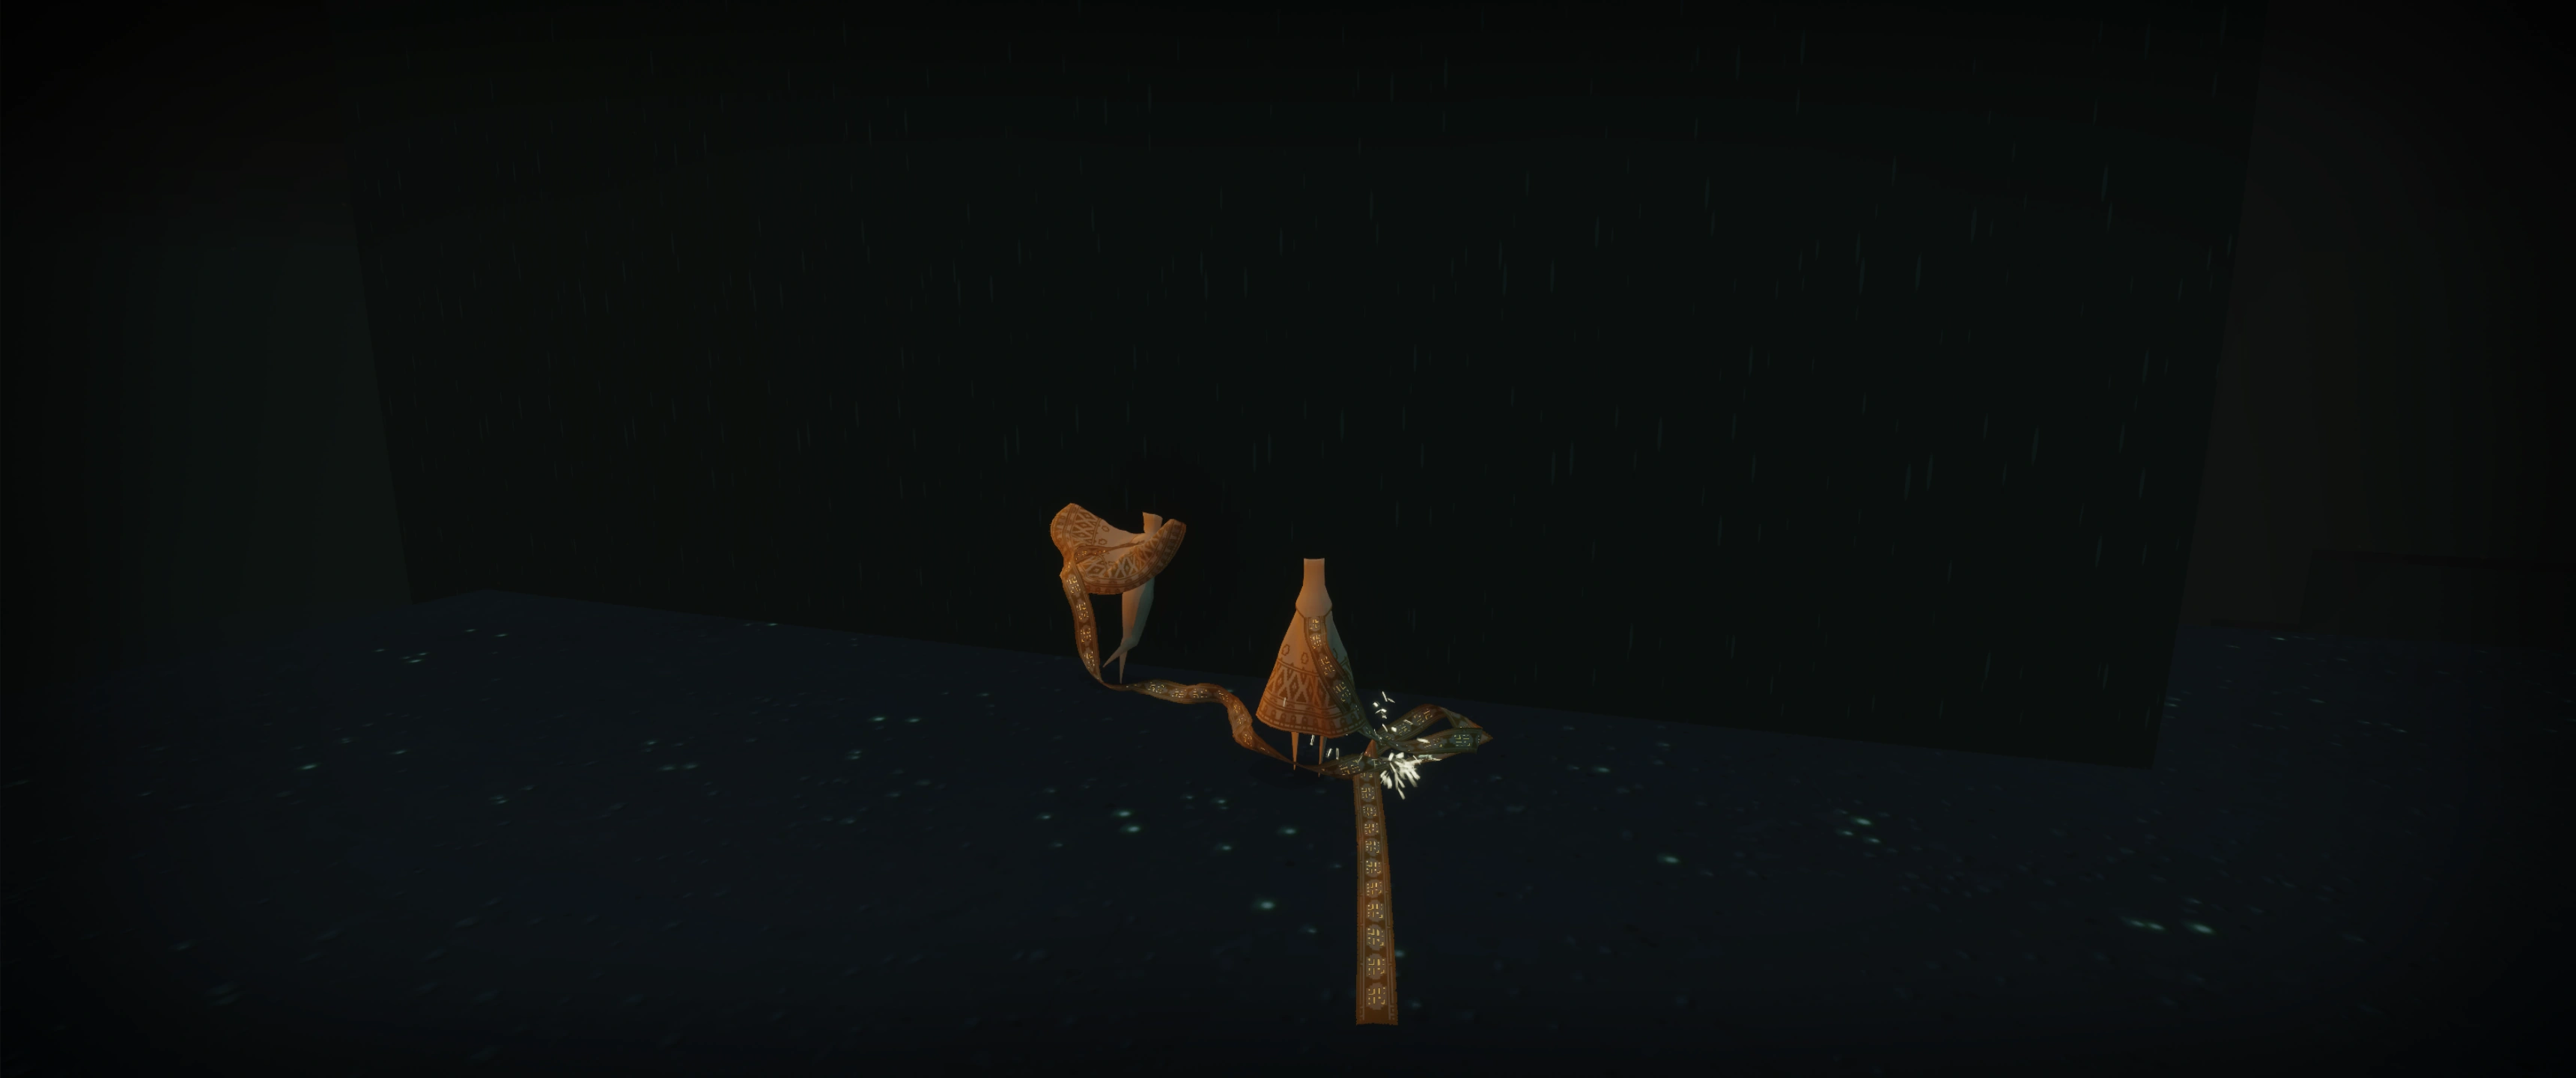
- If you're successful the character will flap their robe about every second, while staying in position (not jumping up). The flapping animation can help counting how long you charge.
- You should see the scarf recharge, with its extremity sparkling. (if not, you can start over again as you're probably not charging boost energy)
- Continue charging for at least a few seconds (no need to go over 20 seconds/robe flaps). Keep on moving forward while doing so, still pushing the camera down (otherwise it can flatten and weaken the max charge possible to get).
- The whole wall here works as a CB point ; so you don't have to remain exactly in the corner.
- Remember that there are easier and harder CB-points, some are hard to get stuck in, others will make you slip off the wall and lose grip (especially inclined walls).
How to boost[]
The transition between flying against the wall and moving away from it to boost needs to be quick and smooth:
- Move toward the camera and release the jump/fly button at the same time (or barely after), while keeping your camera position to the ground. If you don't lift immediately (due to releasing the jump button a little early), just tap jump once more to start the boost. It's all experience...
Once you are in the air, make sure to stabilise your boosting path: it's common to see new fancy flyers spin on themselves really quick due to the camera turning around fast by itself. To control it better, if you feel like it's starting to turn sideways, compensate by pushing the camera stick from a controller slightly sideways too ! (while still pushing the camera down: if you don't, it will definitely spin out of control...) The wayfarer should face the camera as much as possible.
Try to keep the left stick from a controller fully toward you when boosting, or you will probably gain less height due to boosting less vertically like this.
Do not press the fly button when boosting (you can test it and see how it slows you down a lot). Keeping a full scarf can be useful once up there to get even higher with a dive bost for example.
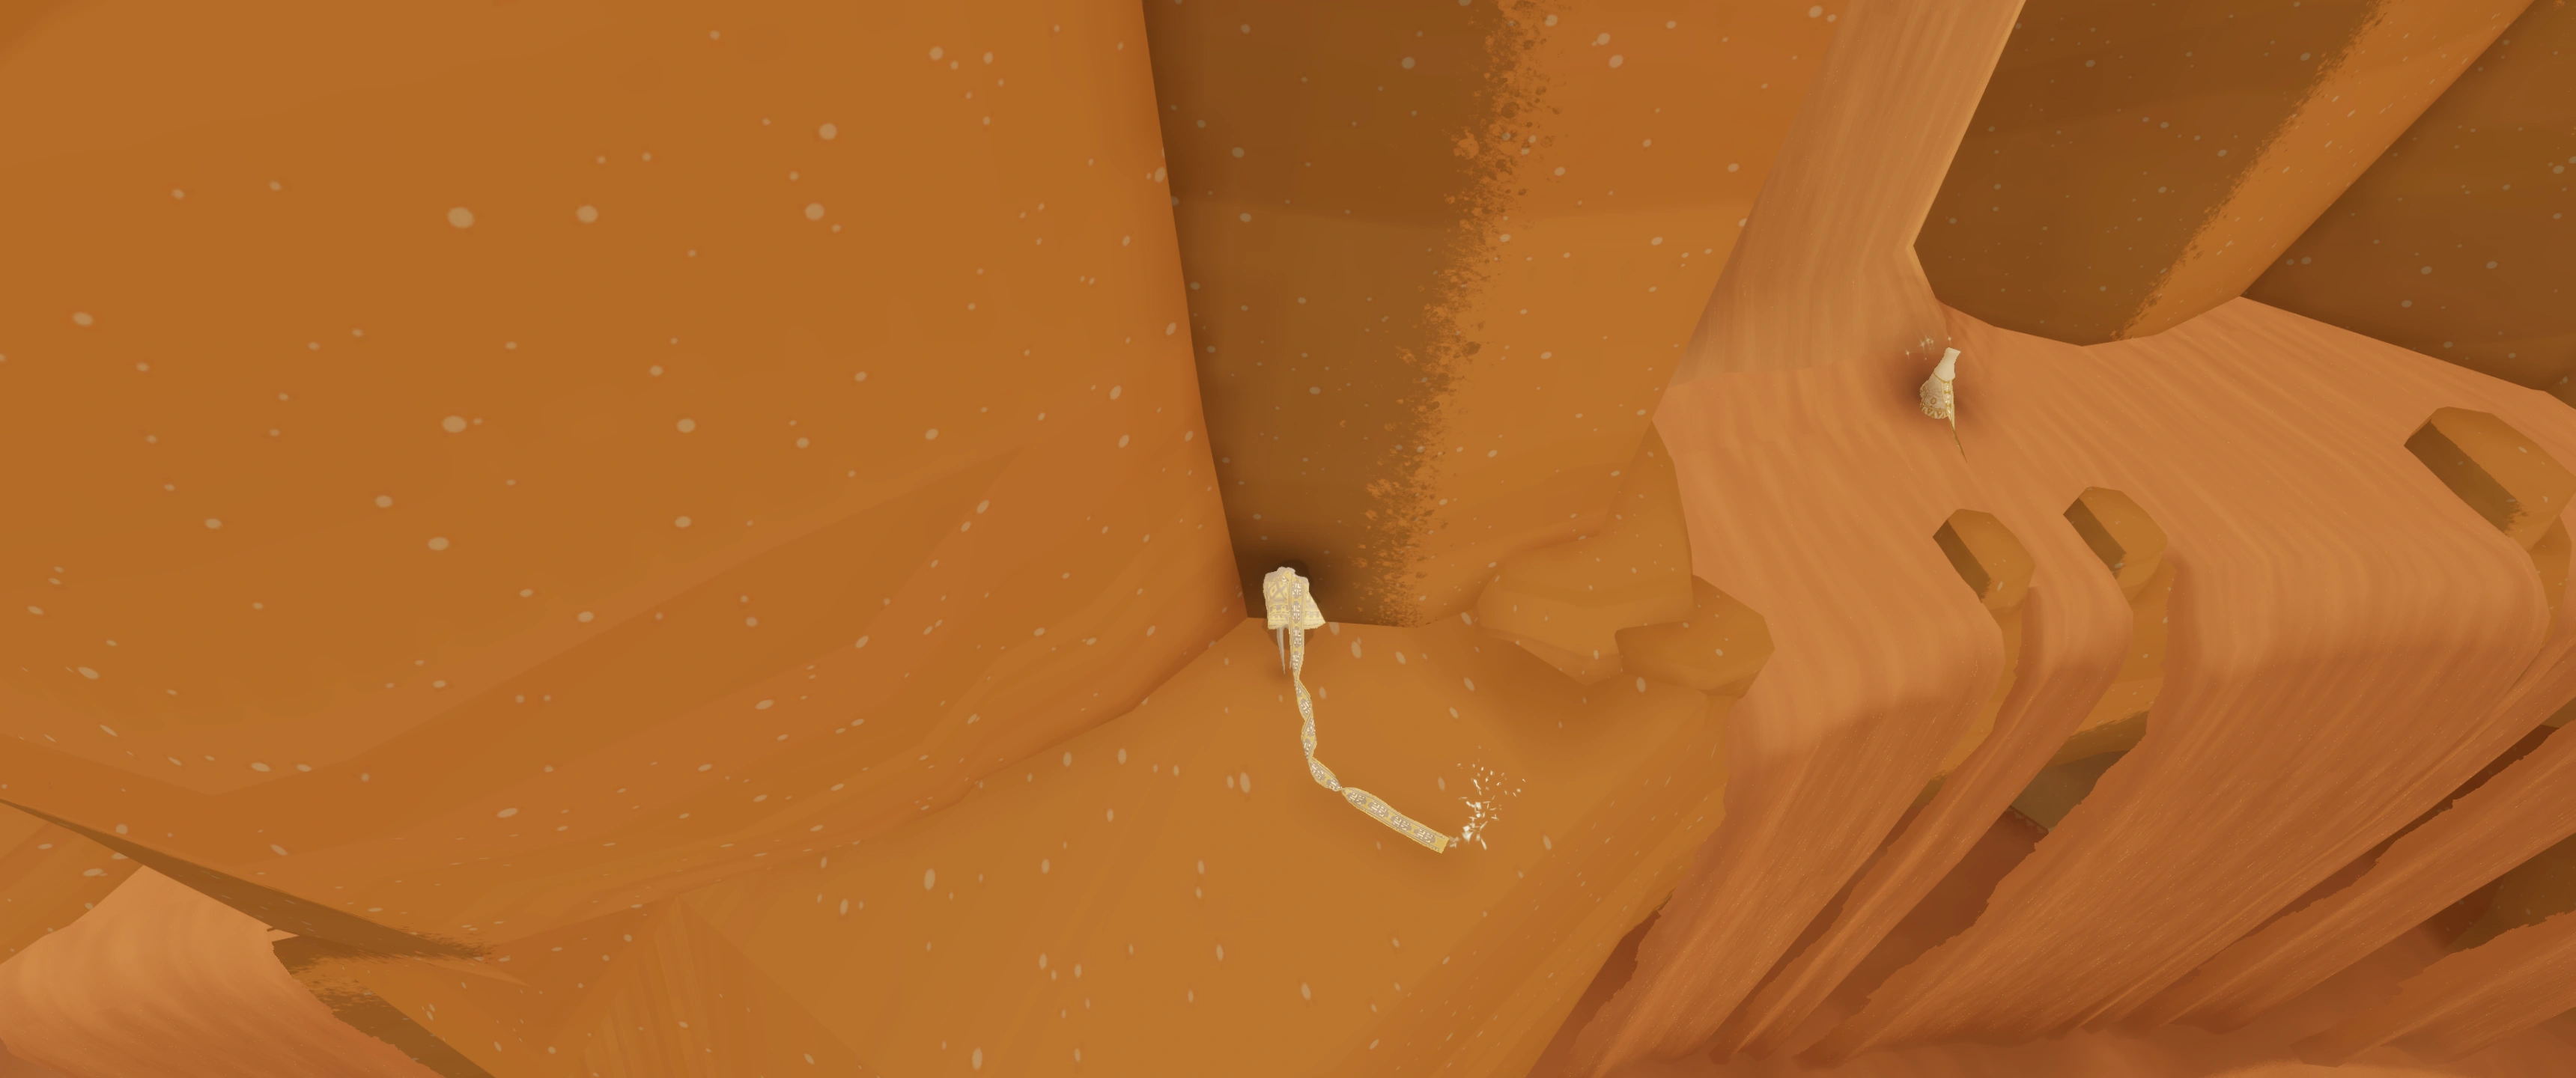
Try to avoid hitting walls or other objects : just like if you jump during the boost, it can slow you down a lot and you won't get as high. It is possible to "grind up" at a suitable vertical wall though, while boosting. Just point the camera up for this, and your character will fly up against the wall. See the short video on top of this article in Underground level. You might want release the jump button a bit later than usual with this technique since you won't take off the ground as fast.
Why Does it Work?[]
When you charge energy for the boost the game thinks you're diving, just like for a dive boost, although you're on the ground.
Holding the jump button down is what makes you keep a diving posture on the ground itself.
When playing as a White Cloak, the scarf recharges continuously a little faster than it empties, due to touching the ground ! This means that if you can keep yourself steady against the wall, then you can "dive" indefinitely and you can also boost very high after.
The maximum charge you can get out of a CB point directly depends on the camera angle in it, and the more vertical it will be, the longer you can fly when boosting (some points are weaker than others for this reason). However know that it should be useless to stay in any CB spot for longer than 19 seconds, after which you should have reached the maximum boosting power a great camera angle can give.
Common Mistakes[]
Problem: I charge for a long time but don't get the expected height!
- If your traveller jumps up when charging, it means your charge has been lost. If you see this happen, you will need to start over.
- Once you get the position right, it is best to try to stay there until you've got the charge you need. Also, remember some CB points can only give a weaker boost, due to not being able to push the camera down a lot.
- Be sure to have at least 1 scarf segment left before entering the charge boost point ! Or you will never manage to stick to the ground ; the same way it can mess the contact with the floor when Dropshooting.
- If the character is about to slip on either side of the wall, compensate with the camera by pushing it to the opposite side. Avoid compensating a sideways camera by aiming the left stick from a controller sideways too ! This can greatly reduce the max charge possible to gain.
- If you don't jump away from the wall before diving against it you will most likely not be able to dive properly and won't manage to start charging.
Further Tips[]
- Try to go more "directly" into the wall (90°, perpendicular, face right in), and not sideways (unless the ground is very steep, or special cases: see first CB spot of UG, or this Paradise CB spot to climb up the mountain)
- Make sure the camera is high above you (inclined towards the ground) before any serious attempt at chargeboosting. Maybe start by diving from a higher place, or boost a little so you can adjust your camera before landing.
- Controllers with sixaxis: Because every movement and change of view disturbs the boost, we recommend to really stabilise your arms and keep your ankles straight. You might want to raise your controller instinctively to help flying up, but this will have the opposite effect. For easier boosting you might consider getting a non-sixaxis controller.
- Learning camera movements and improving boost control: You can adjust the camera after the moment you start lifting with slight movements on a controller. Do several boosts and experiment with the camera and the movements of your character so you get a feeling what works and what doesn't. Only move the camera a little to the left or to the right when aiming for somewhere or to avoid hitting a wall, while still pushing it down. Check that you always see your own face while trying to boost up.
- The moment you lift off, if you keep on pressing the camera to the ground you will see it flatten for about one or two seconds, before aiming fully to the ground again. This is caused by the ground's proximity (which somehow doesn't affect the camera angle when charging in the CB point). There is a way to maintain a perfectly vertical camera angle all along, which is to let go of the camera stick when taking off, and push it down again only after about 2 seconds of boost ! This can give you a little more height. But be careful: leaving the right stick in a neutral position makes the camera spin really fast, so you can press it lightly left or right at that moment to adjust (without pushing it down).
- Note after a boost it's not possible to jump any higher without first resetting the jumping ability, by landing on a surface or touching a cloth creature ! (carpet, banner, jellyfish, or just chirping at flyers for example) If you don't reset it, you will jump at the same height until you empty your scarf (some players call it the flight ceiling, which is also encountered after jumping for a while starting from the ground, without boosting in the first place). If you can't reset it easily and are close to the platform you aimed for, it's better to perform a dive boost or any other sort of aerial FF technique to reach it !
- You can also get your head stuck in the wall by dropshooting toward the CB point, and sometimes it is more convenient ! (it can complete the charge you started getting from a DS, but with a better camera angle)
Charge Boost Points[]
Chapter Select[]
Stage 1 boost point[]
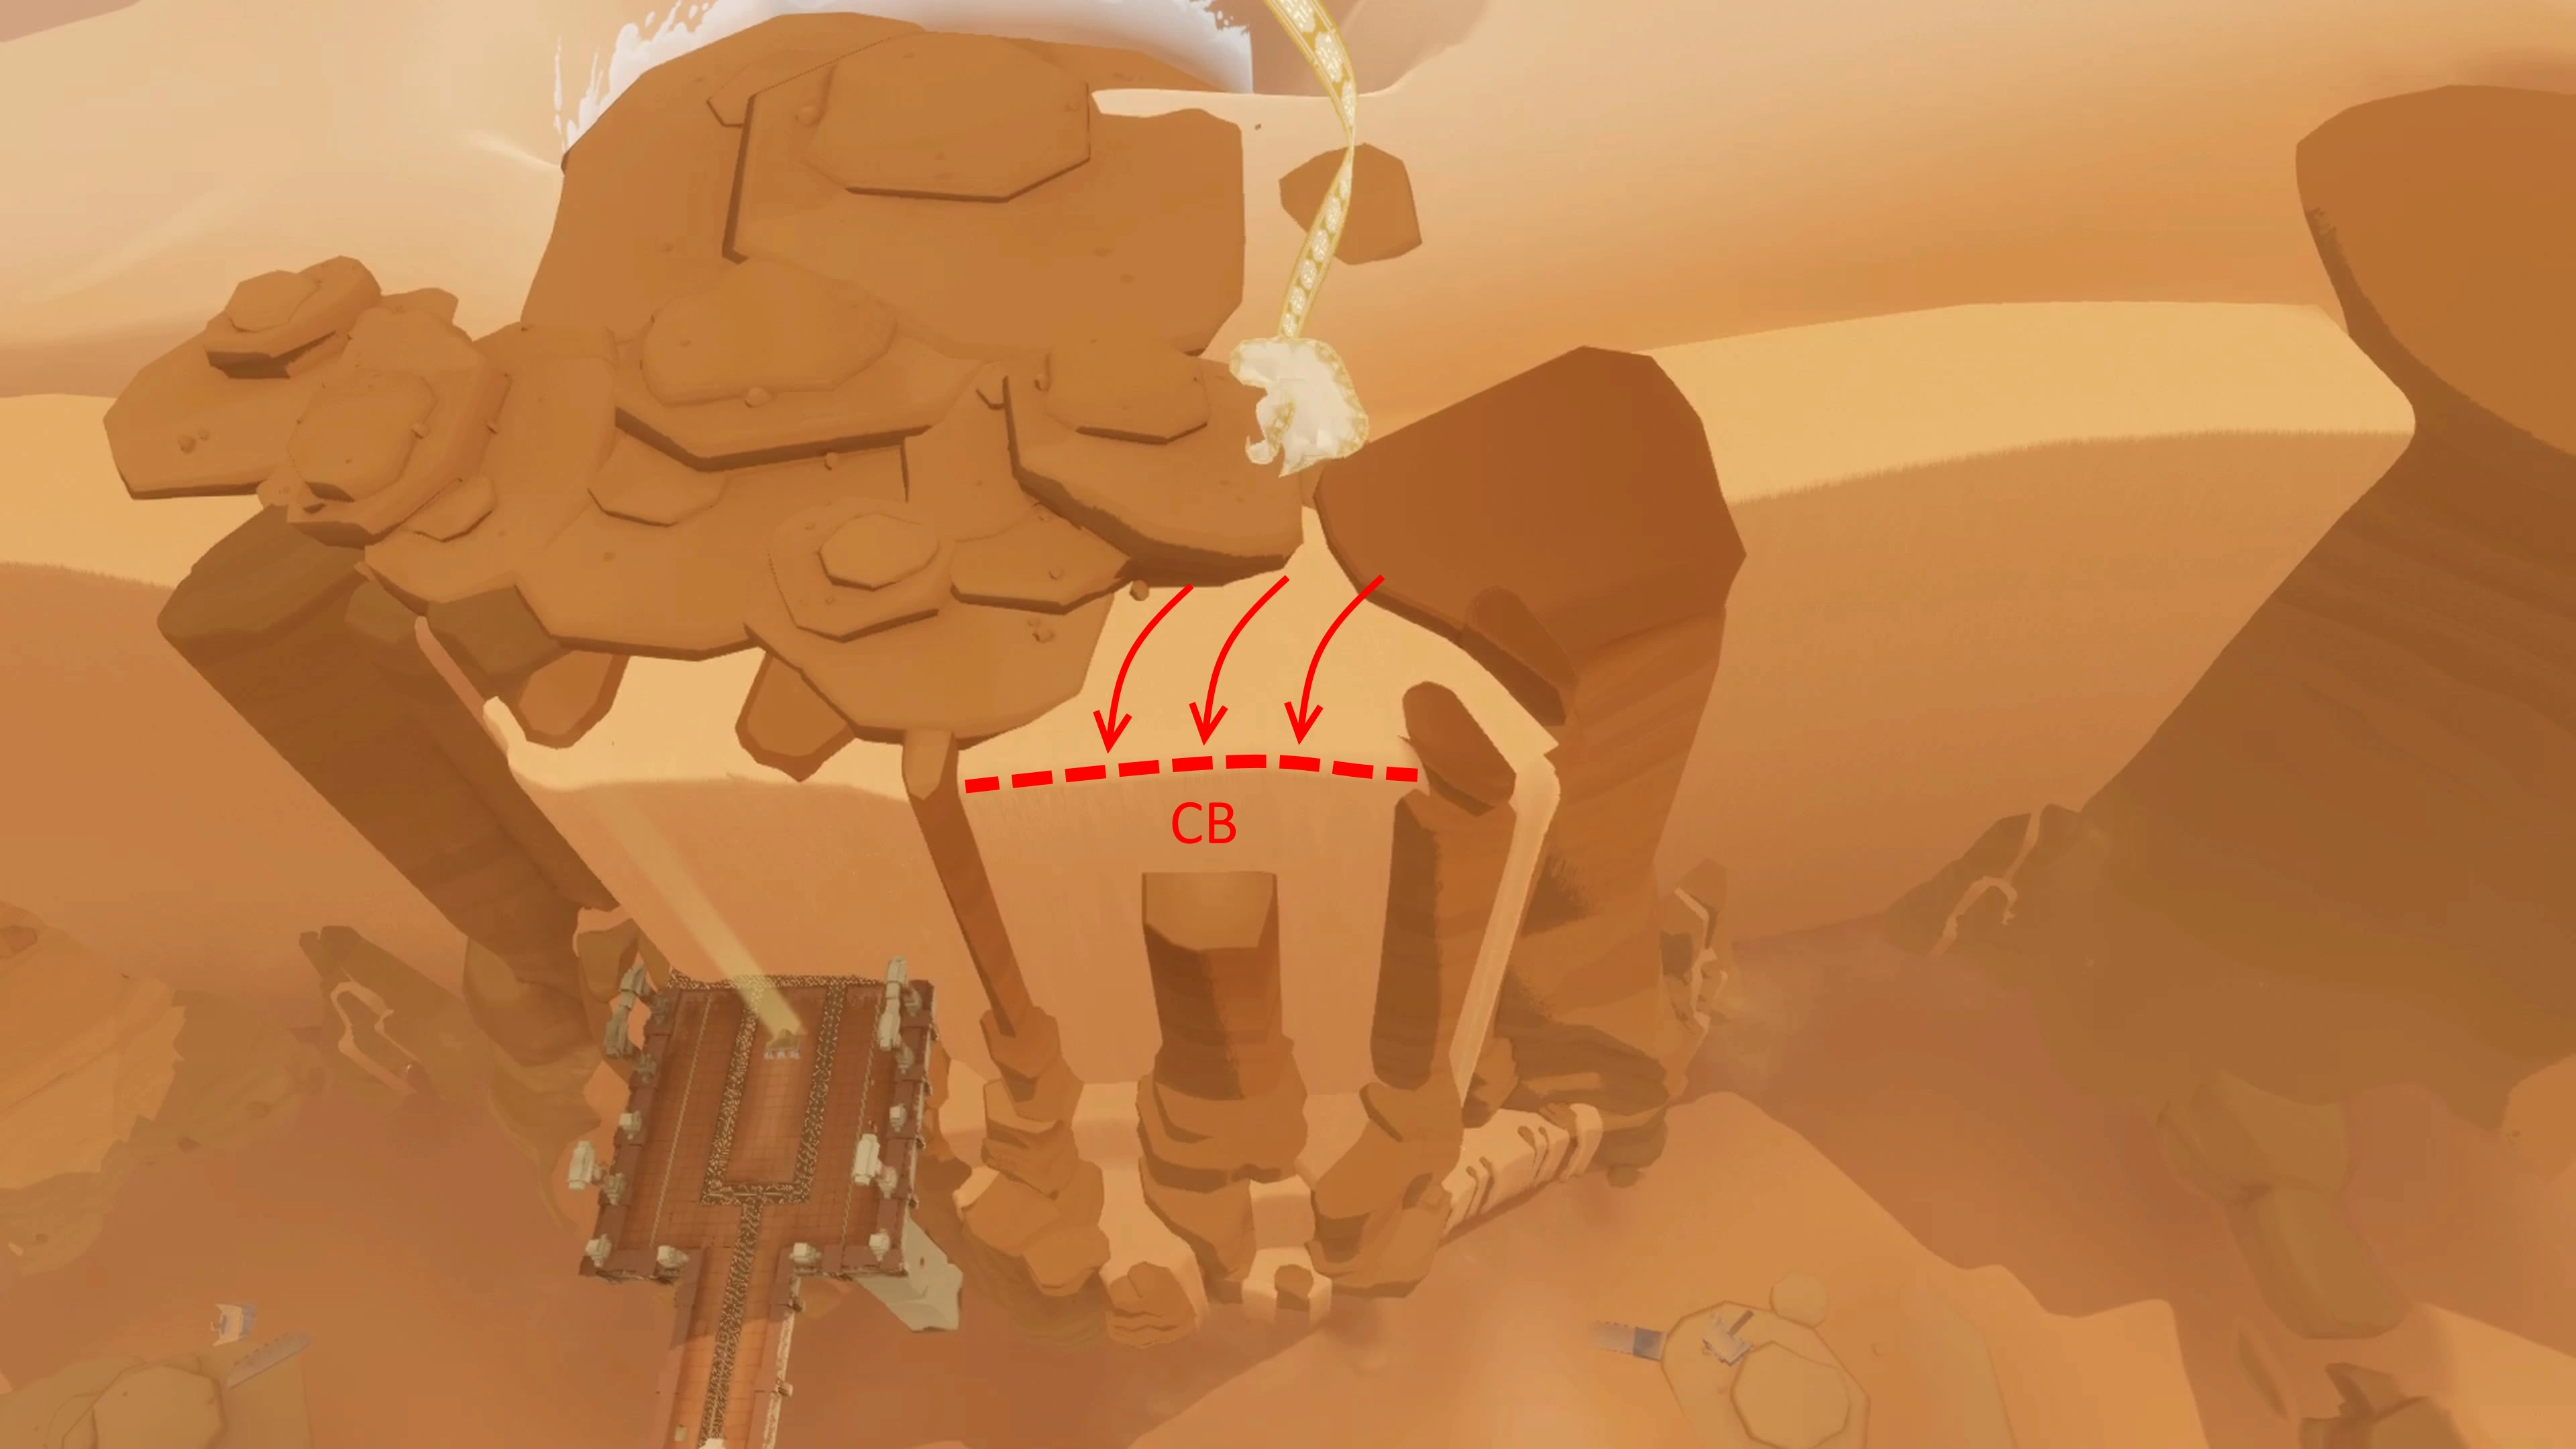
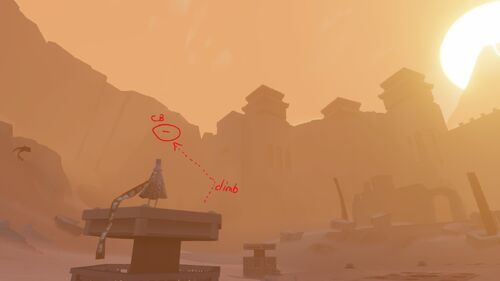
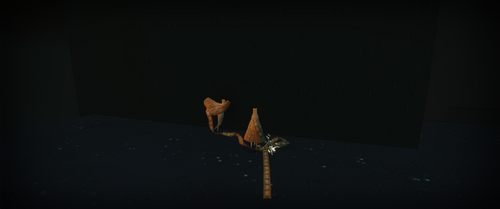
The first easily accessible Charge Boost point is to the back of the meditation platform (where you'd go to select Broken Bridge chapter), on the left-hand side where the wind blows in between the walls of that section and the Underground chapter section, as shown on the screenshot. It is exploitable in a variety of ways, the easiest is to drop from either of the nearby platforms heading towards the base of the grey column. See attached video.
CS first stage CB spot
Stage 2 boost point (roof ledge)[]
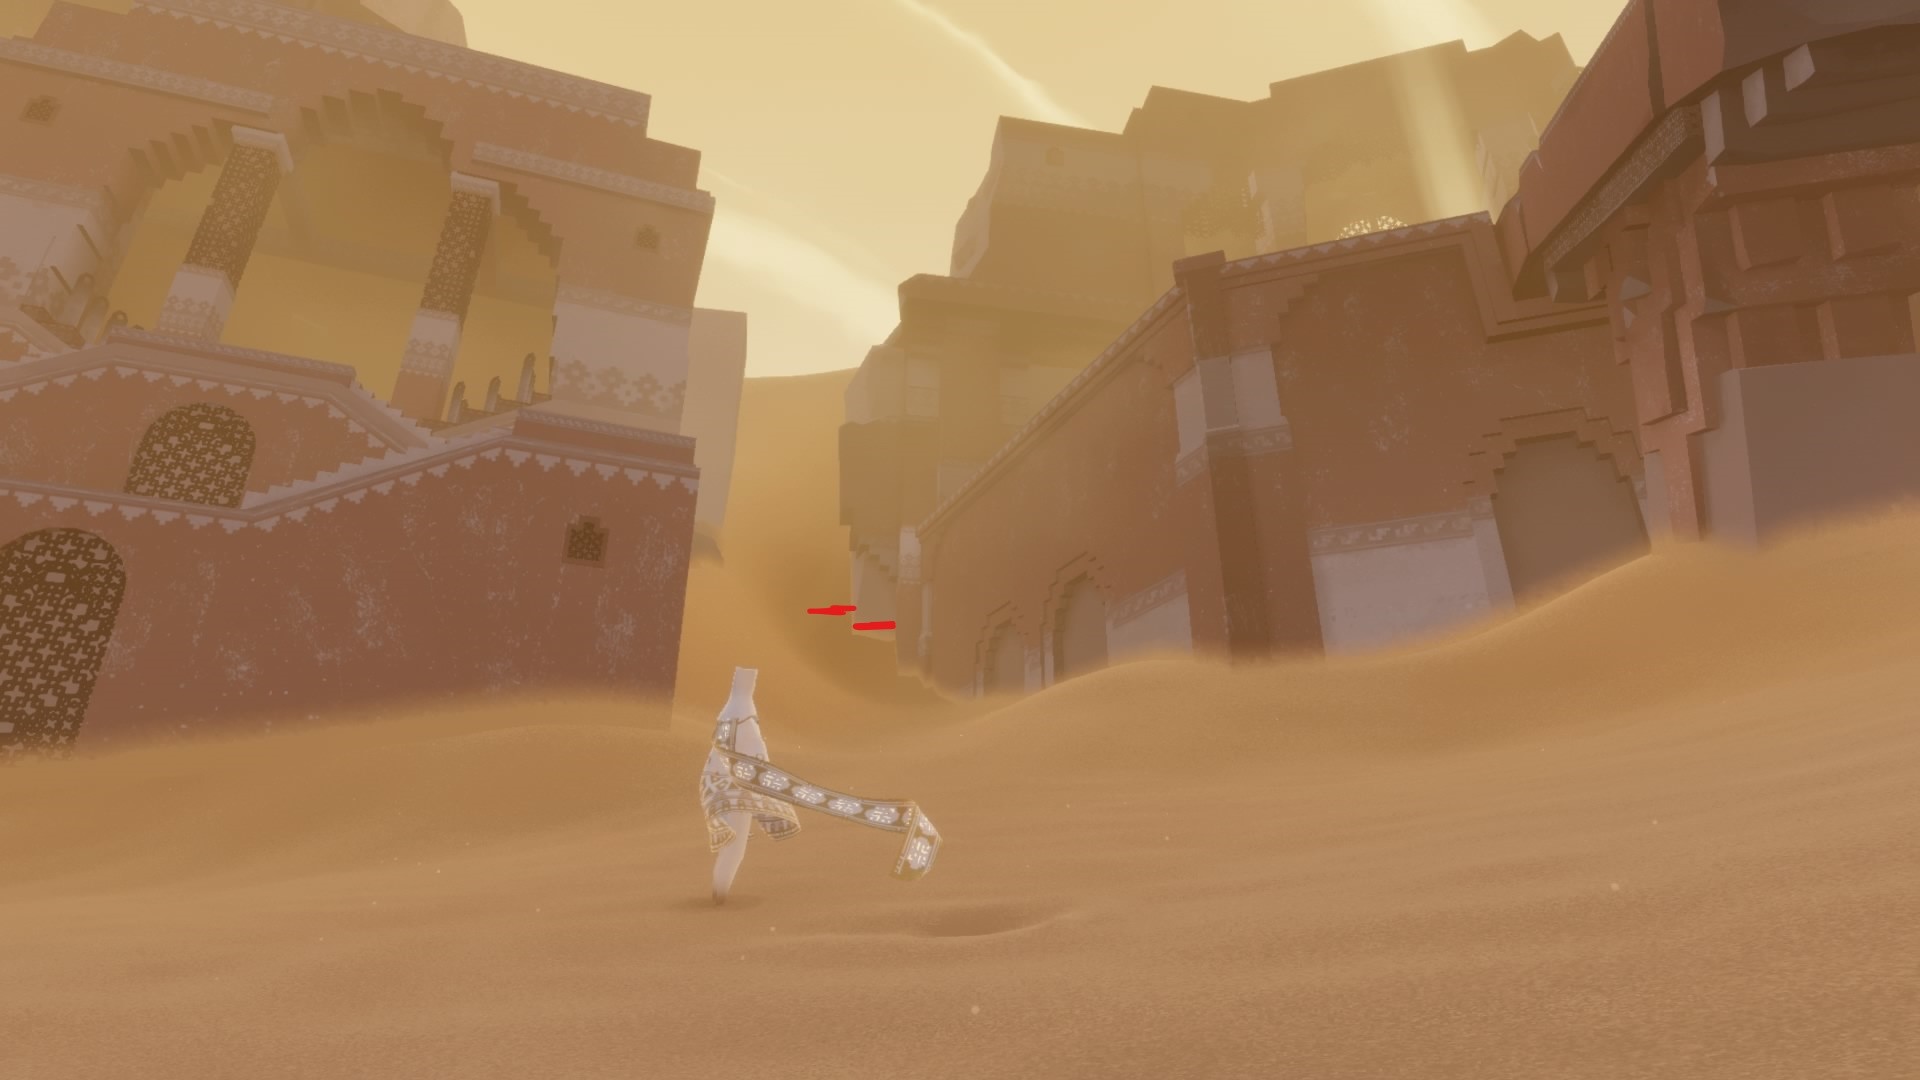
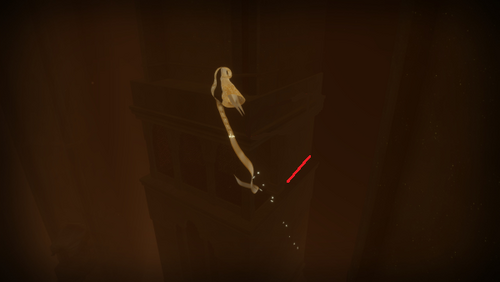
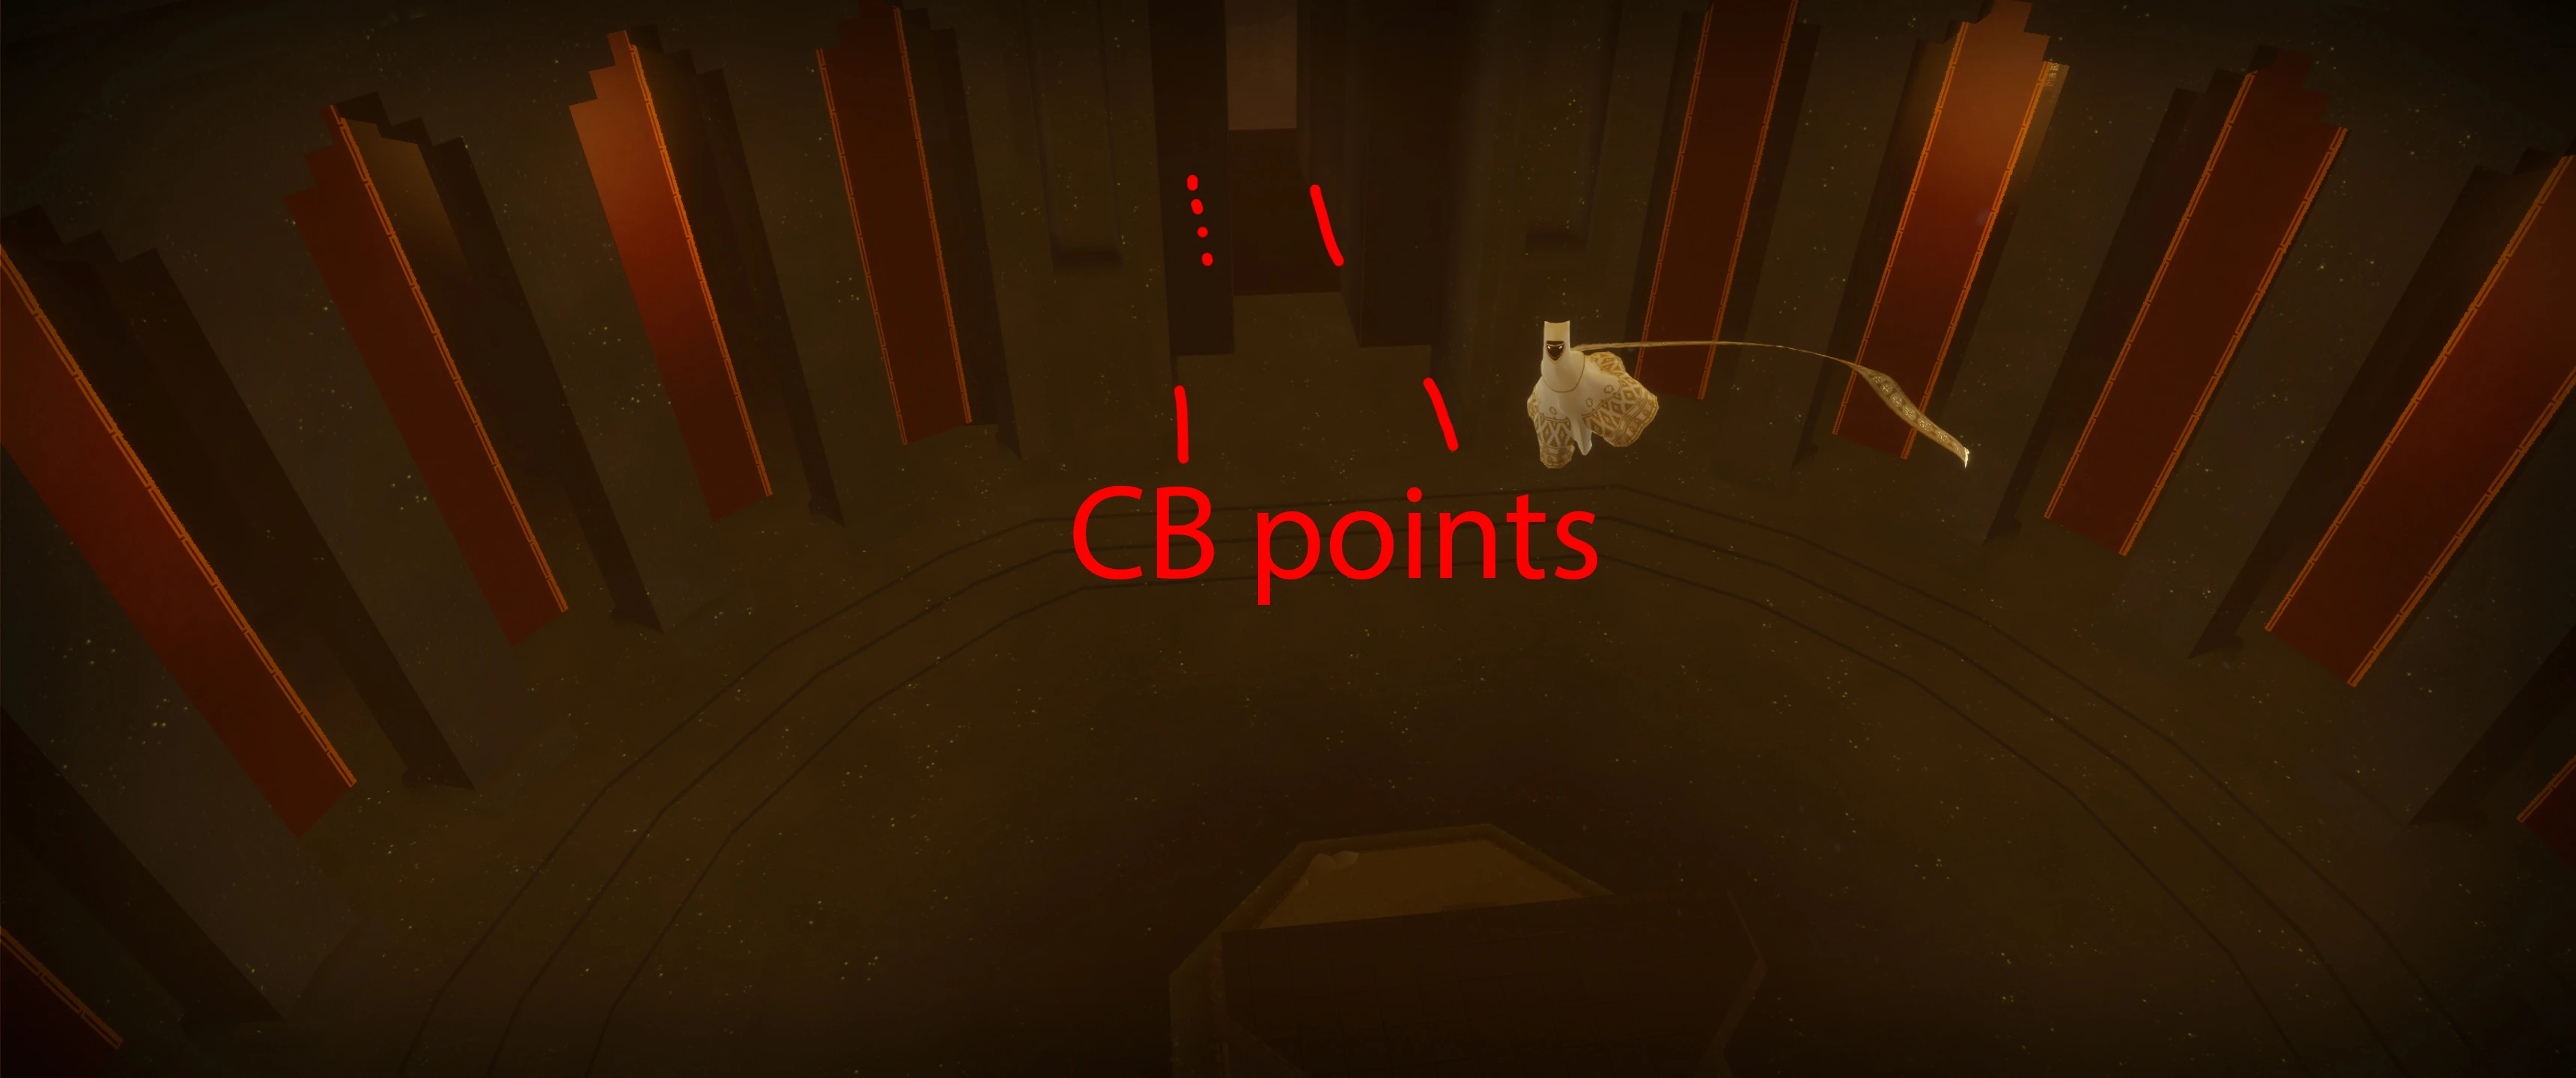
The second, and perhaps the most famous Charge Boost point of CS is located on the side of the broken roof on the east side ruins (above the last two chapter select portals). It can be reached using the CB point described above, or with a number of other methods. The images below illustrate how to access and use this CB point.
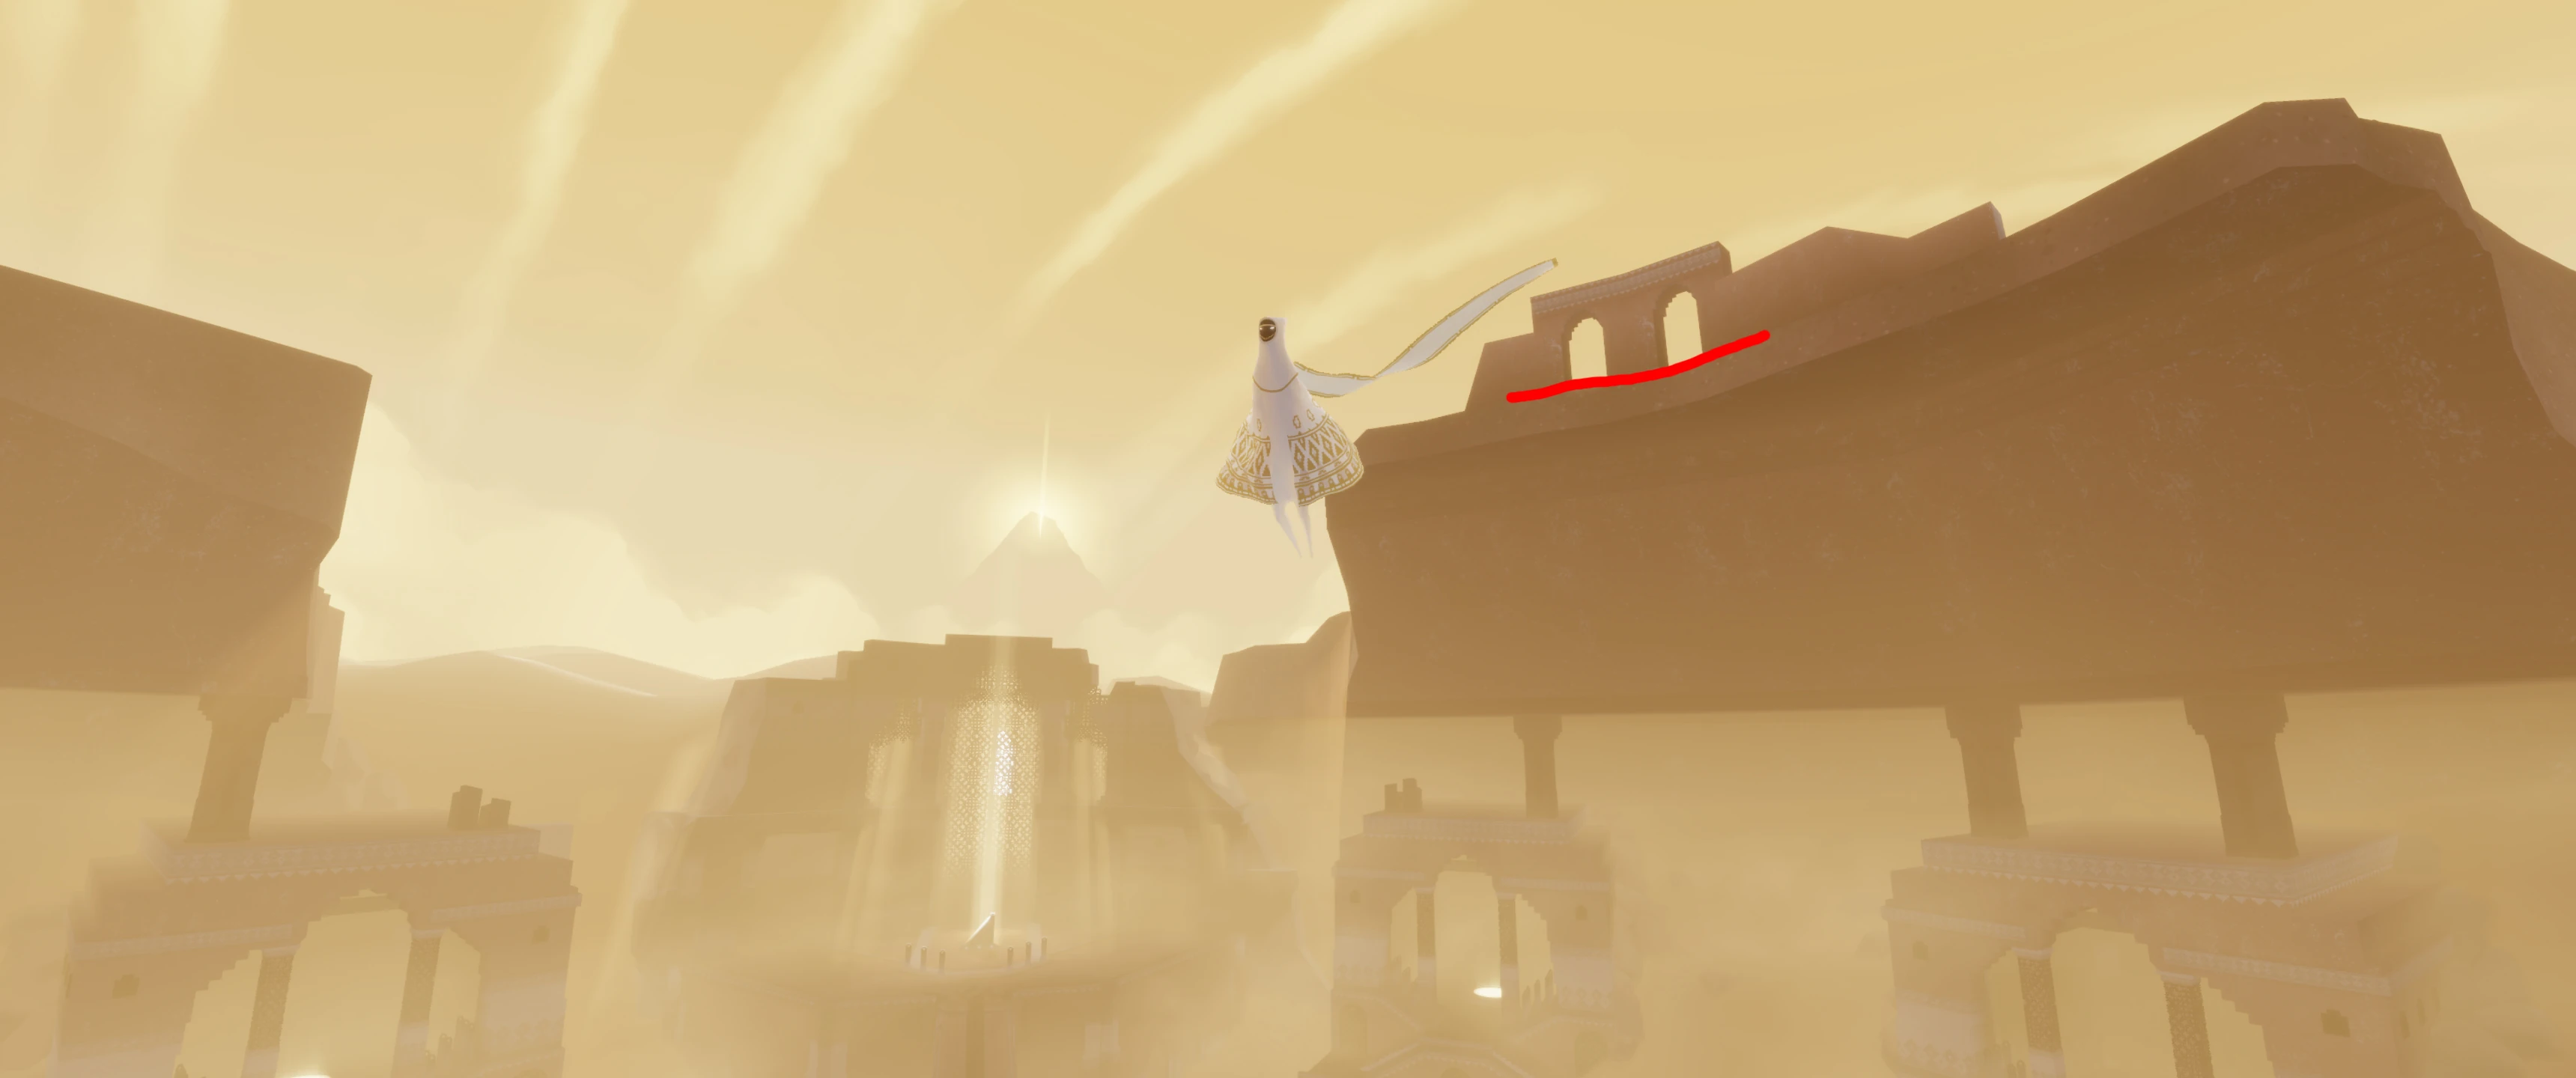

1/4. The hard part is reach the red edge on this picture. You can use the flyers in the middle of CS and use your imagination to fancy fly up here.


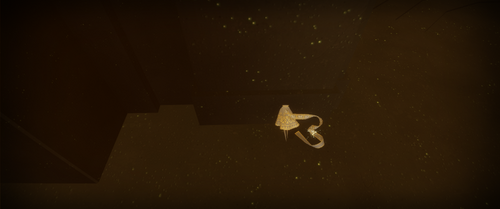
2/4. You can rest while moving forward to recharge your scarf, it's a safe spot when you do so.


3/4. Jump away from the wall and come back to the "ground"/wall intersection while holding jump (+camera down). Once you get in, you turn greyish and your scarf gets crazy. It can help to hold jump for a little while and force the entrance if you press jump early. It usually works best to fall a little away from the wall and press the forward direction to dive in the edge when almost already on the ground level, but in the air.

4/4. Enjoy!
Broken Bridge[]
At the level entrance hall
It is possible to Charge Boost at (some) walls on the inside in the hall. There is also a CB point outside the hall on the West side:
(video shows how to enter OOB via CB)
The famous "training spot"[]
For many travelers this is the first CB spot they learn, as it's very easy to access as well as to get into "charge mode". It is located on the northern side of the map, to the east from the main bridge and above the mural cave.

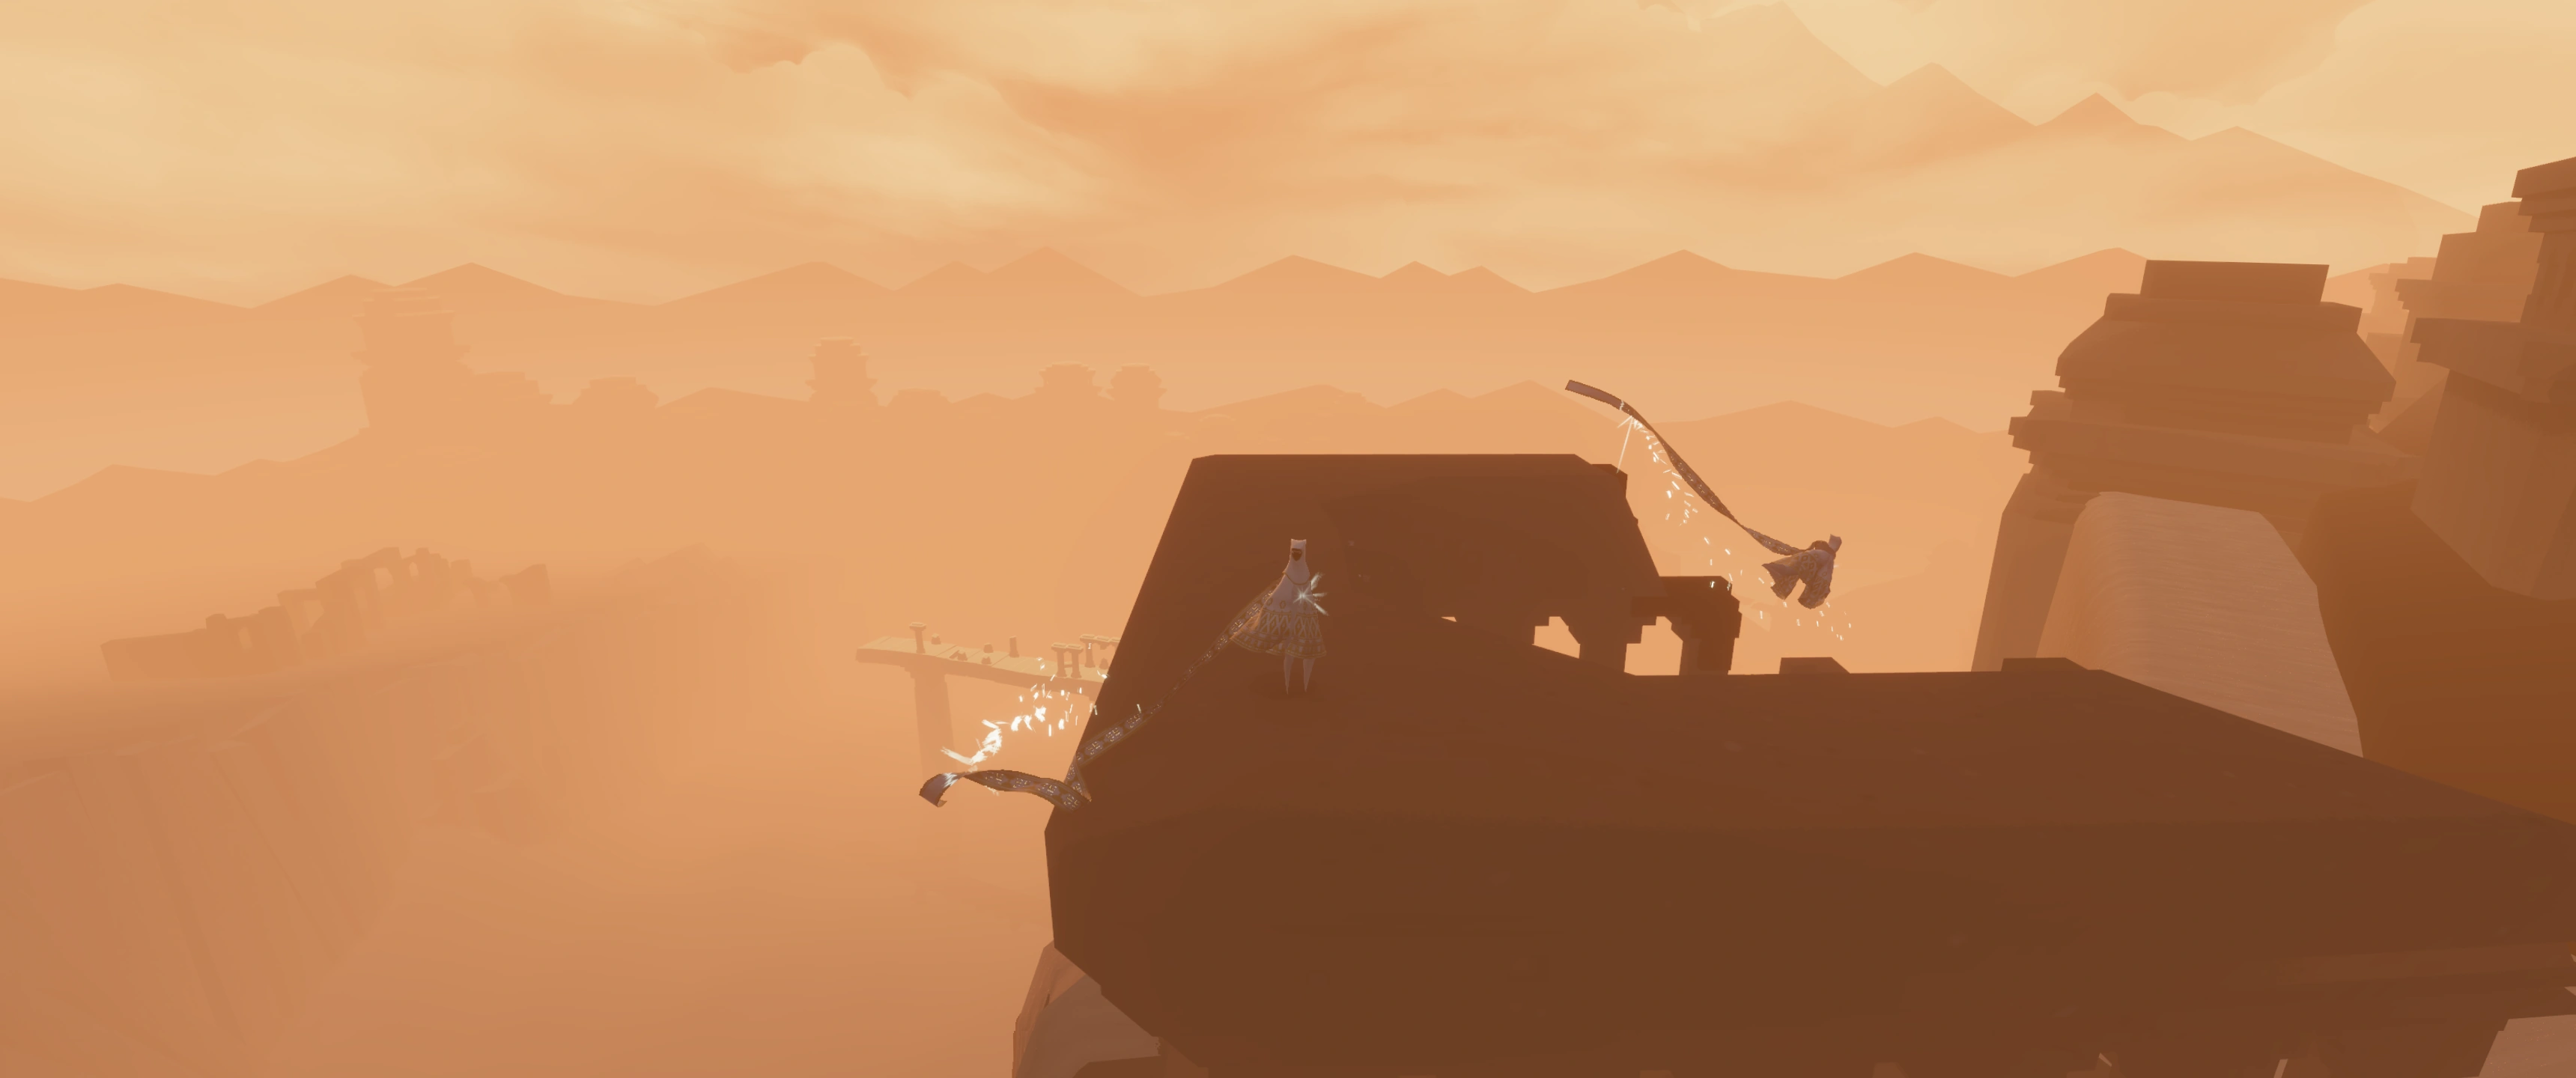
Once again, the most-famous CB point, near a glowing symbol (see 2nd wayfarer)
Sandfall[]
This point can be accessed with help of the "training spot". There is almost no room to stand on this point so it is recommended to dive into the CB point to start the boost.

One of the high-fly charge boost points in the level.
The "igloo" spot on the south wall[]
Another (much harder) CB spot is located on the southern wall near an igloo-shaped rock formation which is about two thirds of the way towards the east boundary (to the left if facing the start of the level).


BB Charge Boost spot on the southern wall
Other spots[]
As the Broken Bridge level is surrounded by rocks and wind walls it offers many different points which are CB-friendly. Although not all points are practical to use they can be a challenge to find and offer more technical understanding on how some Charge Boost points can differ on accessibility as well as the boosting power they offer.
Pink Desert[]
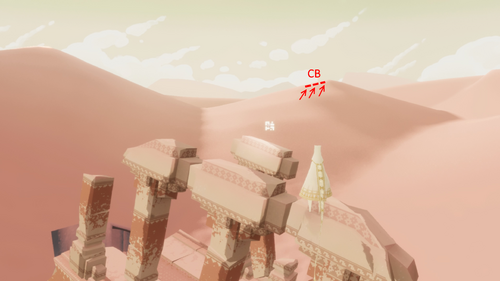
First Symbol area[]
When reaching near the top of this dune, use walk instead of jump to get closer to the boost point or the winds may push the wayfarer back. The area to charge boost is small but can accommodate both players, try not to go too far right or left once the charging has started.
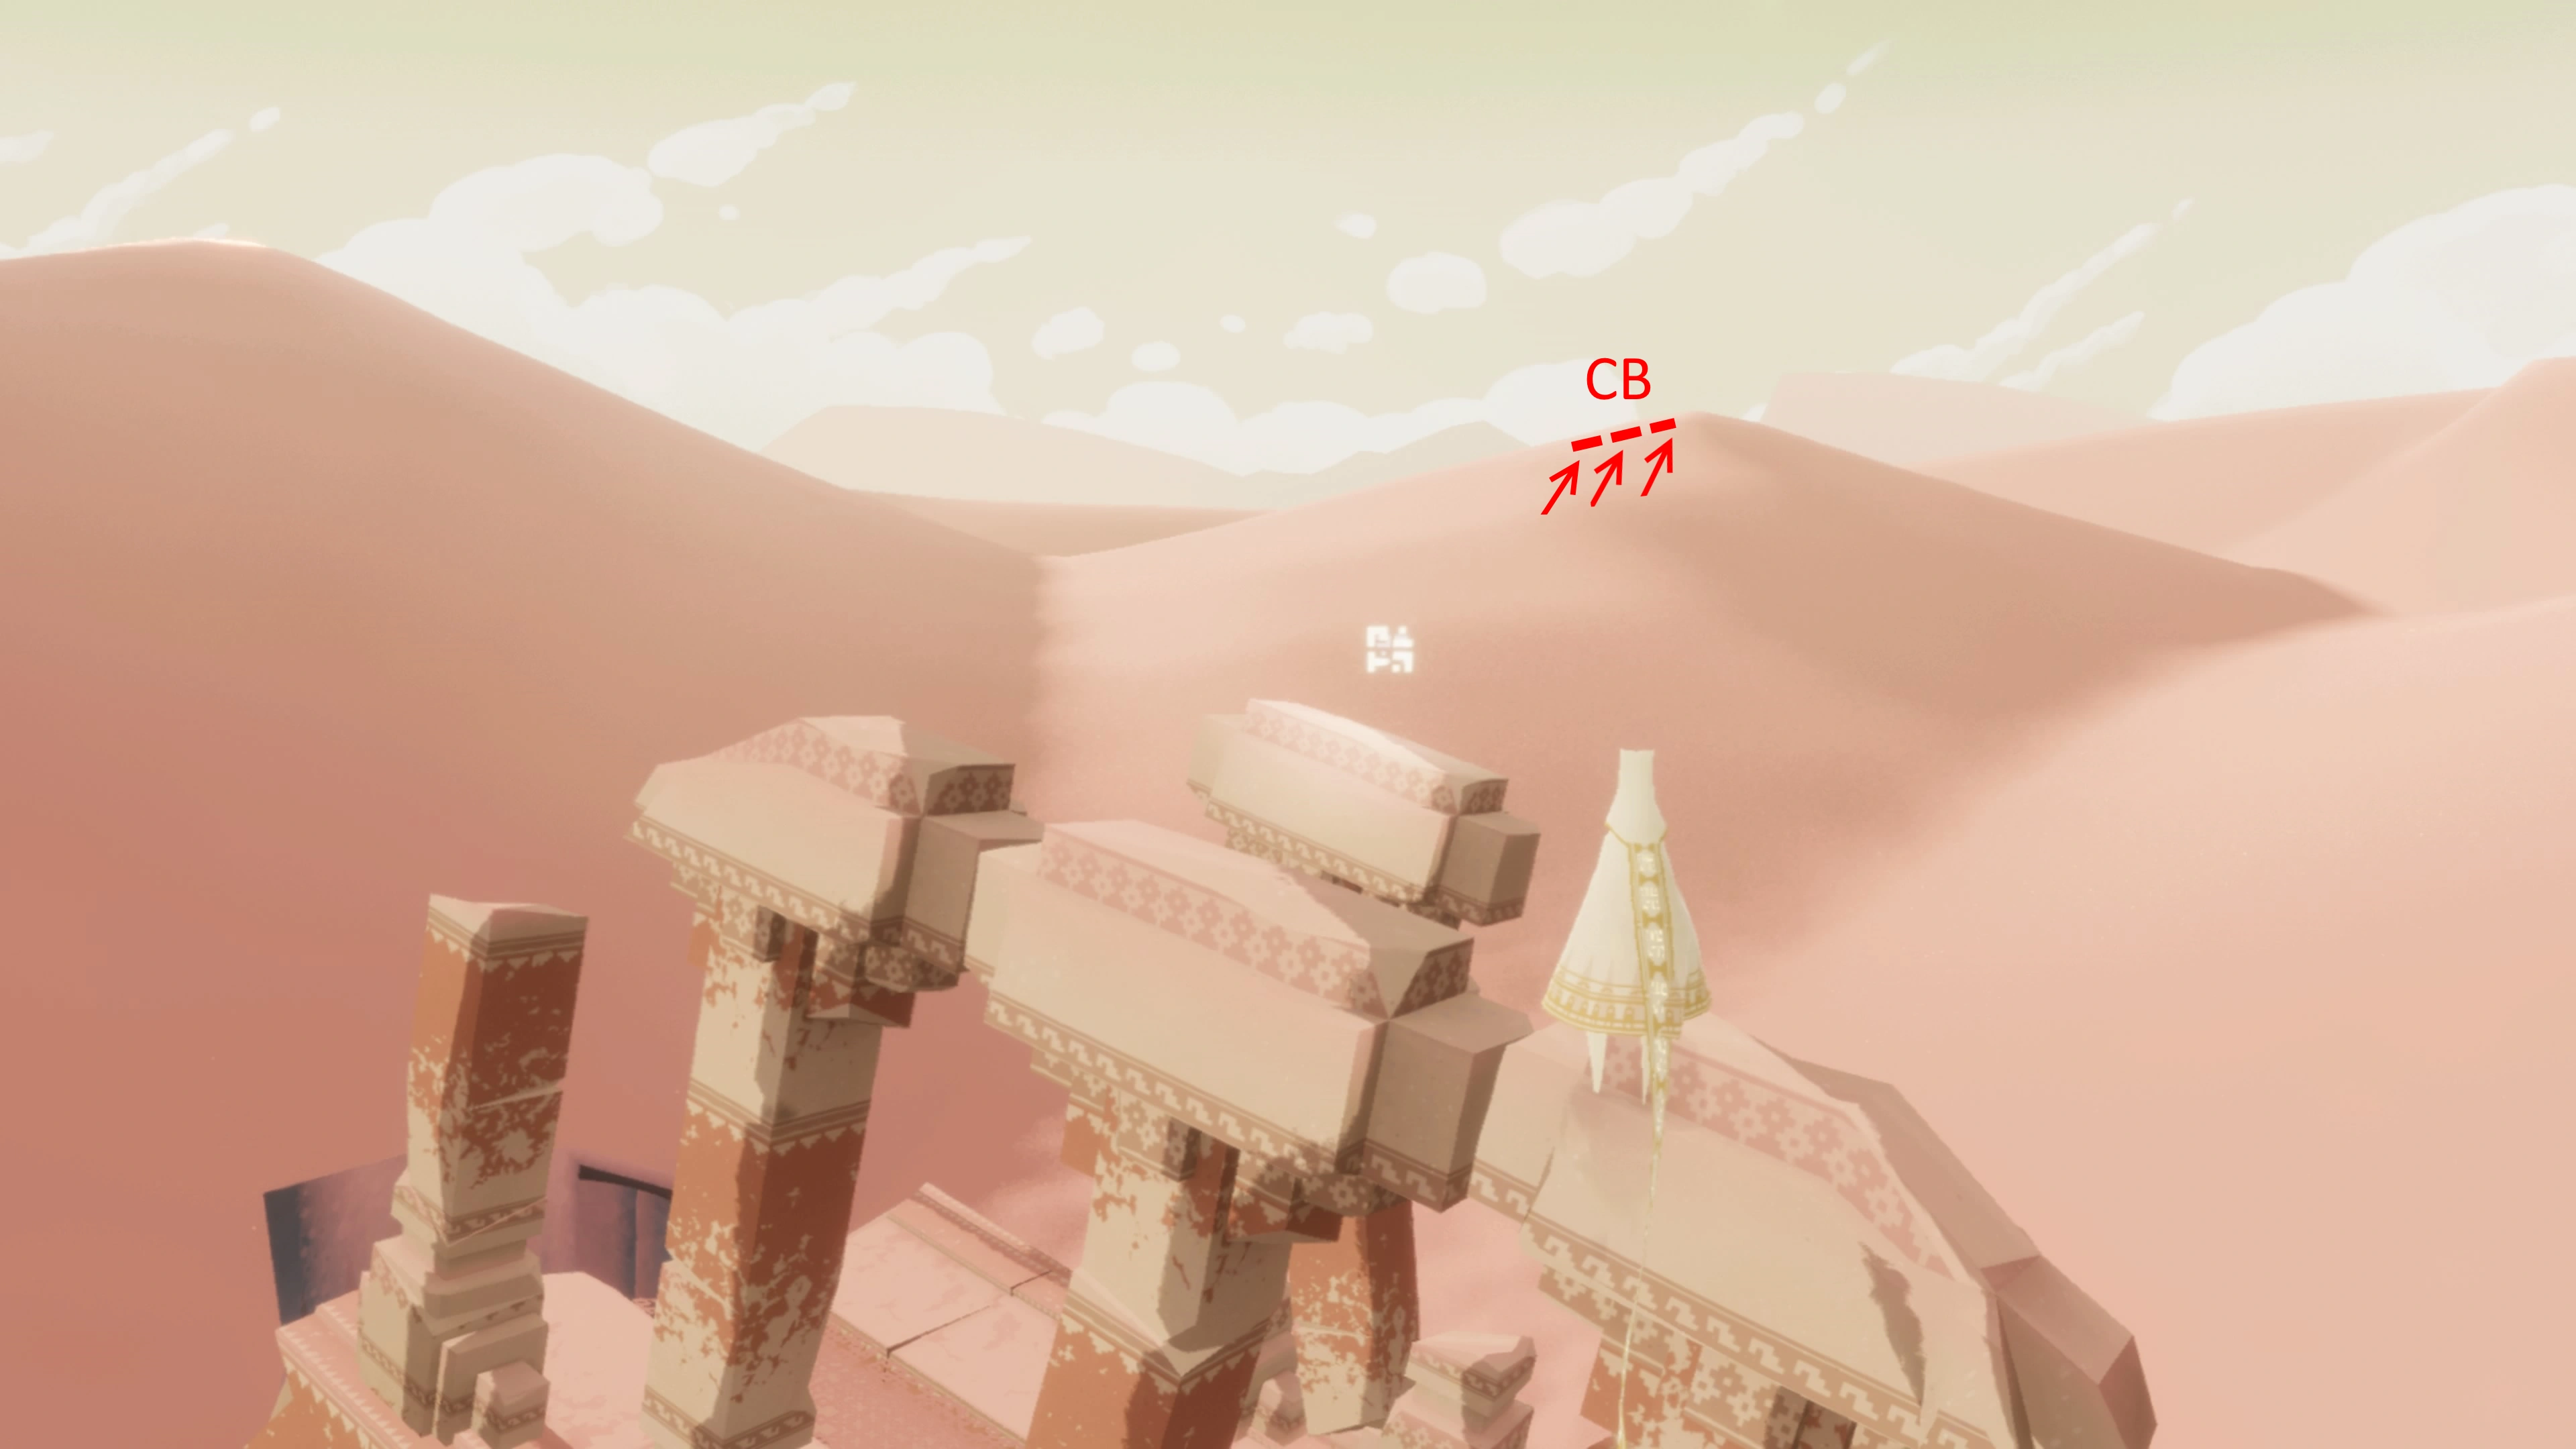
Tip: This boost point combined with dive boosting can get the wayfarer from first symbol to shooting star symbol without touching the sands.
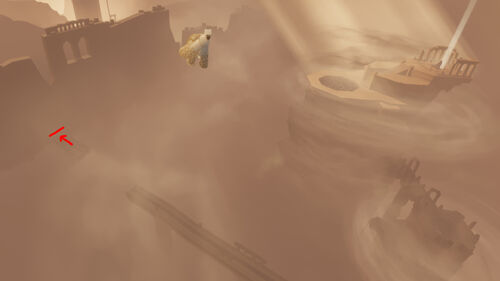
At the end of the level[]
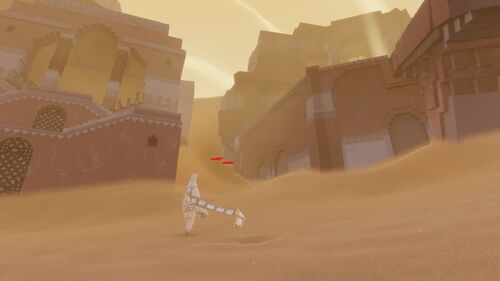
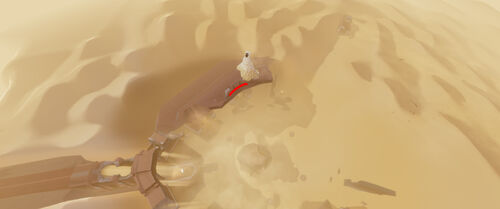
This Charge Boost point in Pink Desert is near the end of the level, where one of the broken bridges meets the sunken city wall as shown on the screenshot below.
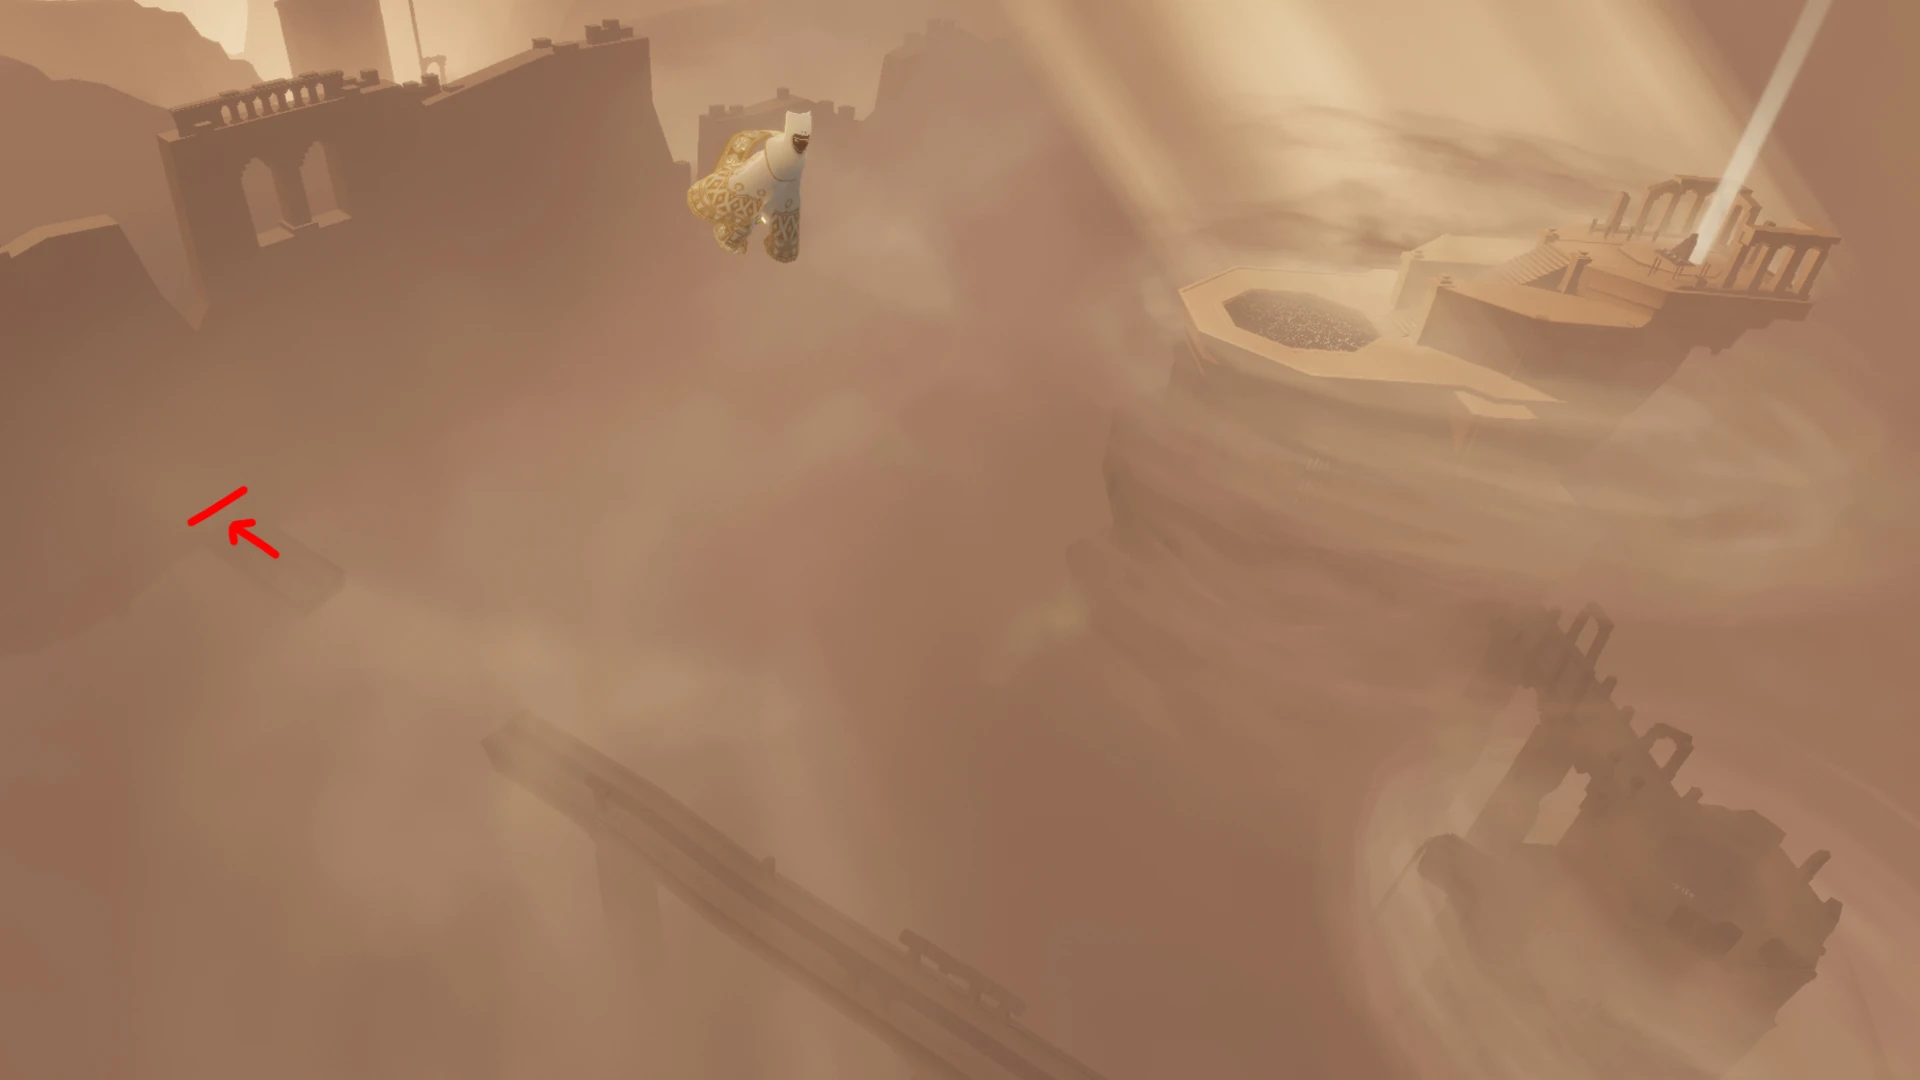
1/2 At the end of one of the broken bridges. This spot is also nice to practice reverse charge boost


2/2
Sunken City[]
Wall tower ruins CB[]
This is a well-known Charge Boost point in the staging area (after the first sand slide). The images below show how to get there.
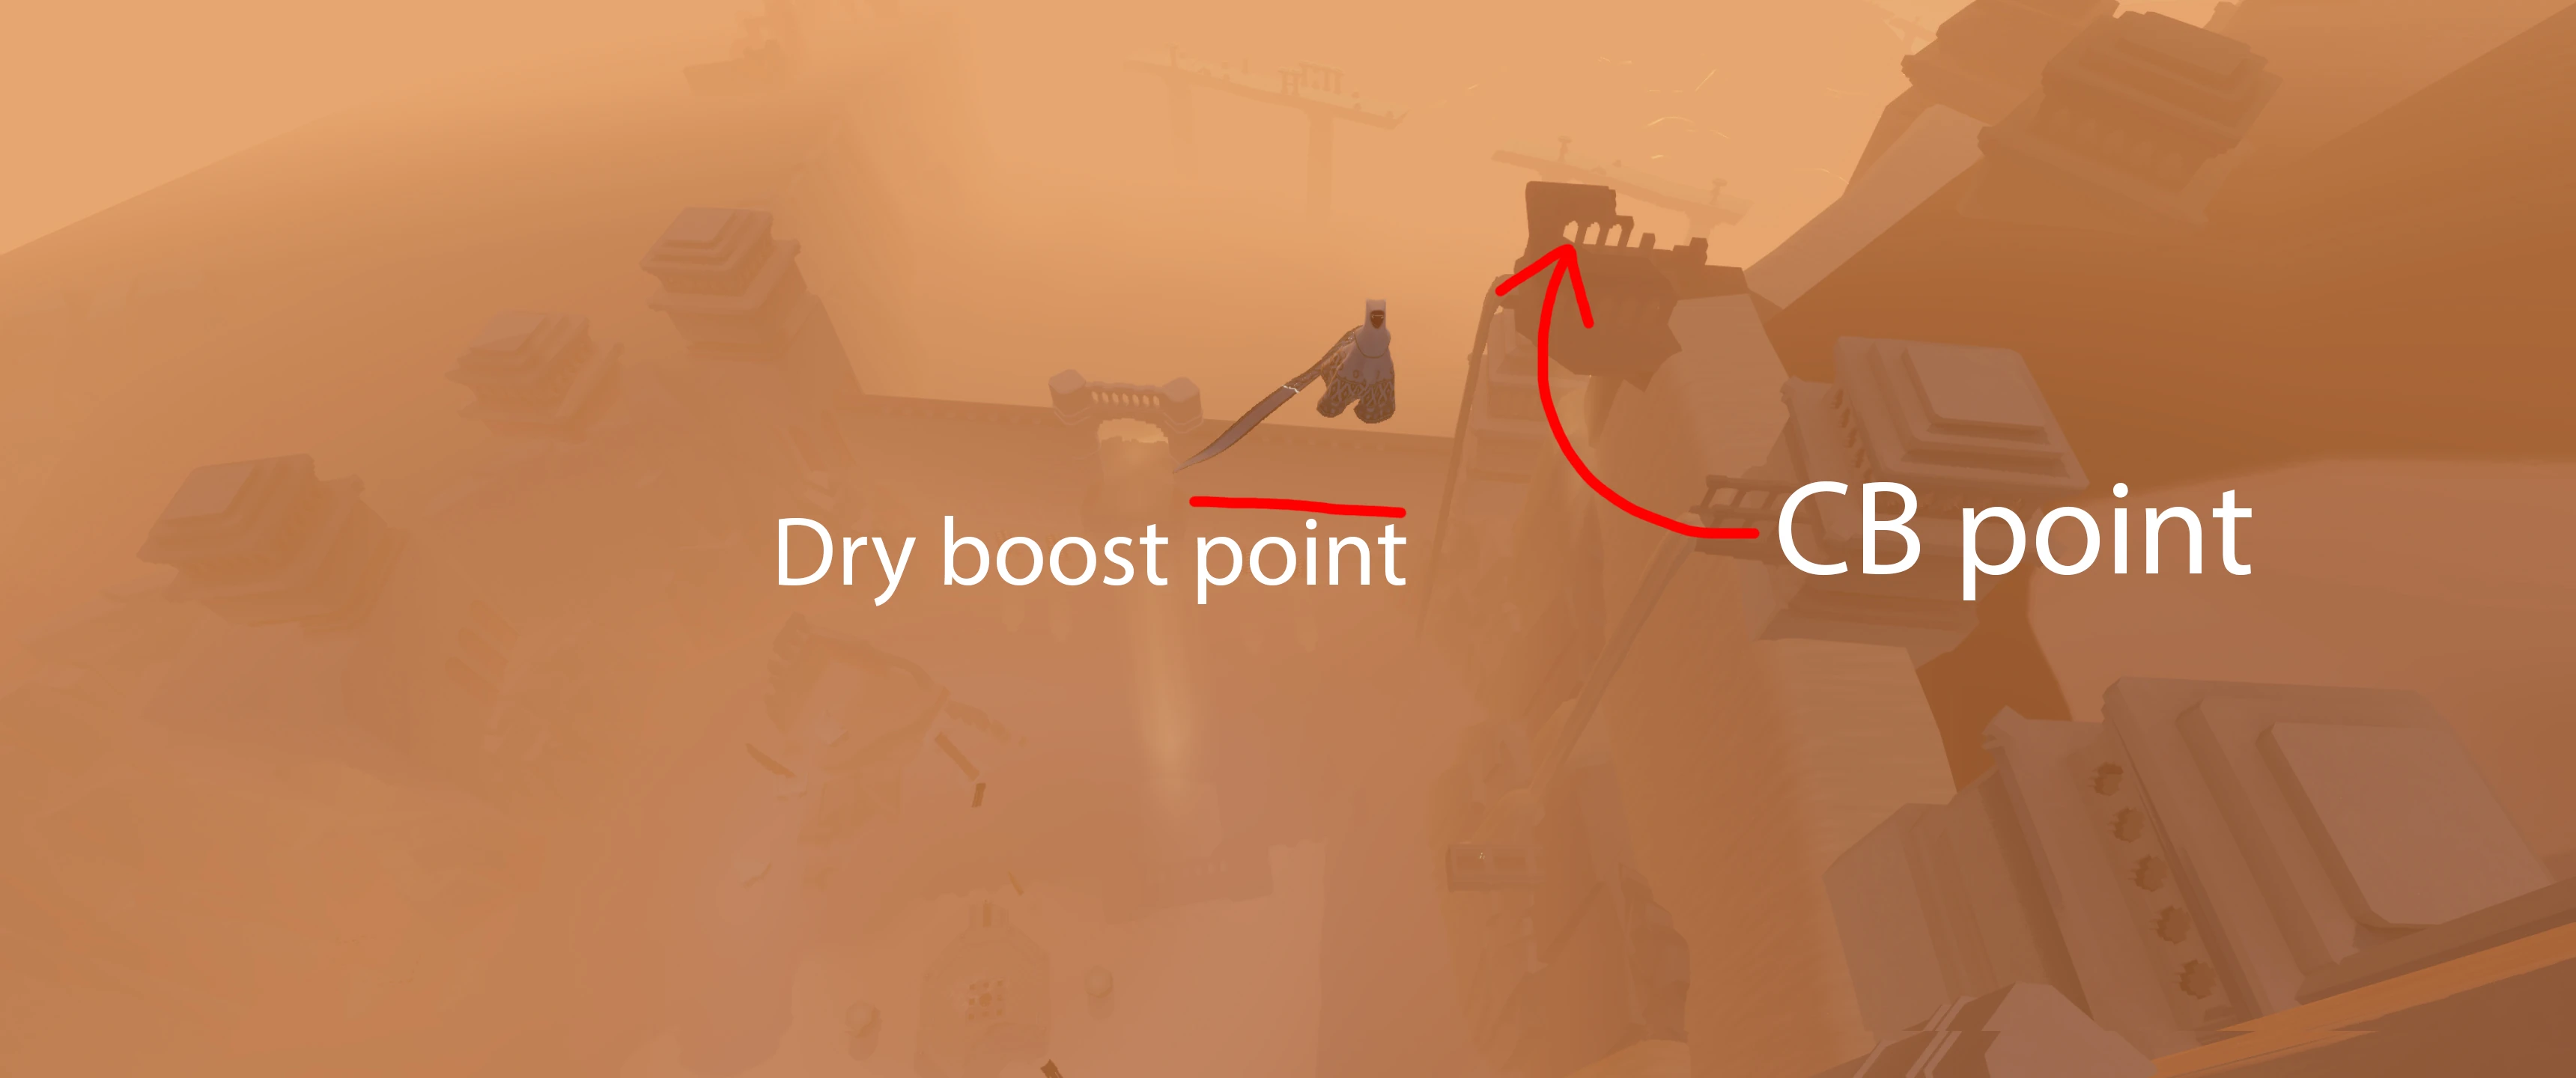
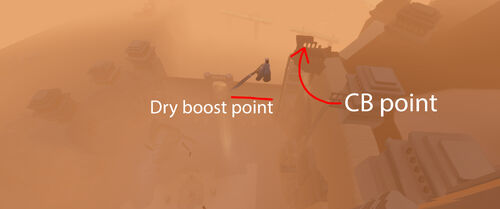
1/4. It is easy to get to the CB point from the Dry Boost point
2/4. In the staging area of the Sunken City, on the right side of the observation platform, your traveler will just sort of hang here (this is actually a dry boost point). You don't have to hold the jump button here, just keep moving forward in the wall.
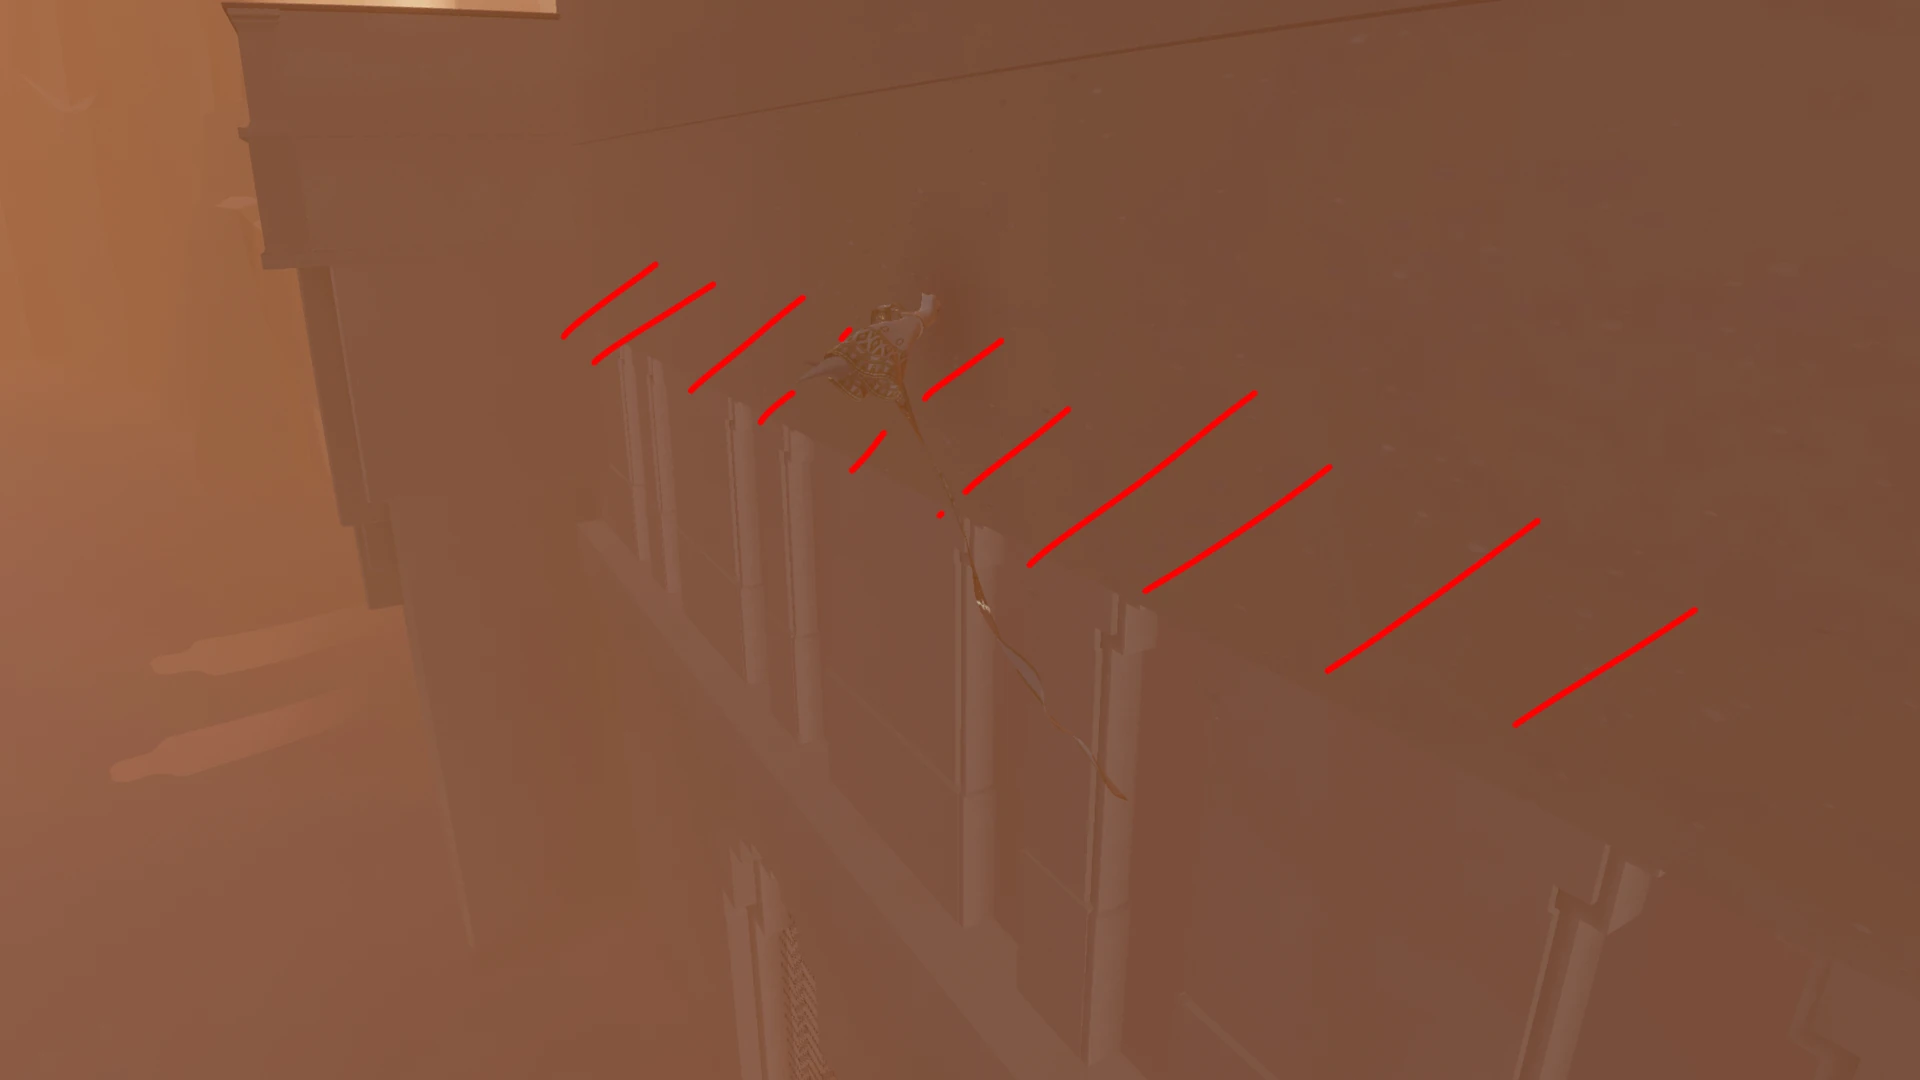
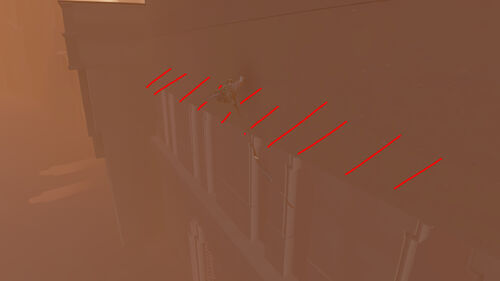
3/4. Try to get into the same position as shown in this picture. It can help to press the fly button once or twice with the camera down over the dry boost point (head in the wall), to arrive slowly on it and not cross through it, be gentle.

4/4. The wind pushes you back slowly but you can still land safely here (if you want to recharge your scarf) before getting into the CB point, on top of this platform. It's funny to notice that when charging here with a companion, your companion will always seems to "enter more" in the charge boost point than you. Note the camera can be placed more vertically on the right side of it, so you will get a stronger boost by charging there !
Easy CB on the west side[]
Another Charge Boost spot is on the west side rocks in the staging area, further up and to the left from the shrine. It's very easy to reach and use. A series of small ledges lead to the "launch pad", and you can simply fly/walk up there. The CB spot itself is a corner (much like the famous Broken Bridge training spot) so it's very easy to charge. The screenshot below show the path and the spot.

SC staging area west CB spot
Here is a short video showing how to access and use this spot:
At the end of the level[]
Another spot can be found in the pit at the end of the level.
Near the meditation circle on the high columns.
Underground[]
Many Charge Boost spots exist on this level.
Two-stage boost near the start[]
These two CB spots are often used to get out of bounds and the second stage is not easily accessible otherwise.
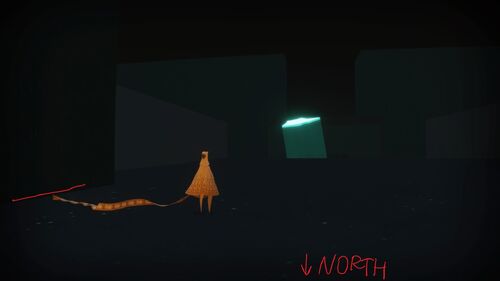
1/2. The first charge boost point in the Underground level is right next to the entrance. The CB point works the same at the left side of the gate. You can dropshoot to get in if you want (or use the usual technique). If you move to the right edge of the wall you will start flying against the wall. Because the ground is very steep it might be a good idea to CB facing South-East, rather than head fully South against the wall.
2/2. Once up there, the next charge boost point is above the entrance gate. This one is easier
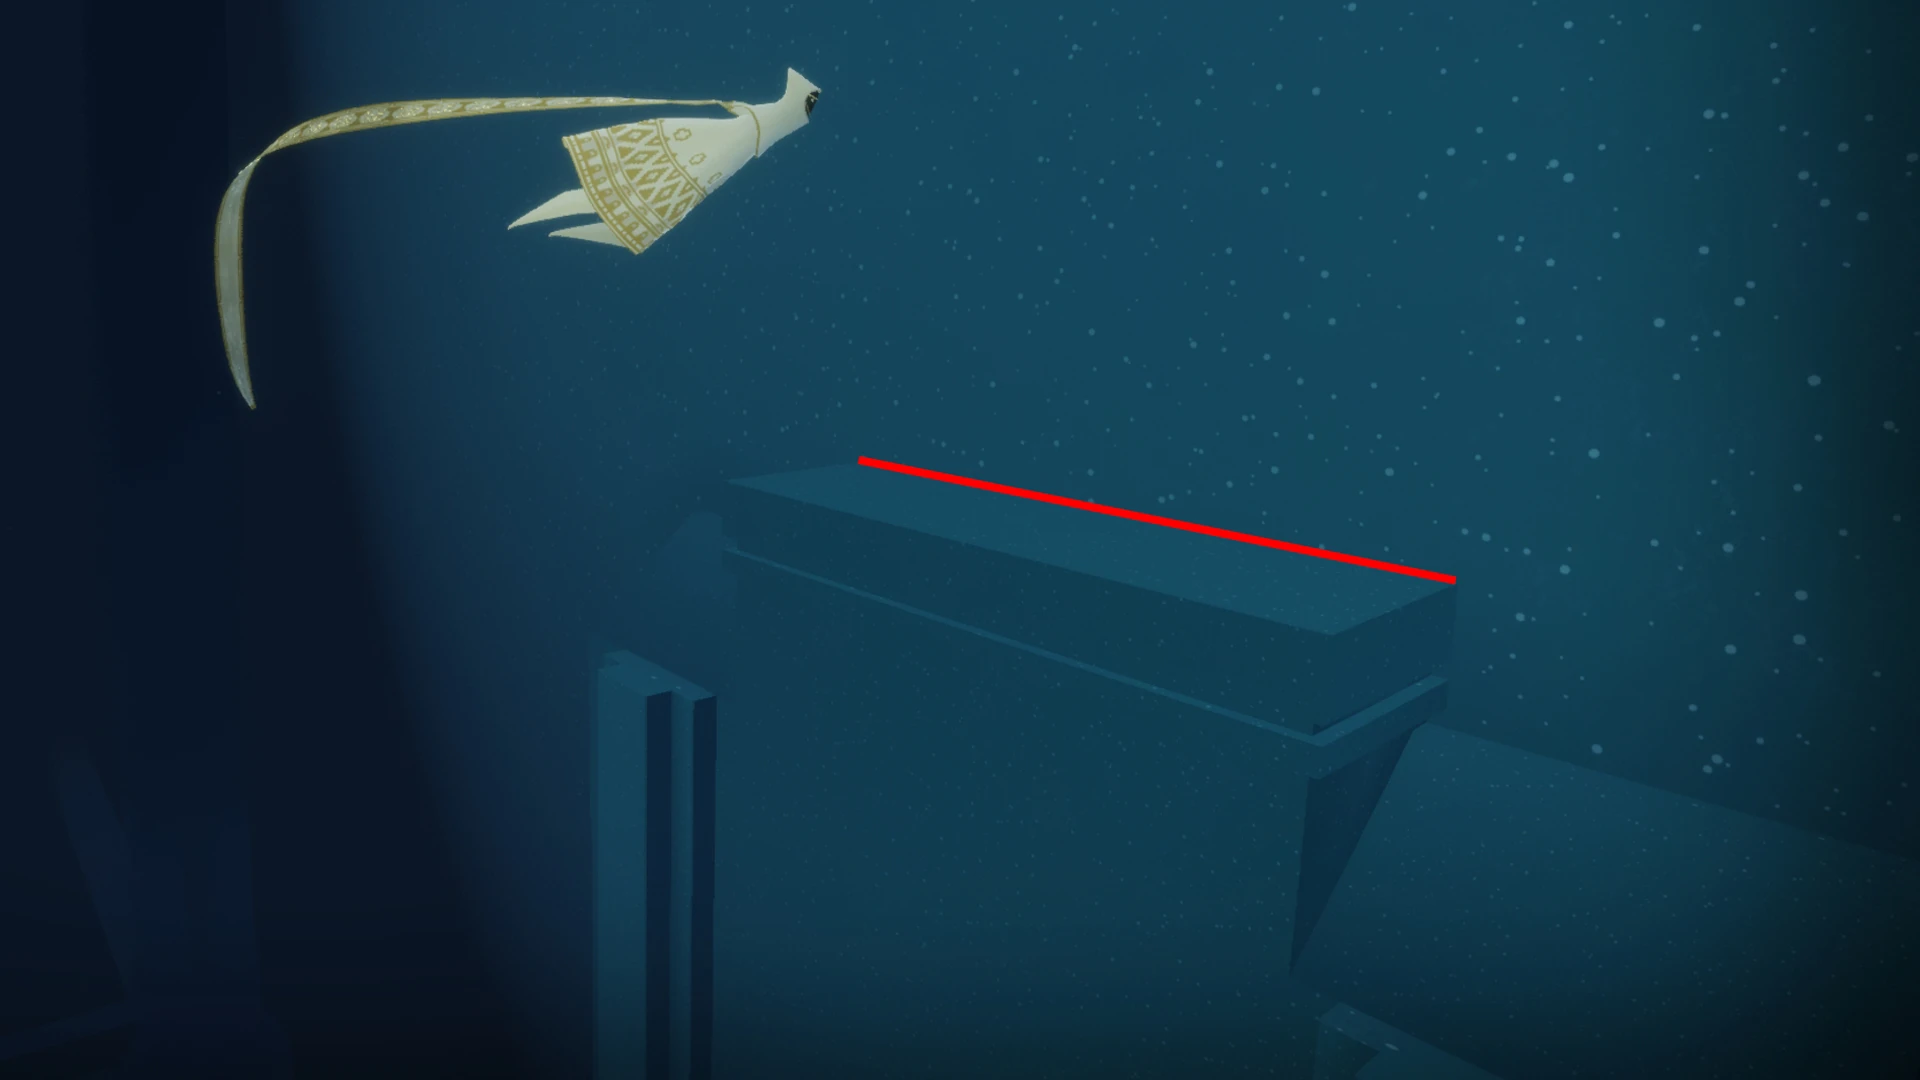
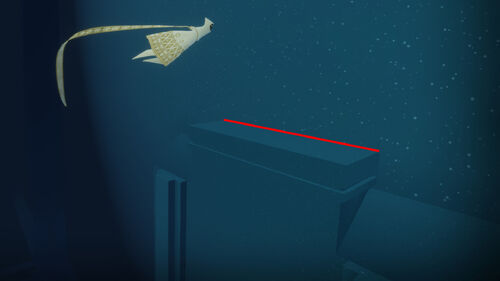
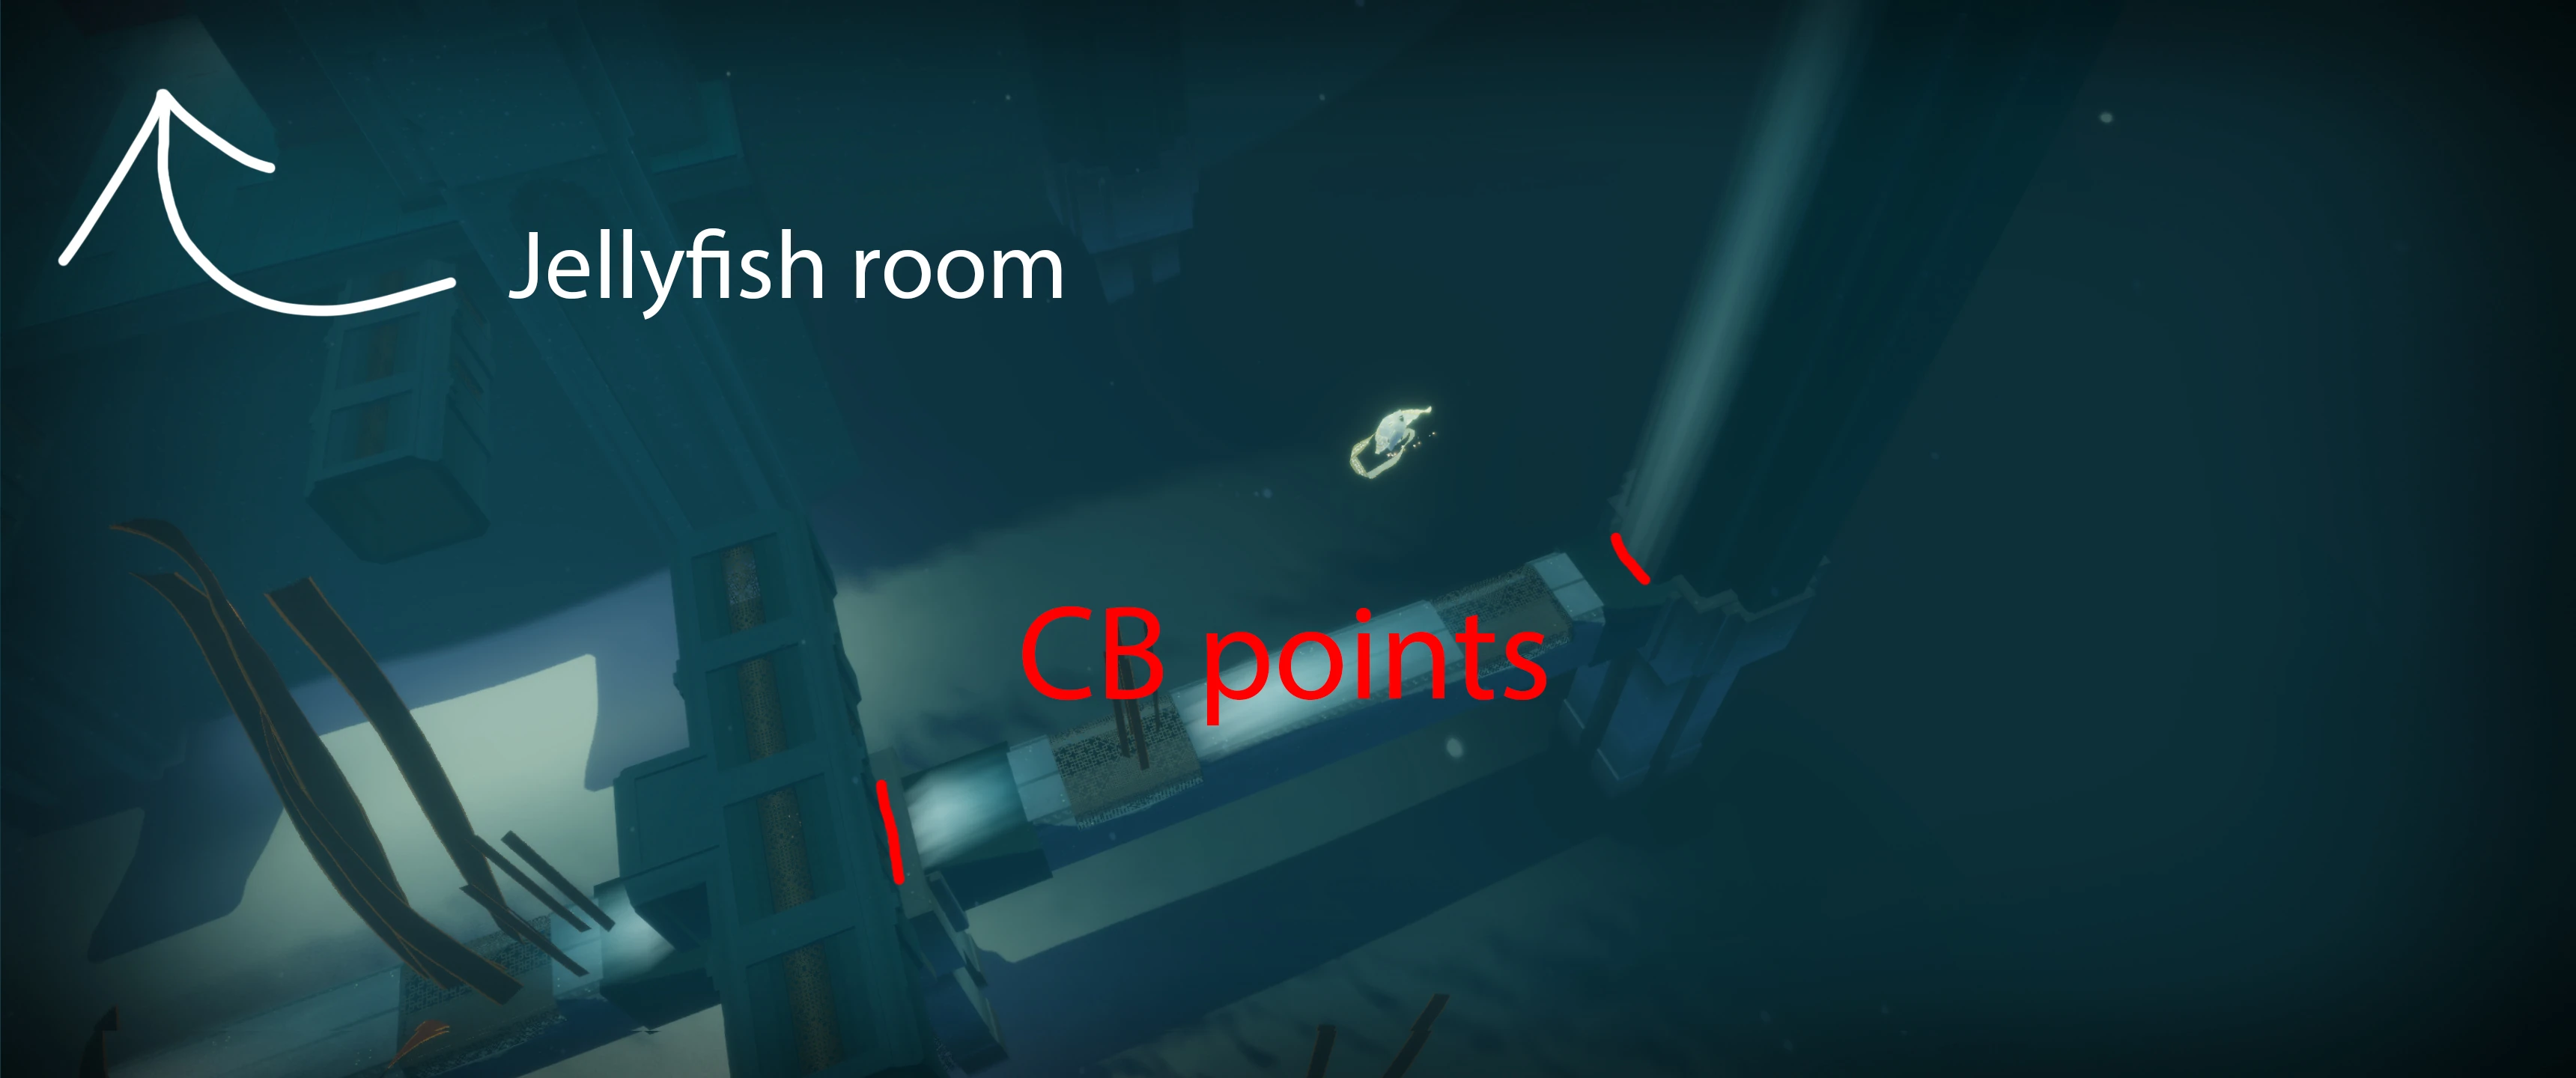
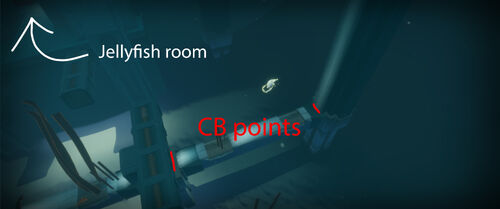
Charge Boost points in the Kelp room[]
There are multiple CB points in the Kelp room (or Algae room), the one before the Jellyfish room. The screenshots below show these CB spots.
1/3. Just before the Jellyfish room, in the algae room is (at least) 2 CB points

2/3. First CB point

3/3. Second CB point
At the end of the level[]
There are multiple Charge Boost spots at the end of the Underground level. The video below shows the most popular spot at the end of the slide (you can get back there after the WM chase is over). This spot can be used to access the secondary CB location at the top of the tower (as well as out-of-bounds area).
At the top of the tower (WM tricks and OOB entry)[]
This spot can be used for WM capture tricks to climb up oob before getting back in-bounds later. The easiest way to get here in the first place is by using the CB spot described above in the video (on the sandy slope to your right/east when you slide down being chased by the WMs), or the CB spot even more to the east of the shrine tower, over the hill of yellow sand.

UG tower top CB spot location
Over the tower at the end of the Underground, you can CB on top. (same location as the picture above)
Underground CB points (video guide)[]
The video below shows various Charge Boost points in the Underground level.
Tower[]
There is at least one CB point near the entrance of the tower level (last pillar on left before falling down the stairs).
Side Temple with Symbol[]

This is a rather commonly used CB-point.(maybe also possible on the edge above, needs testing and edit this here then :) Ravingmadness (talk) 18:13, 16 February 2021 (UTC)
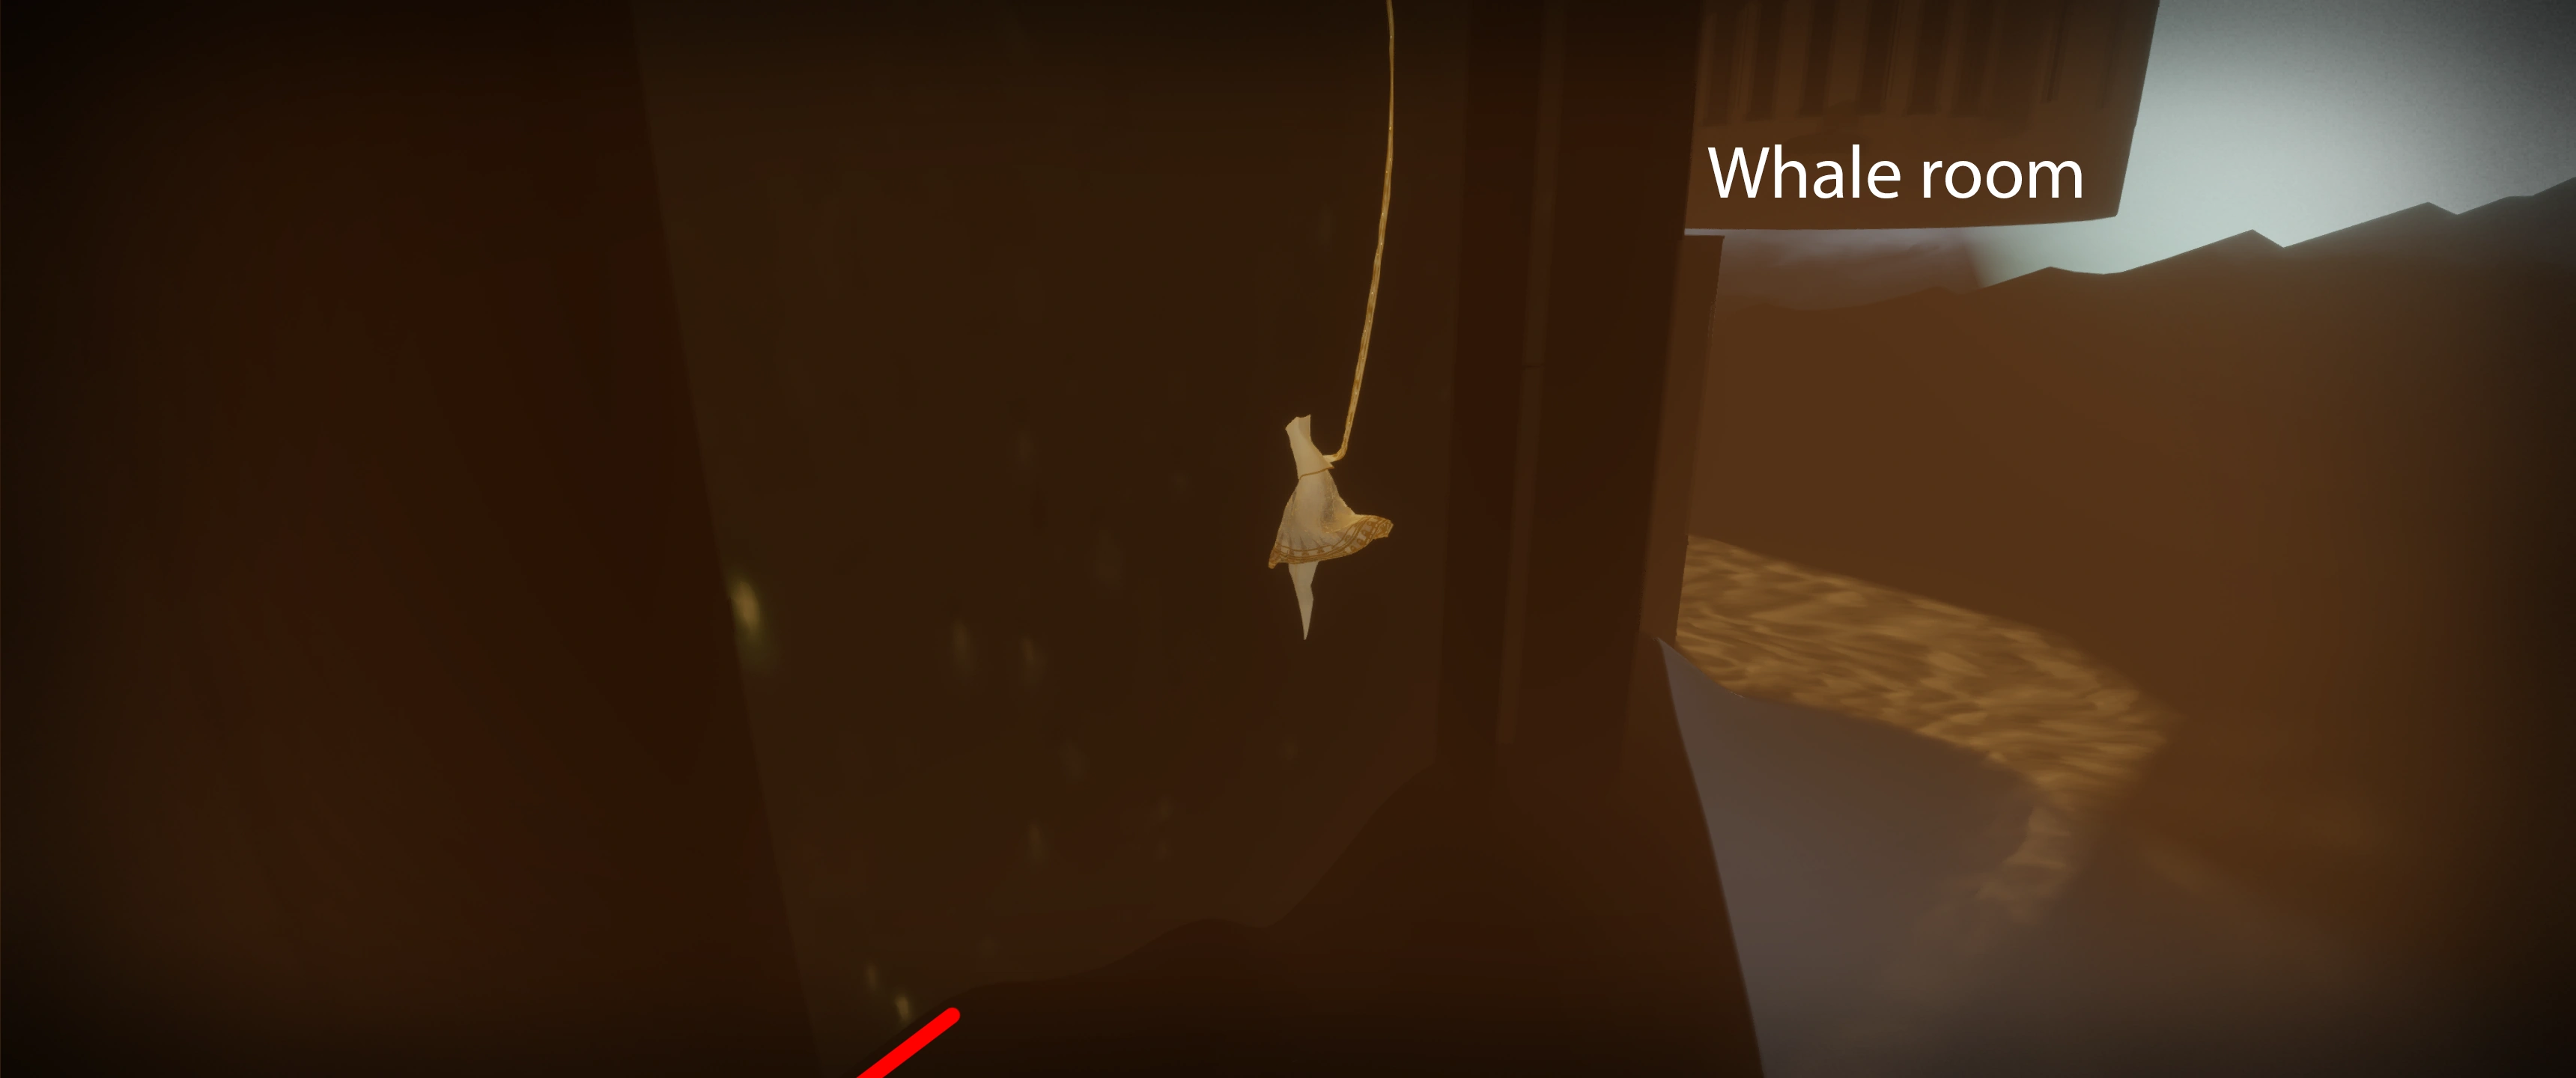
In the whale room[]
There are multiple CB spots near the entrance to the Whale room as seen on the screenshots below.

1/2. There are 4 CB points in the whale room (when you haven't raised the goo)

2/2. One of the 4 CB points
At the bottom of the tower OOB[]
1/2 This CB point is located in OOB, a bit East of the whale room at the bottom. It can be useful to reach the side of the whale room when not able to Reverse Dropshoot, and can be used with level 1 goo. This way you can get back in-bounds without too much troubles.
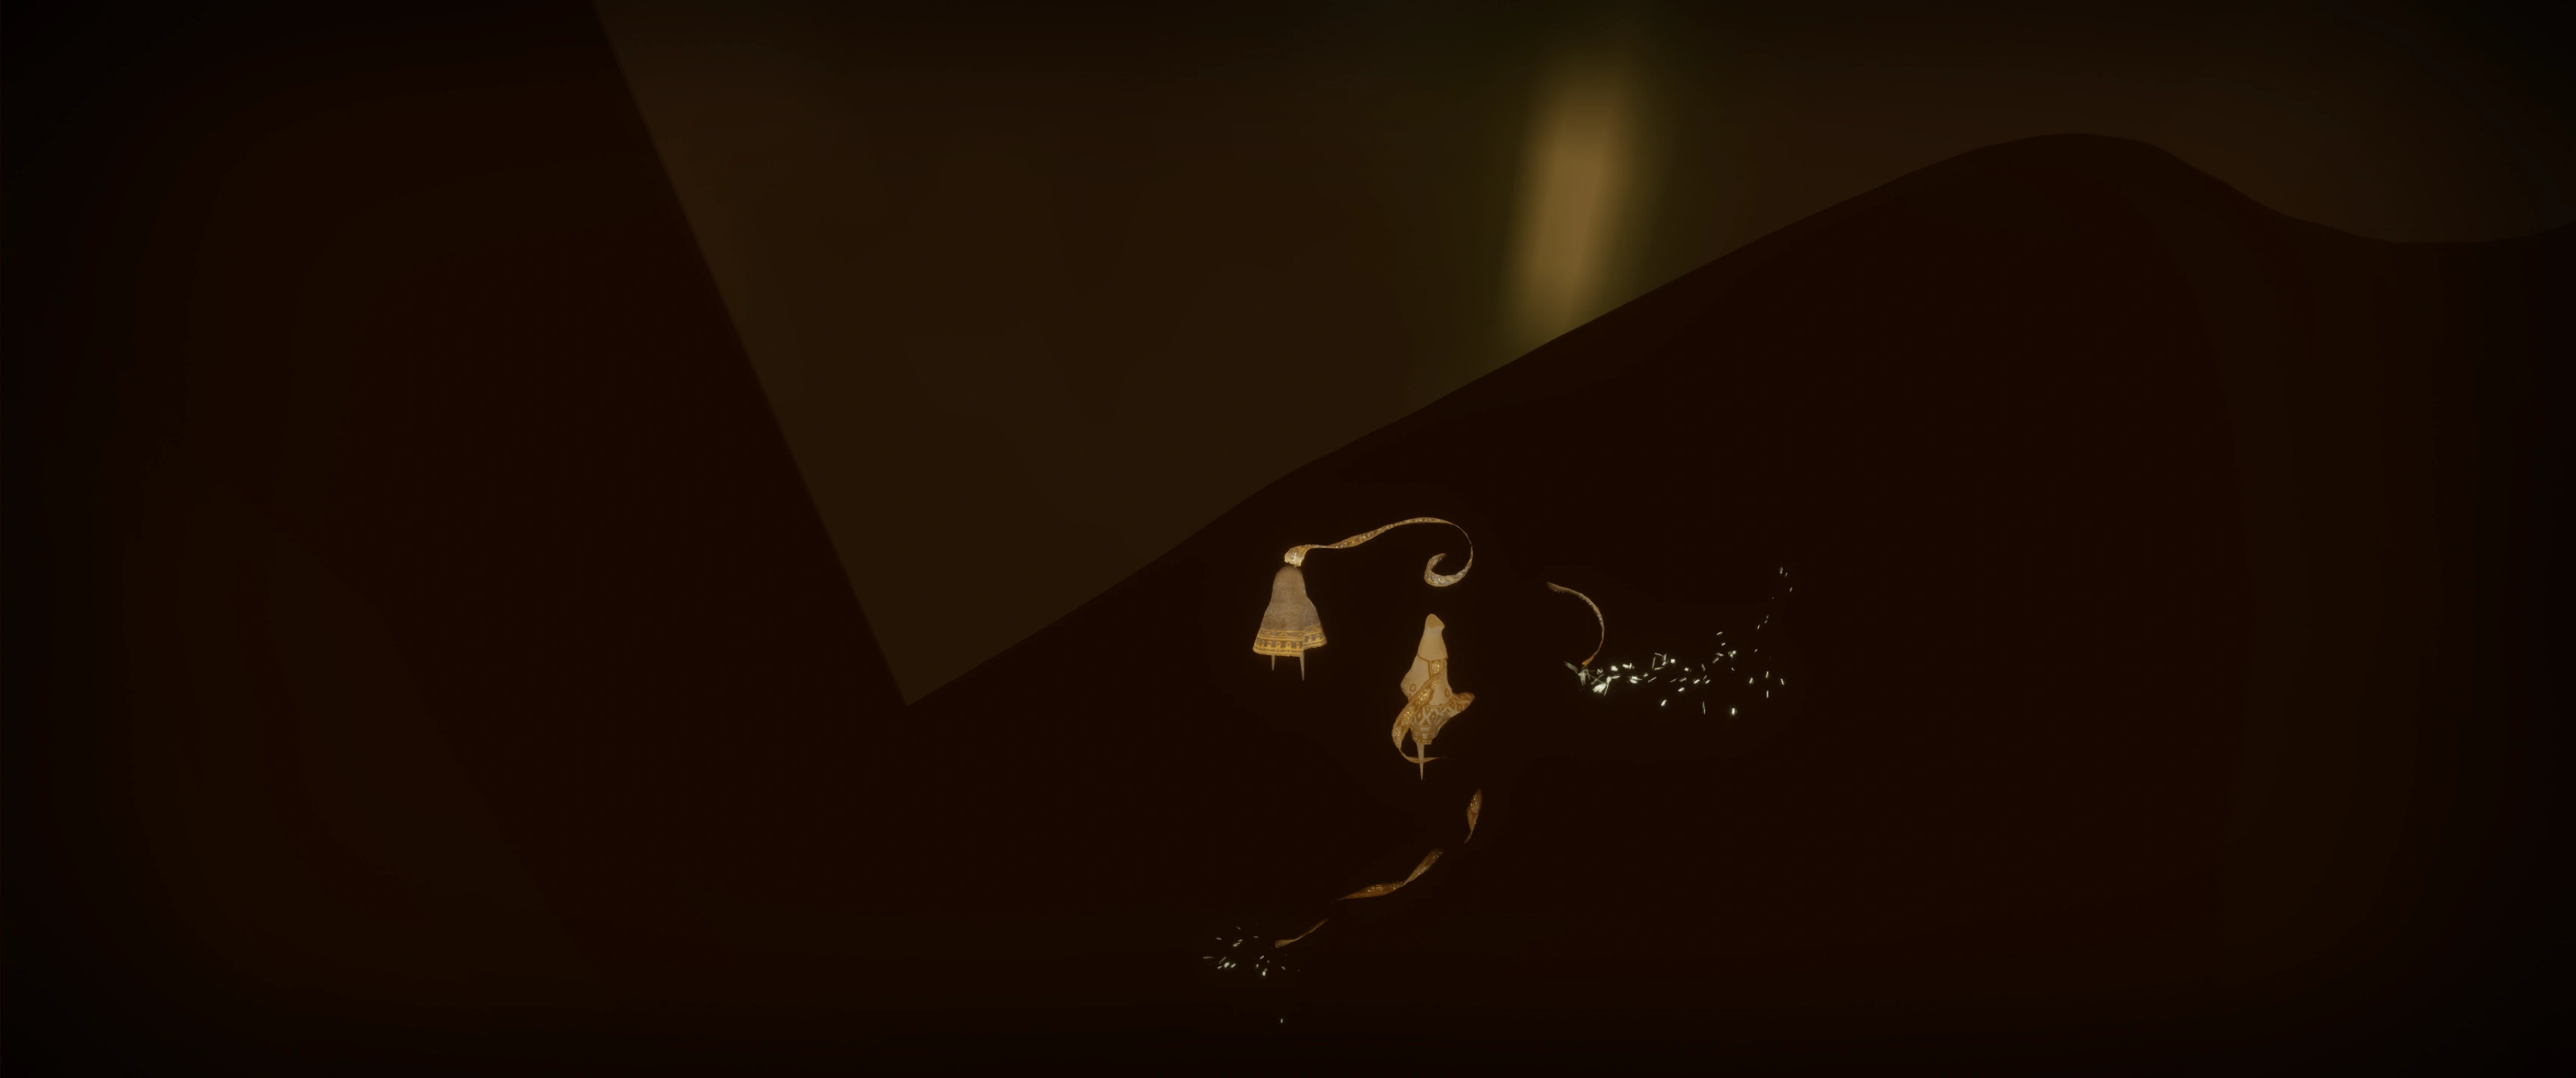
2/2 You tend to charge more in the sand itself rather than the wall here. The spot is easy to locate with this green spot at the bottom of the wall.
Tower CB points (video guide)[]
The video below shows various Charge Boost points in the Tower level.
Other Out-of-bounds CB points?[]
There is a CB point on the northern wall outside the tower. It is only accessible when going out of bounds with no goo. There is also a CB spot on the east wall (on top of some invisible elements protruding from the wall) that can be used to reach the roof of the tower.
Snow[]
There are three CB spots near the start of the Snow level. (Plus one dry boost point on top of the entrance gate)
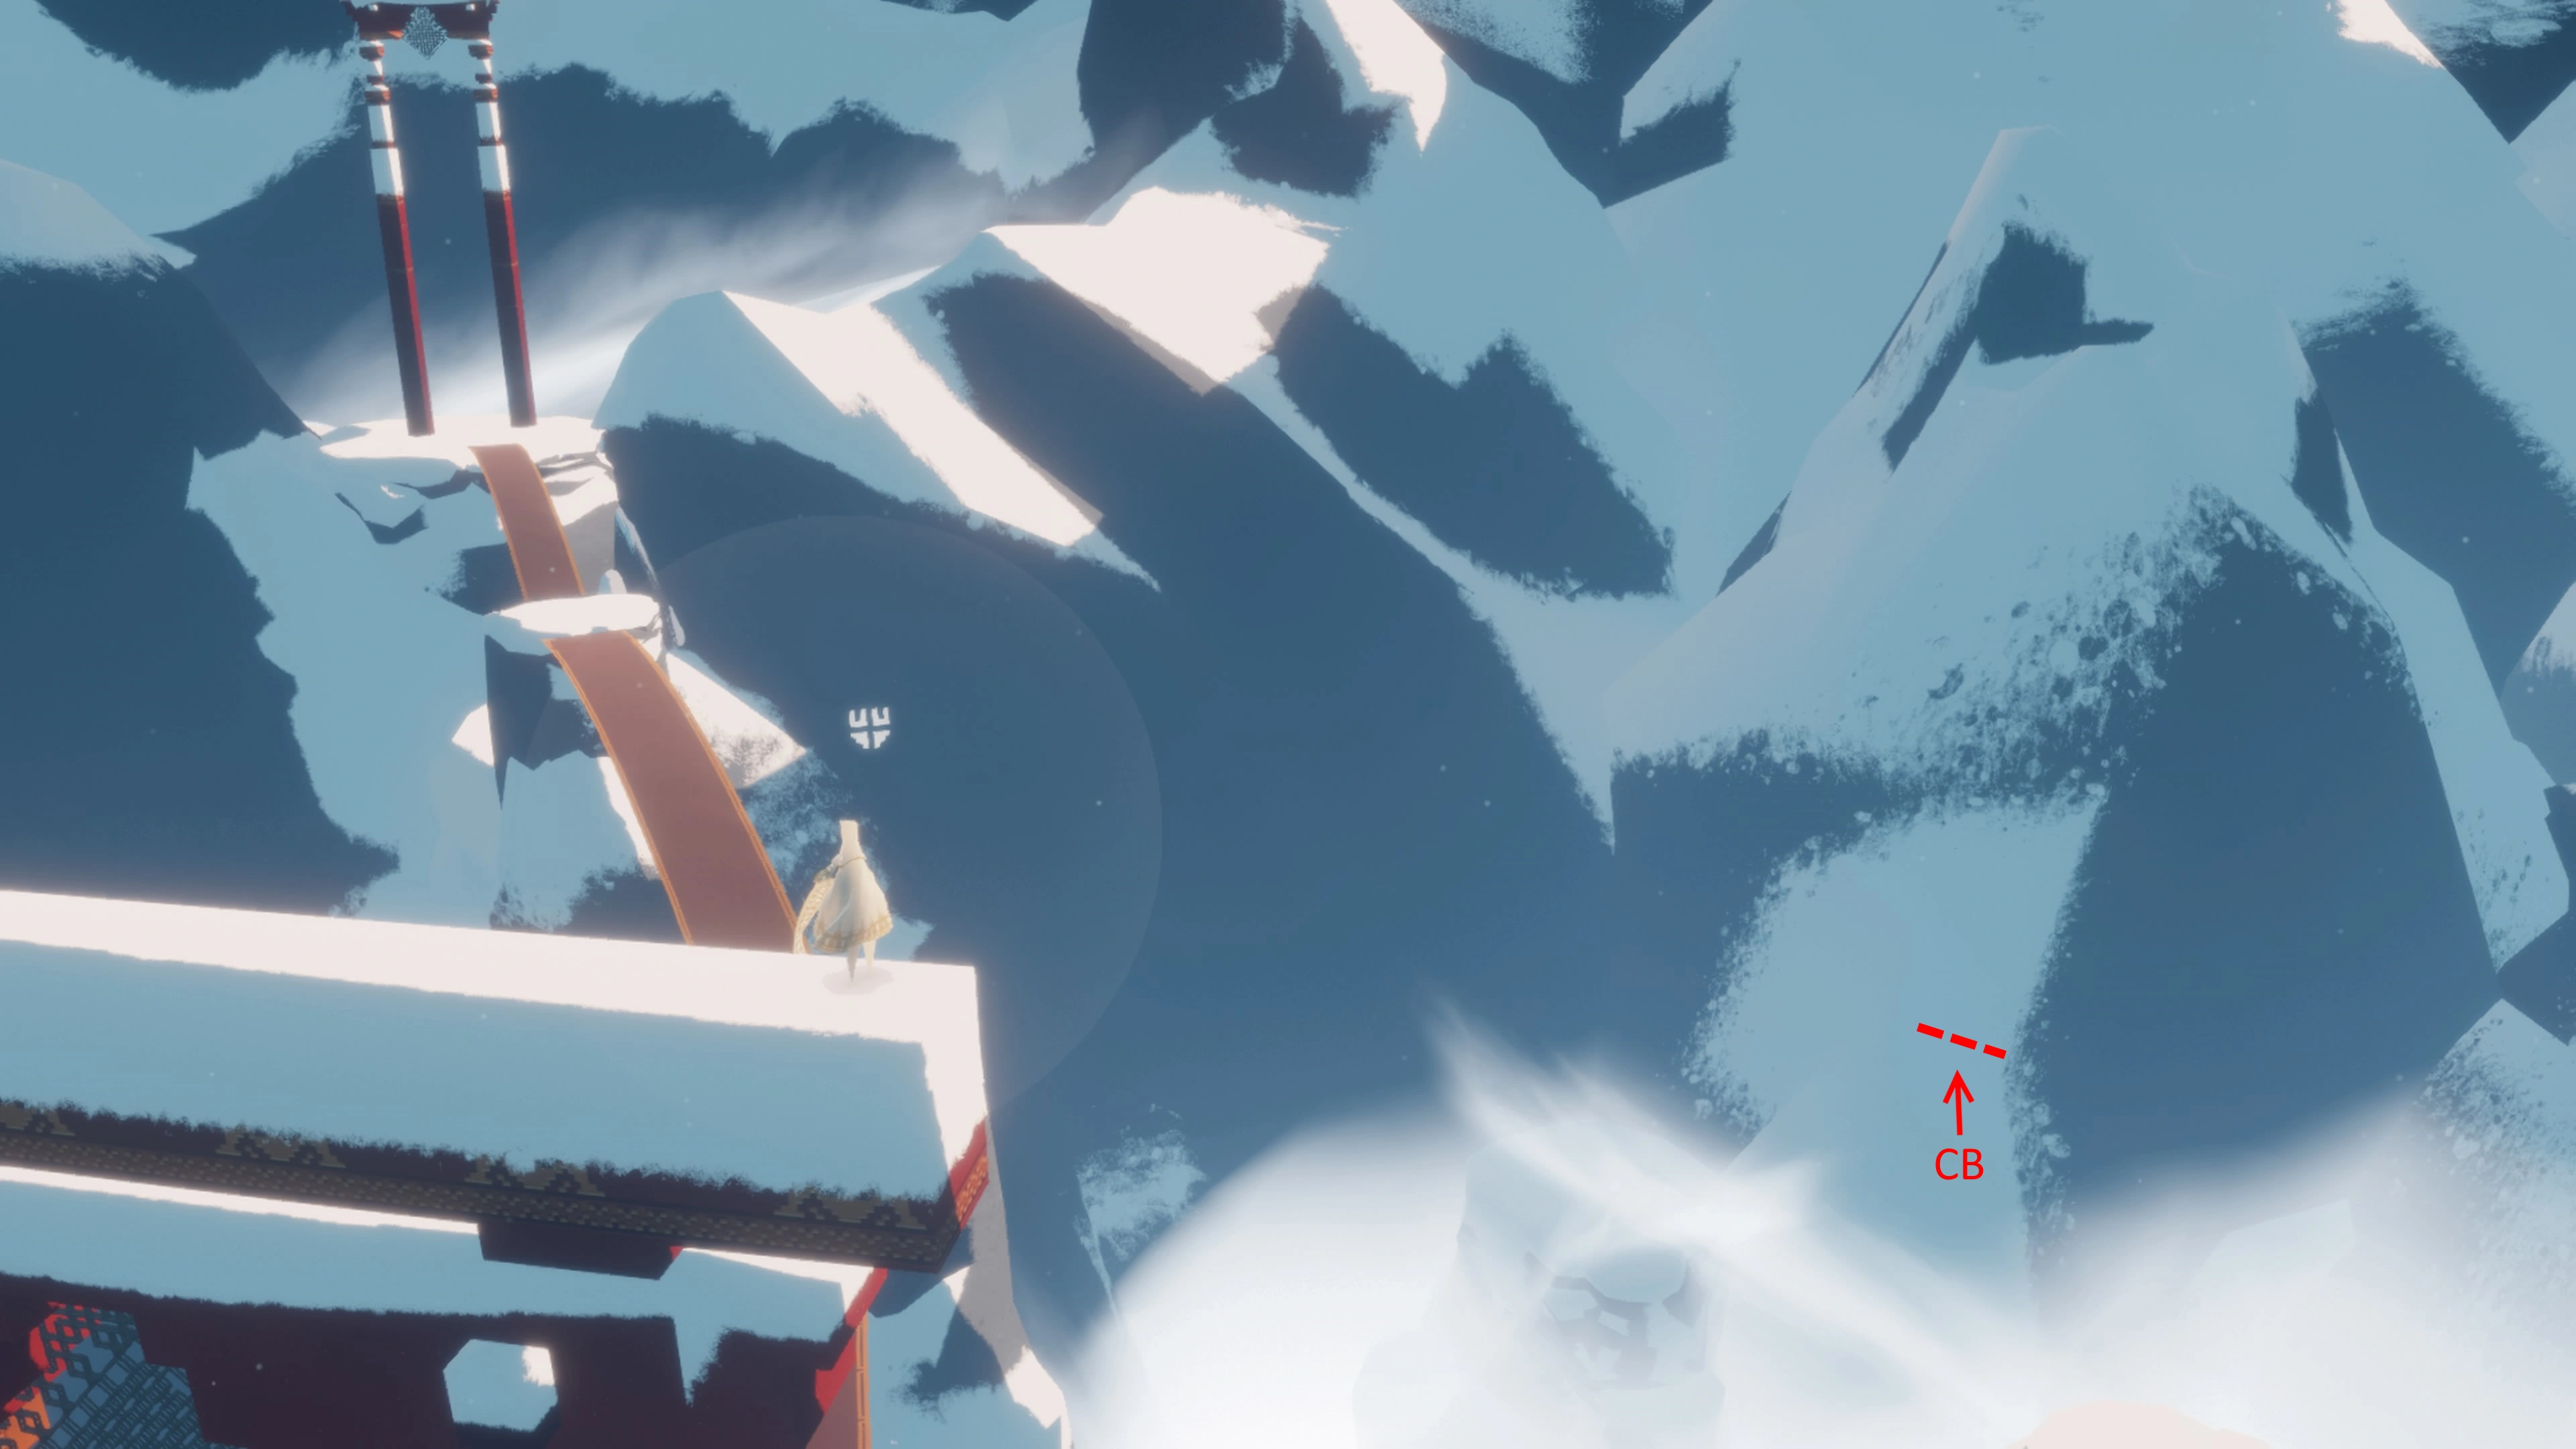
CB spot on the rock near the entrance[]
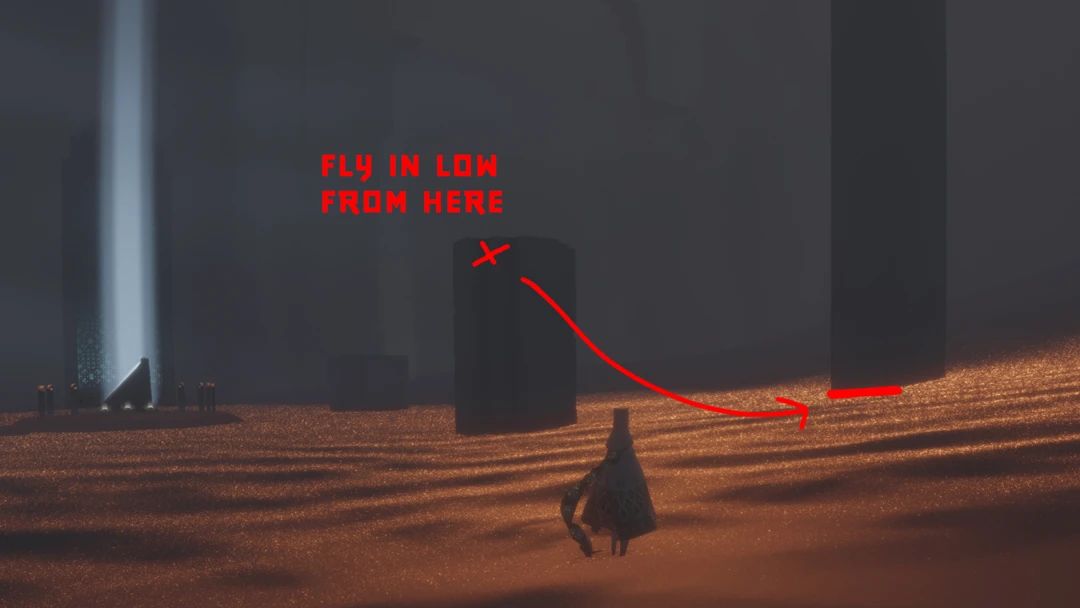
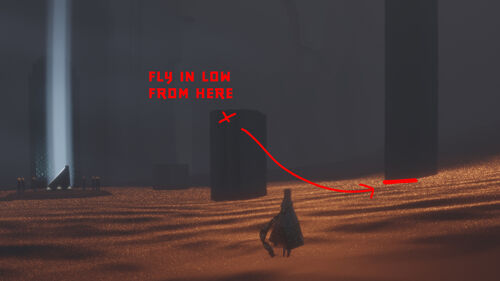
This is probably the easiest and the most well-known CB spot in this level. It's located at the top of the rock formation to the left from the entry gallery as you walk into the snow. Make sure to unfreeze your scarf in the entrance, otherwise you will not be able to jump high enough. Fly up to the marked spot to recharge your scarf, then up again to the boosting spot. Easiest way to get into, is to just walk and fly forward at the same time. Note that you can also perform a charge boost at the interim location (marked with the cross on the picture below) but it might be harder to get into it.
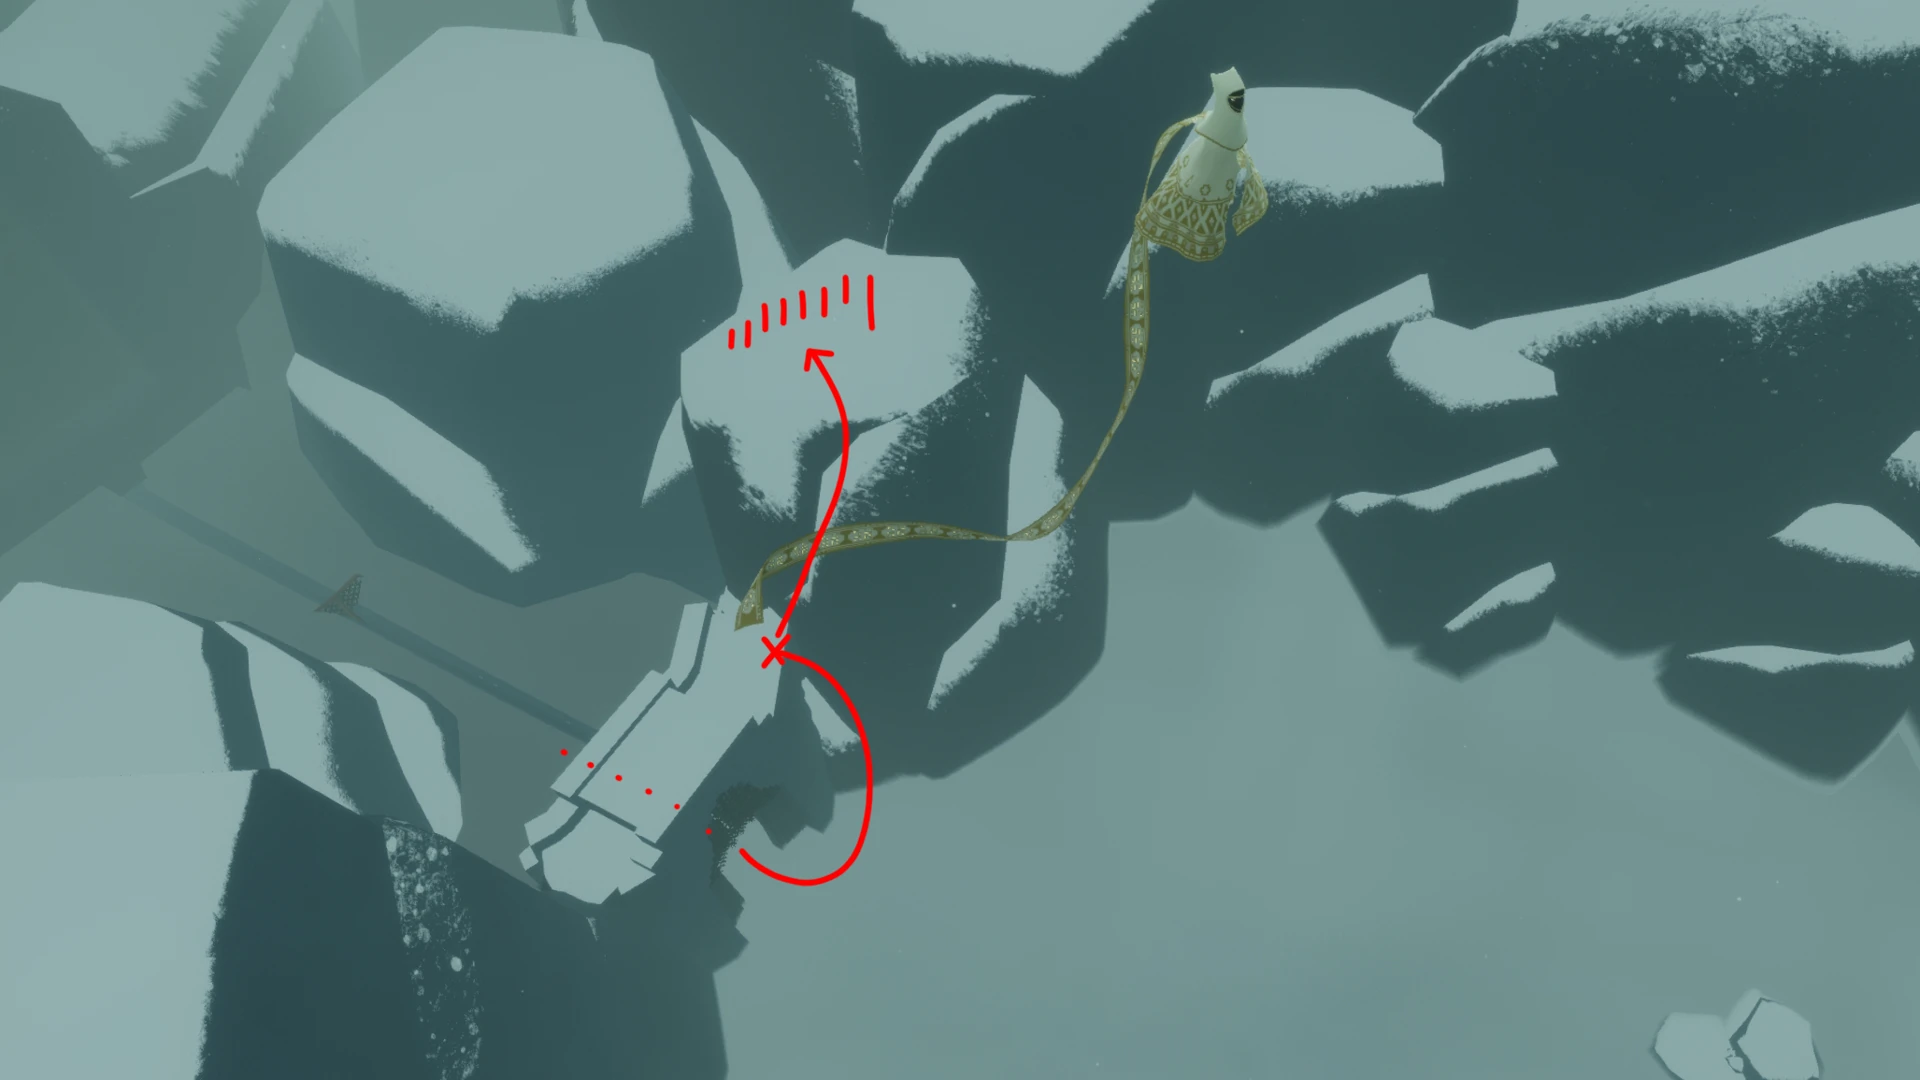
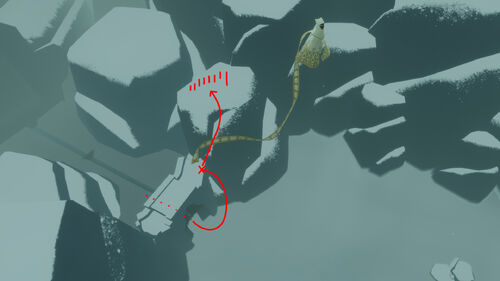
Charge Boost spots at the start of the level outside the gallery
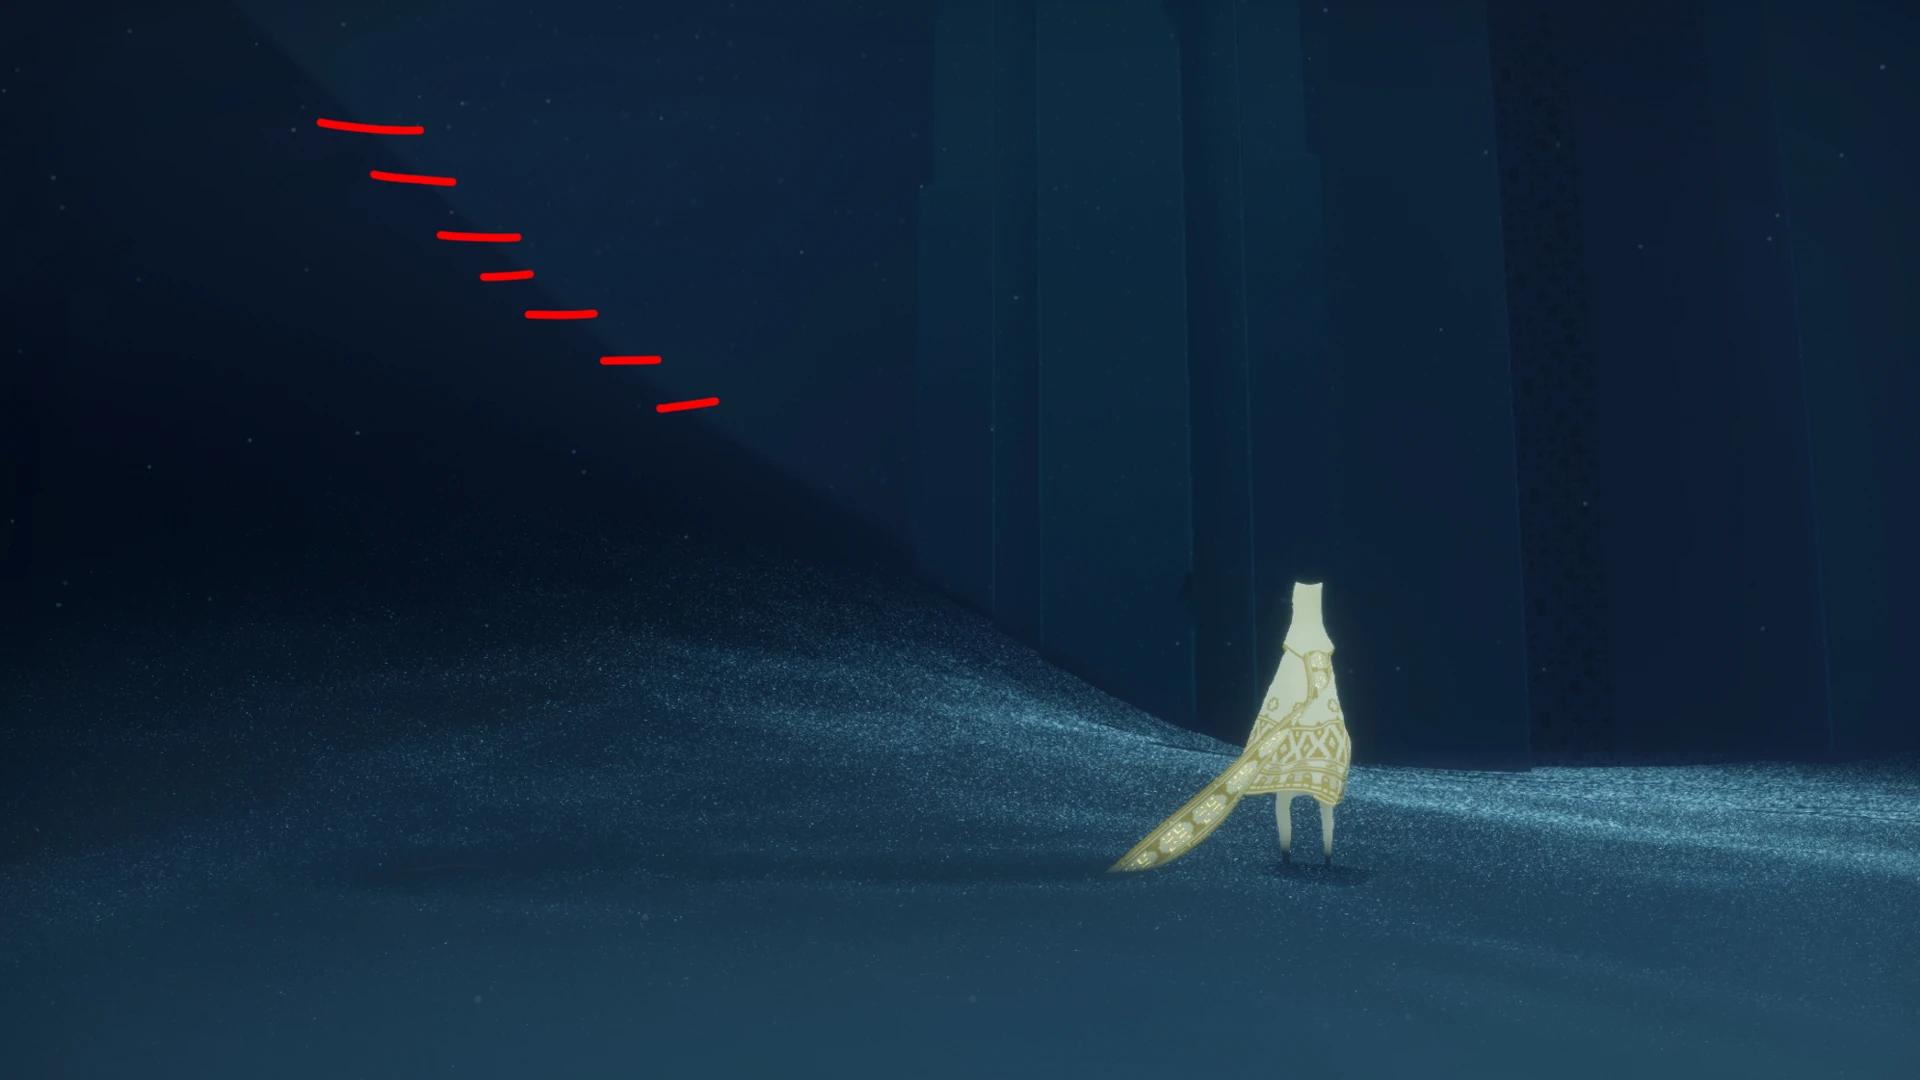
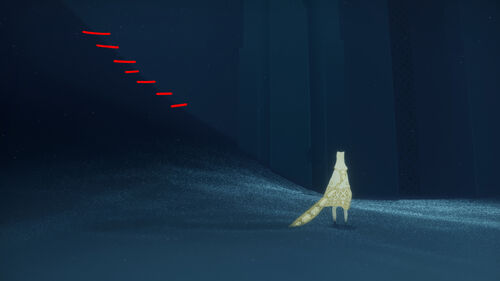
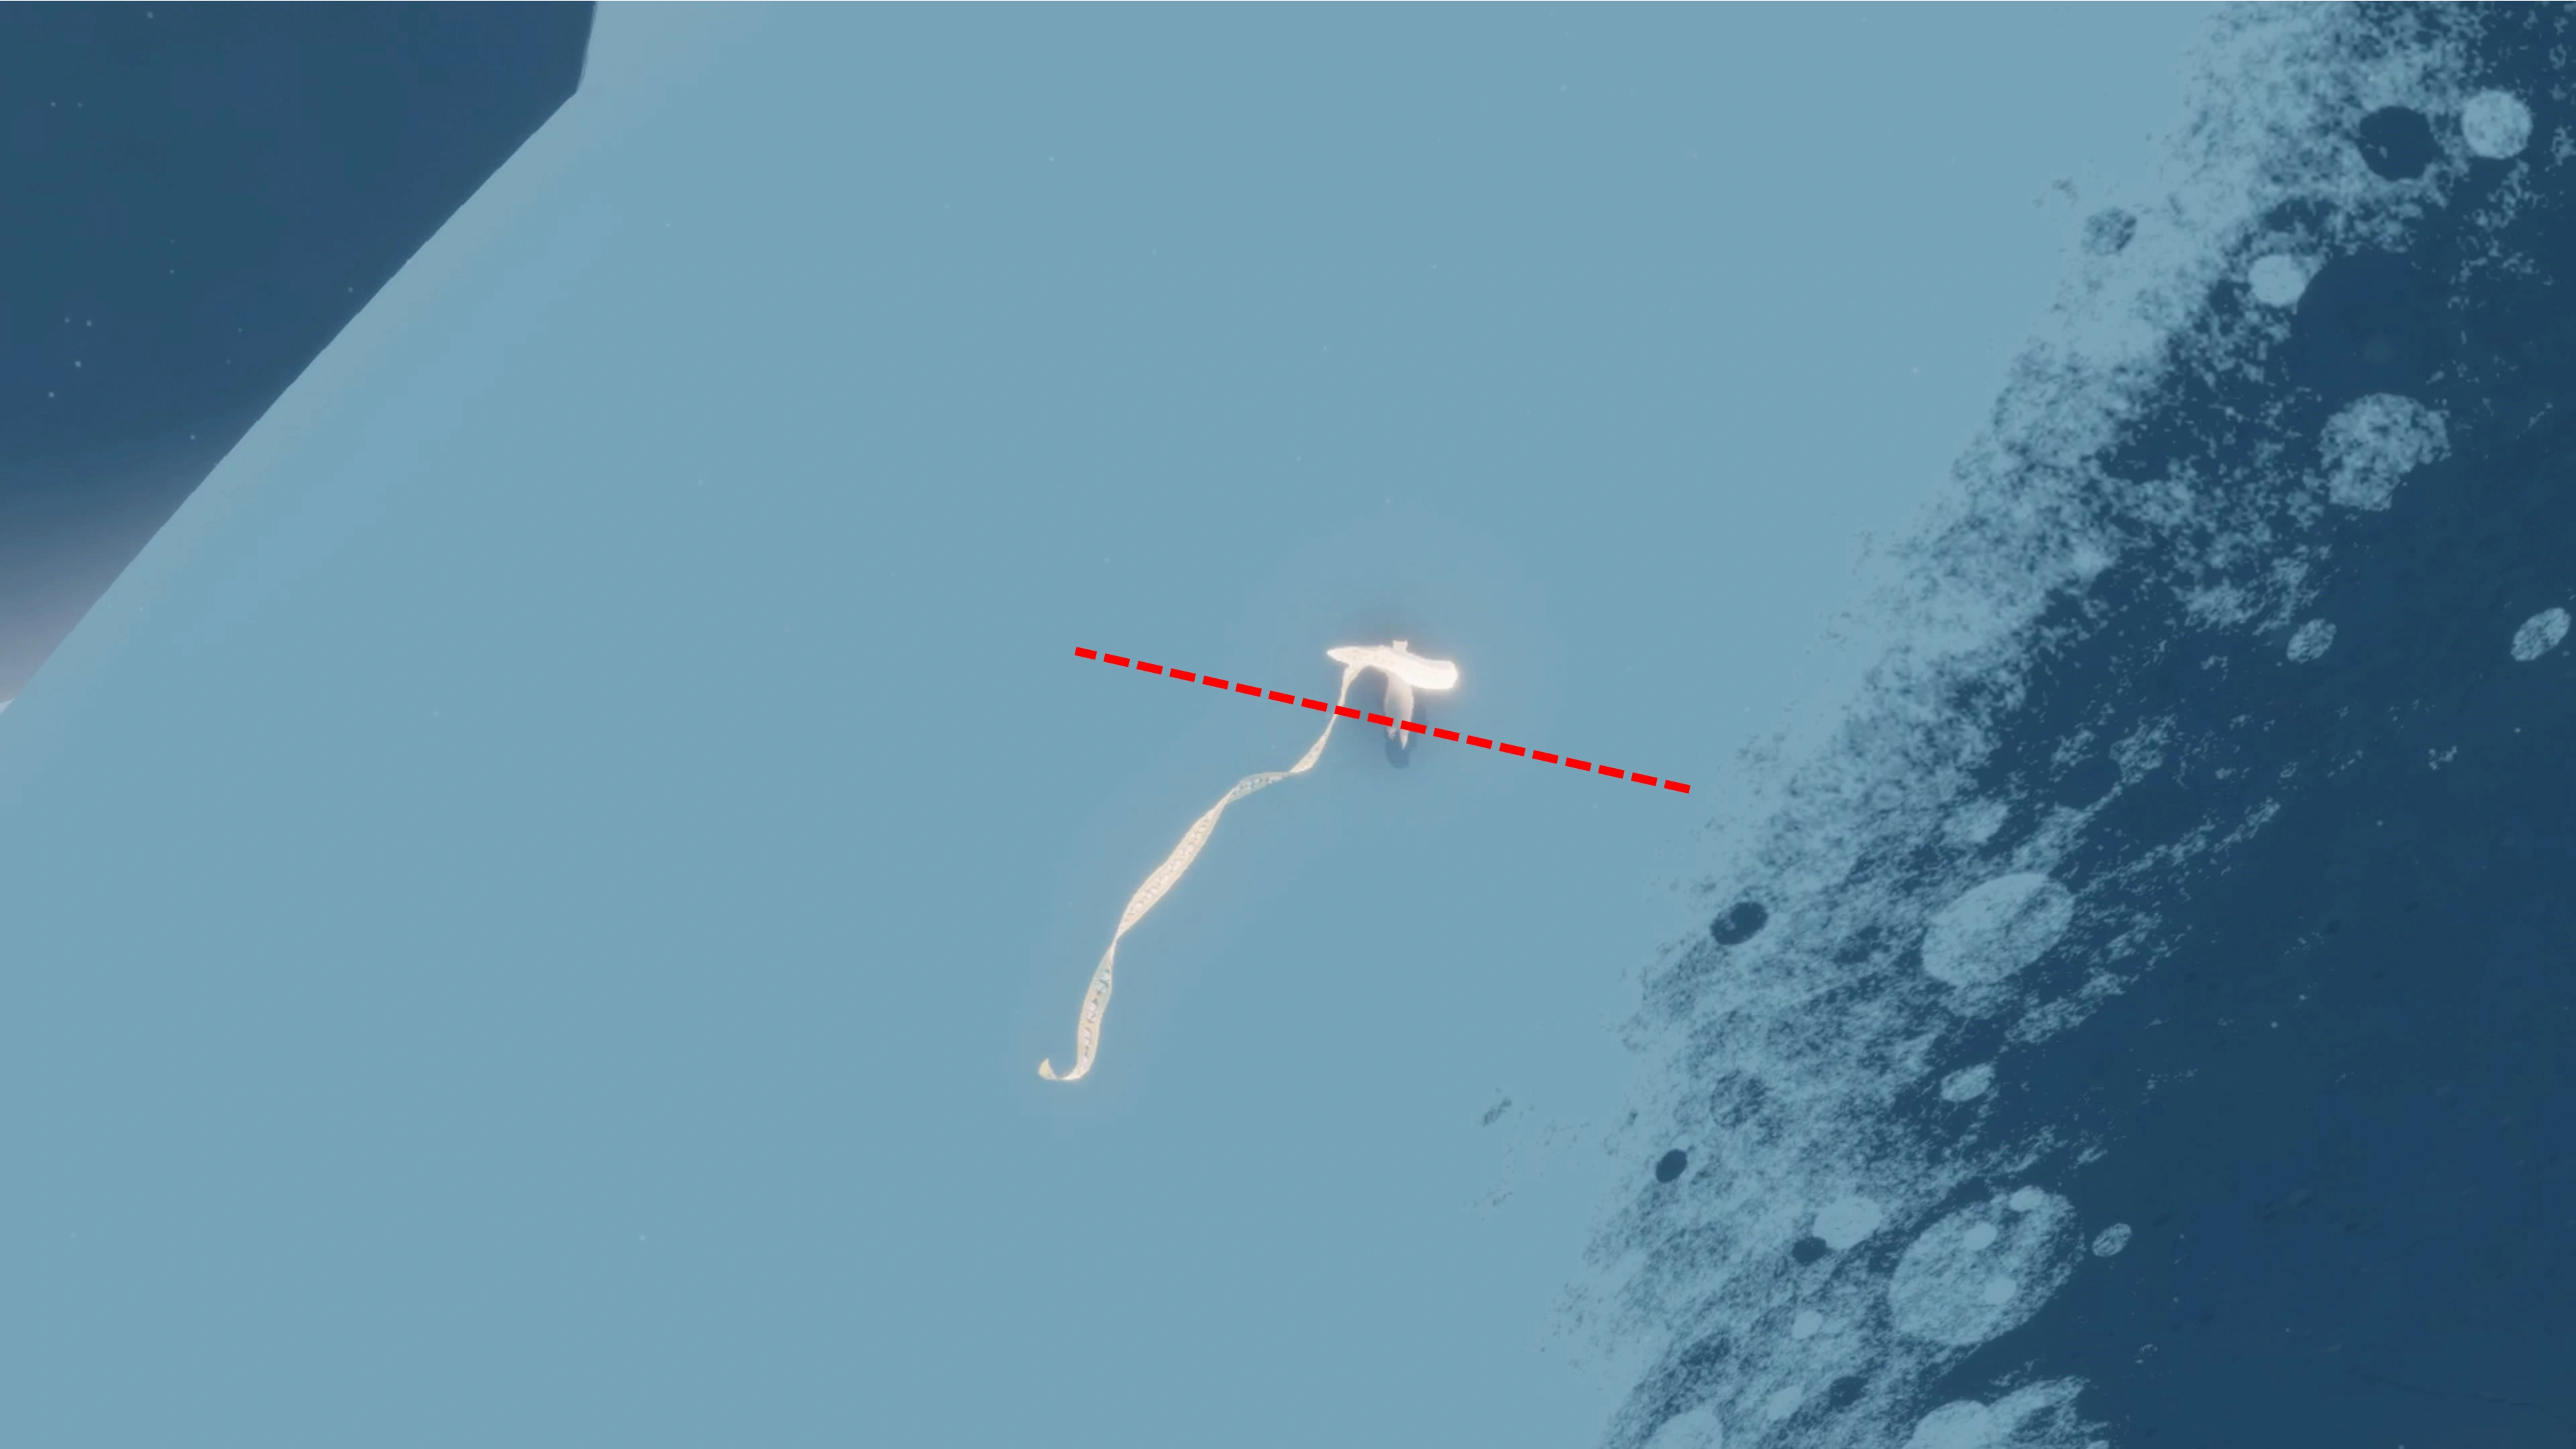
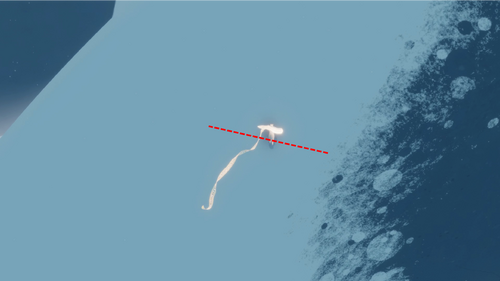
CB spot on the top of the entry gallery (plus Dry-boost point)[]
This is the CB spot mentioned above, halfway to the main CB spot.
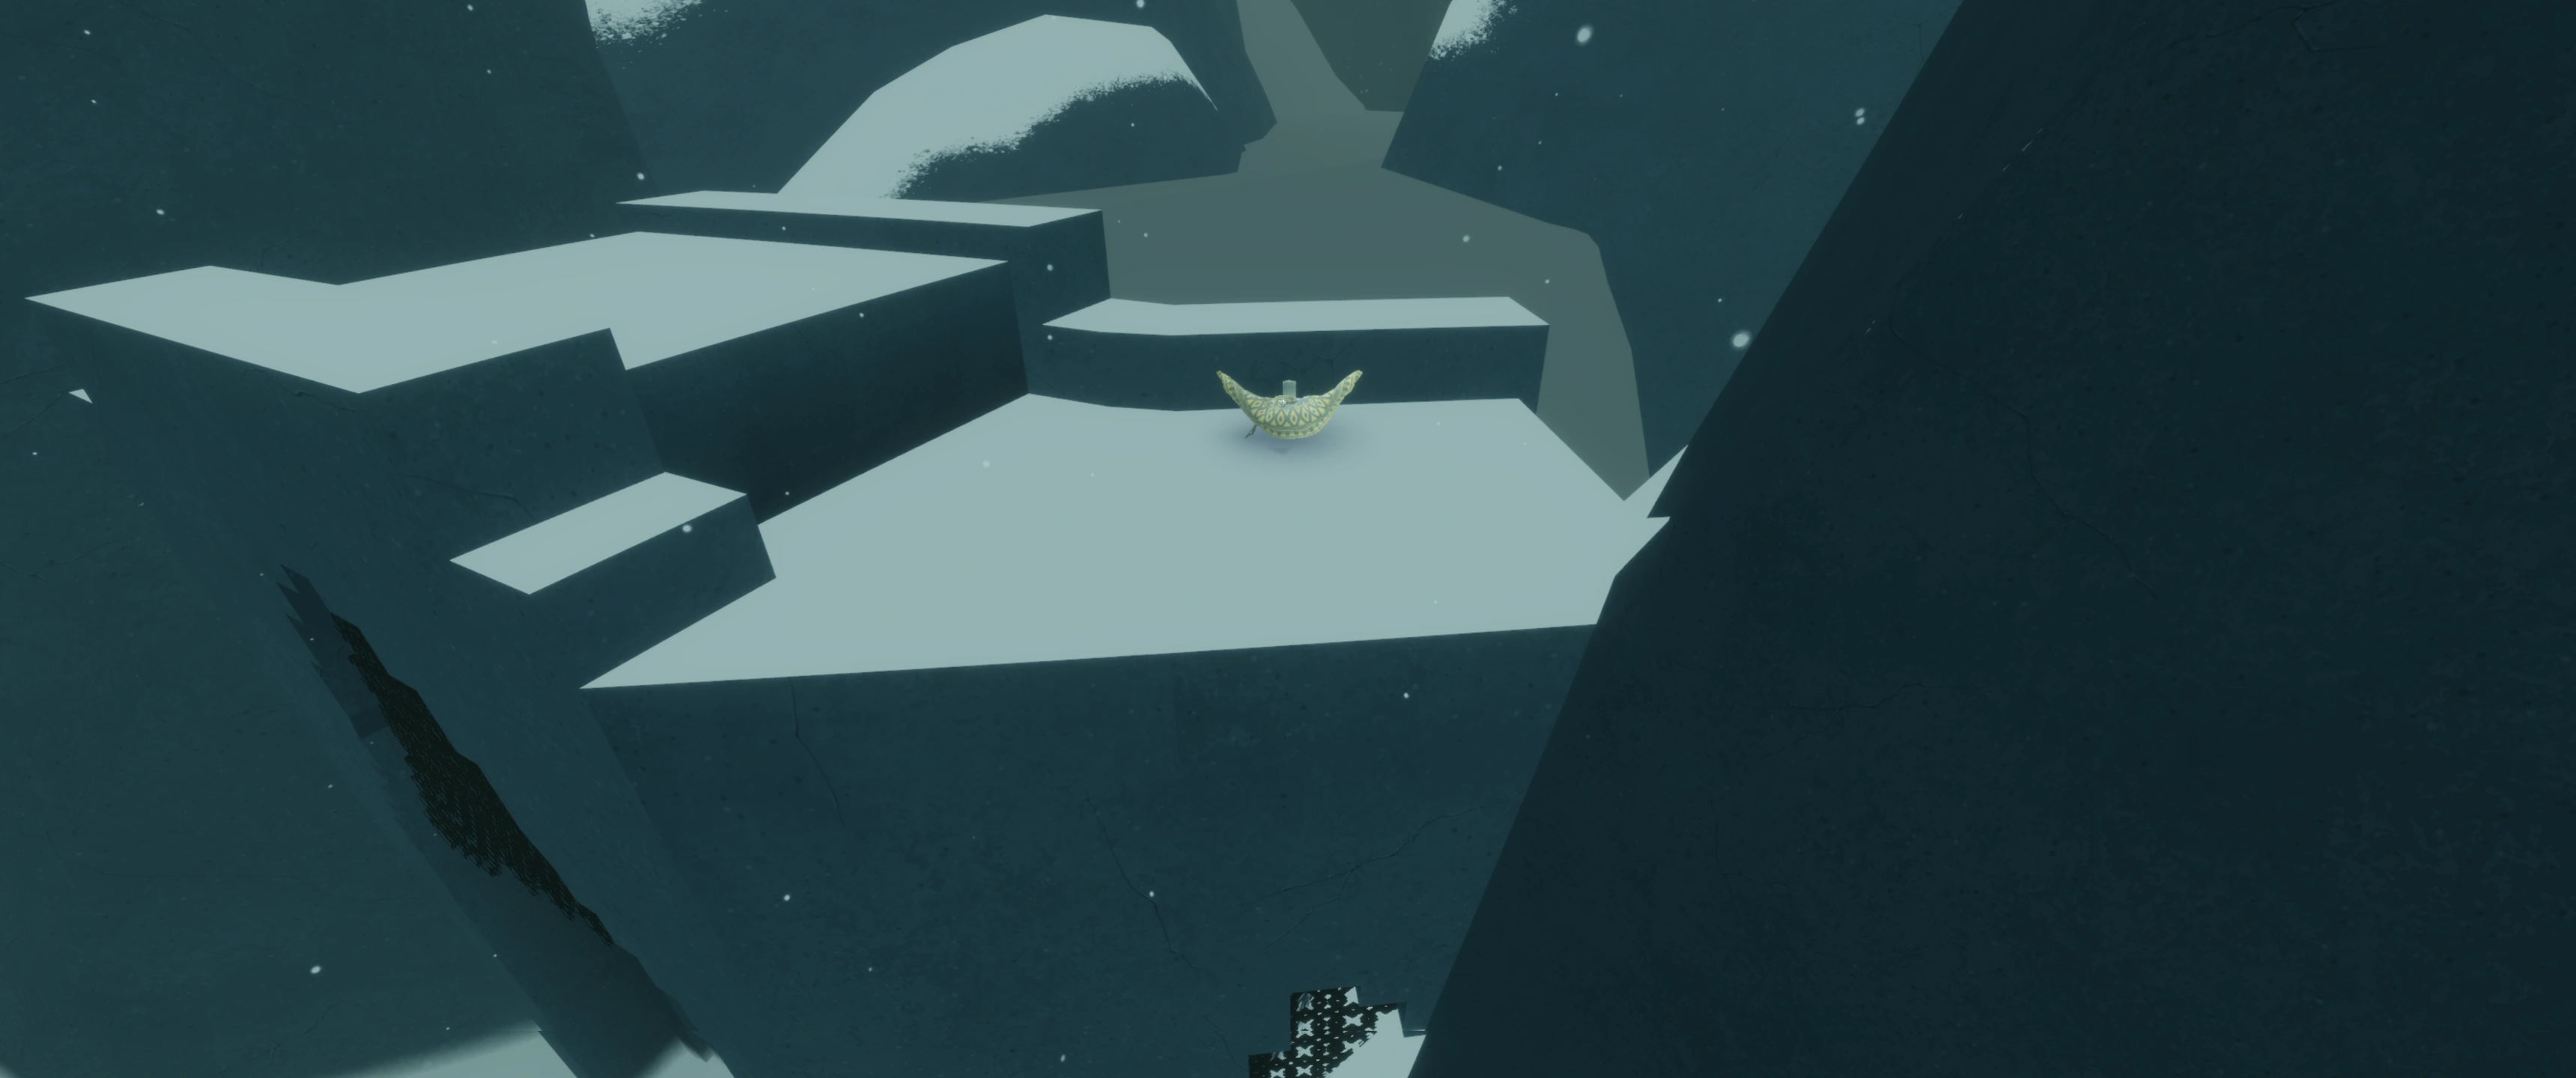
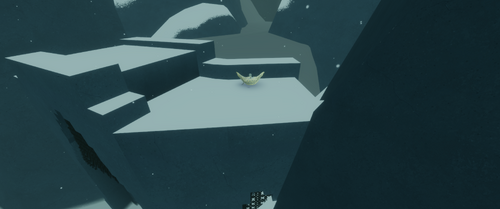
The CB location corresponding to the red "x" from previous picture. If you go left a little you can dry-boost directly over the entrance metal gate (easier than this CB point but very bouncy and a bit weak).
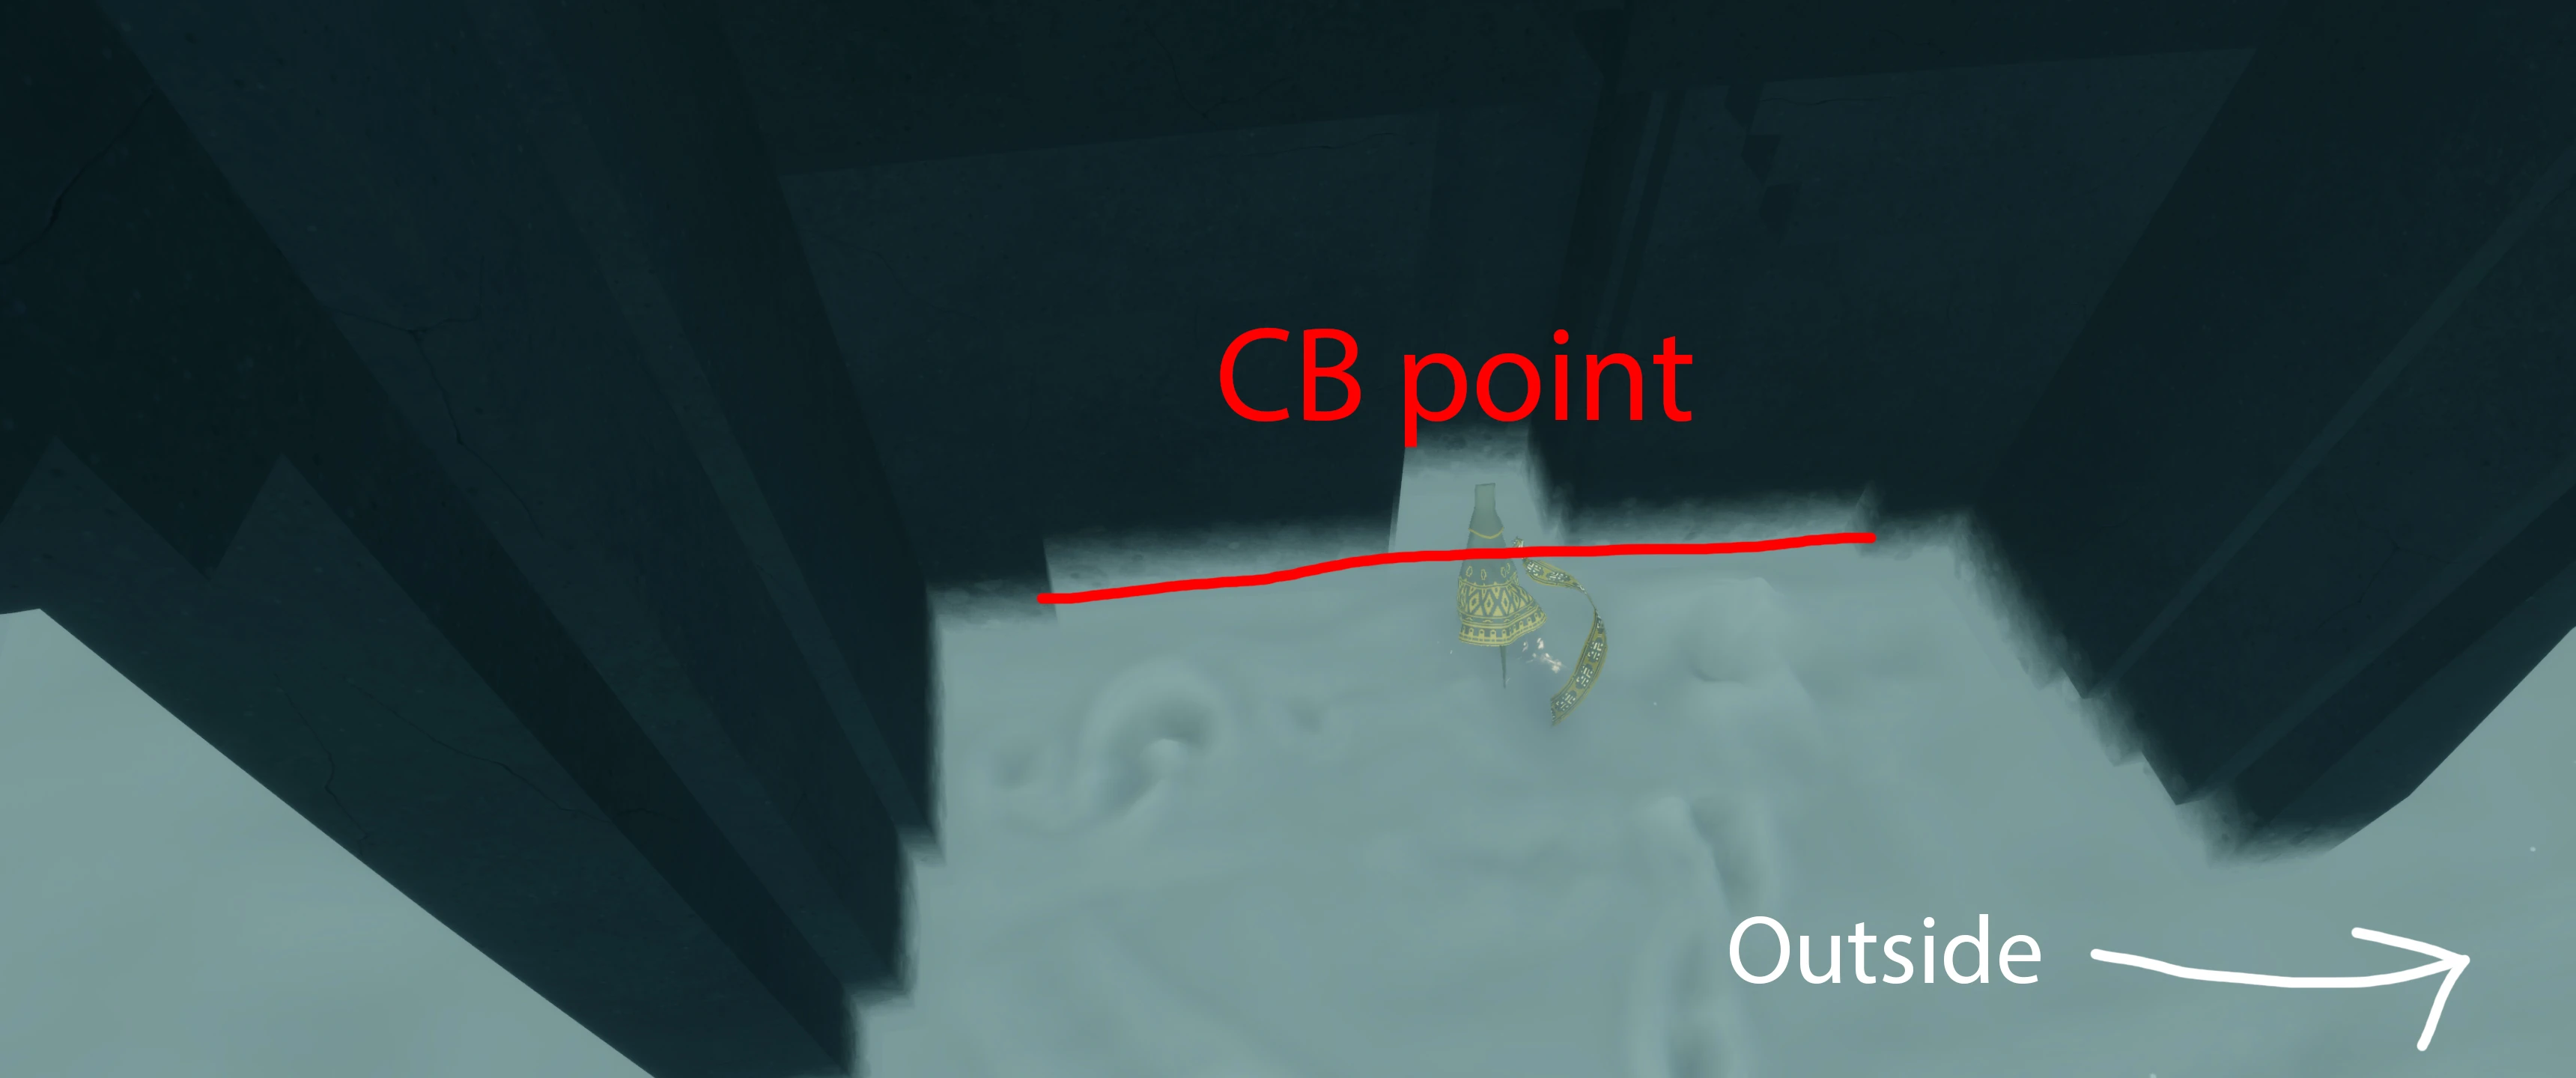
Inside the entry passage[]
This CB point is located at the entrance of the snow level (last left wall when facing outside). It can be a bit hard to manage as it isn't very easy to get into it, and if you use it like a normal CB point when flying off, you can hit your head inside. 2 options here for boosting:
- After charging (it is better ending on the left side of the wall) you should consider putting the camera fully to the left (facing outside), then quickly run/fly outside while still holding jump/fly. Once outside, release jump and move backwards to boost towards the camera.
- Finish charging on the right side of the wall, then move backwards (release jump), and while making your way out of the gate without hitting your head, start aiming towards the sky with the camera. Once out, put the camera all the way to the sky and move forward to boost.


CB inside the gallery at the very start of the Snow level
.jpg)
.jpg)
.jpg)
.png)
.jpg)
.png)
.jpg)
.jpg)
.png)
.png)
.png)
.jpg)
.png)
.png)
.png)
.jpg)
Paradise[]
Near the bridge[]
This point is in the first area of the level. Easy location to charge boost from.

1/2 View looking East at Charge Boost point.
2/2 Area of charge point.
Near the big waterfall[]
Another known CB location in Paradise. It is explained on the screenshot below.

At the ledge near the big waterfall, where you will get blown off. Very hard to get into because of your ridiculous forward/upward momentum in Paradise.
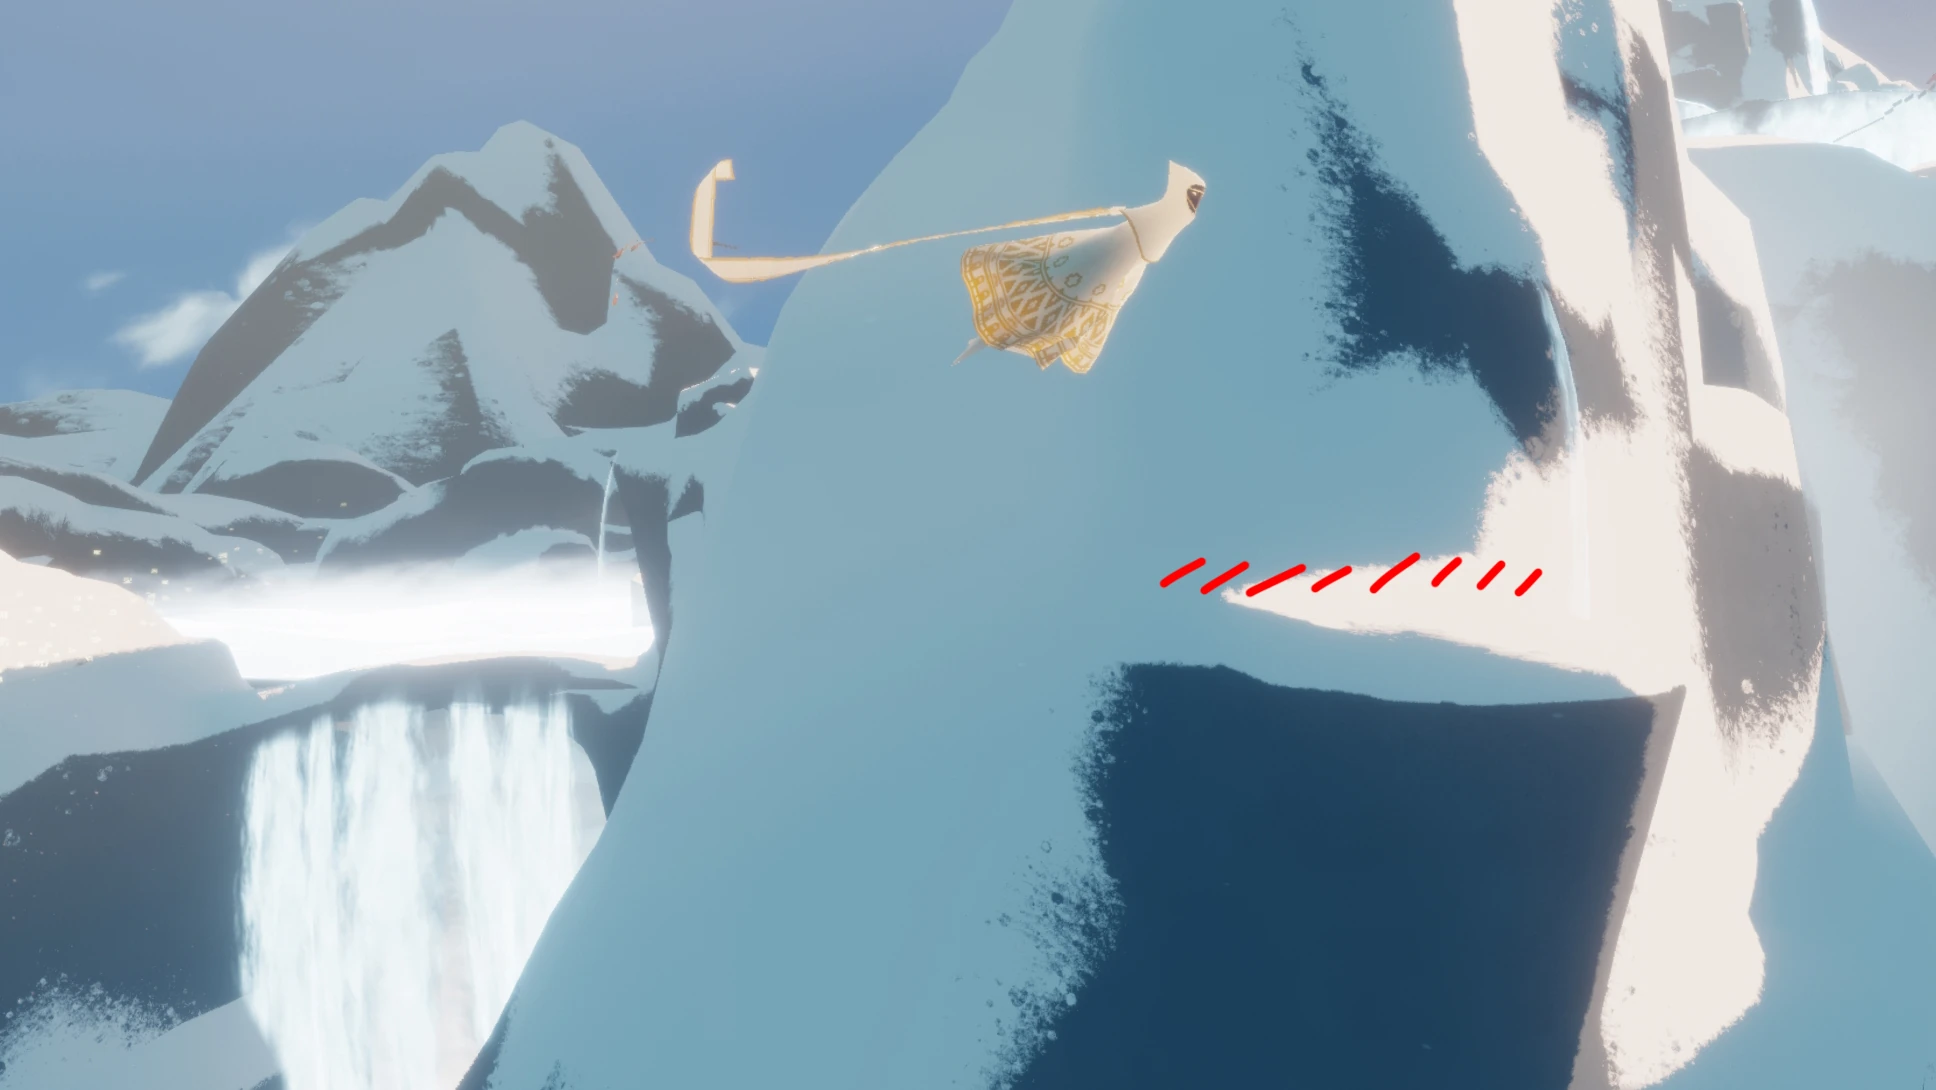
West side of the final mountain[]
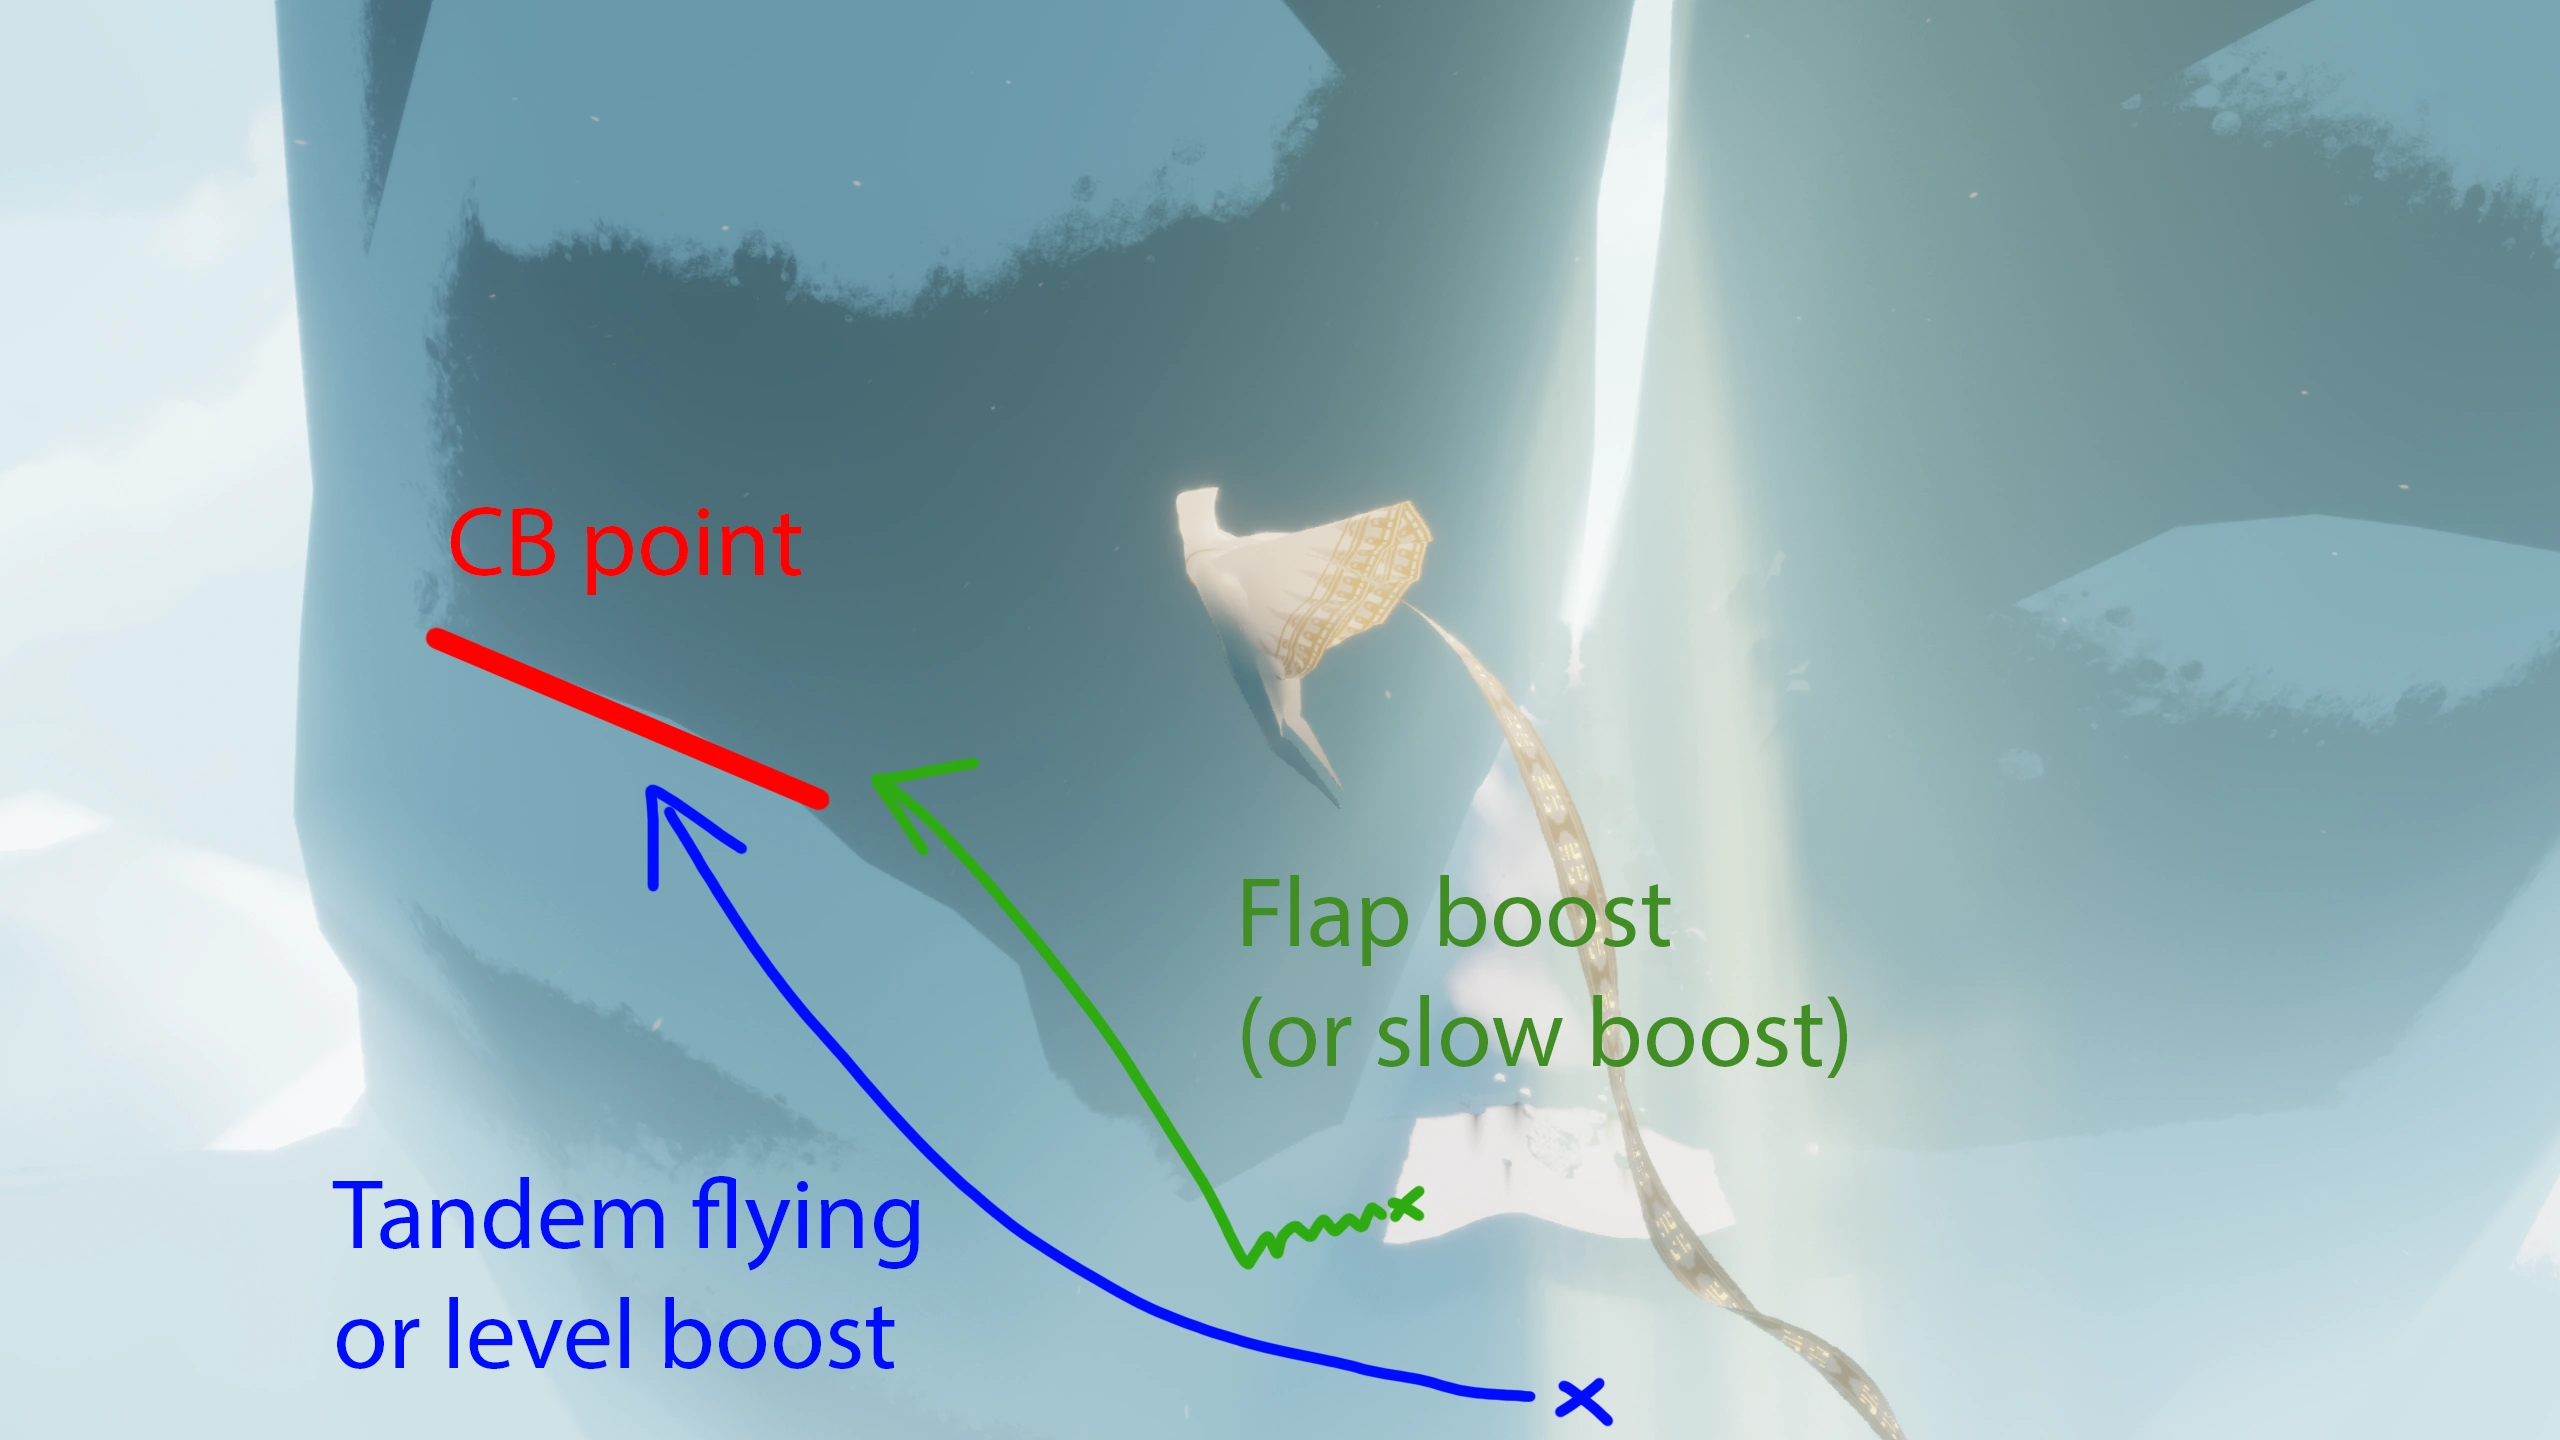

This CB point can be useful to get to the mountain's top (in order to trigger the color ripple glitch for example). First it can be hard to reach it (a few ideas are mentionned on the picture itself). Because the wall isn't completely vertical it is easy to slide off it when charging. This is why it may be a good idea to run from right to left and vice versa along this long edge to charge, by turning the camera sideway, rather than facing fully toward the wall.
Snow and Paradise CB points (video guide)[]
The video below shows various Charge Boost points in the Snow and paradise level.
Variations[]
Trivia[]
It is possible to Charge Boost as a reddie (=red robe wayfarer) as long as you have a companion doing quick little chirps at you continuously. It is therefore also possible to chargeboost as a red robe completely scarfless, though it requires more skills and a great chirpy companion.
Quotes[]
See also[]
Fancy Flying is when you control the character and camera together in order to gather energy with a dive and release it in the form of a boost, to gain lots of height, distance and/or speed.
Refer to the main article for general information and tips.
With Companion: Tandem Flying. Solo: Dive Boost (DB), Dropshoot (DS), Charge Boost (CB)
Expert Mode introduction article to everything beyond the most basic gameplay.
See also: Glitches, Out of Bounds (OOB), Tricks, Challenges, Category:Expert Mode Glossary.
Robins Guide for Newcomers . 26 Minutes, full of tips, tricks, dos and don'ts.