 |
Navigation help for Level-articles: Levels
Remember that by reading further then the Overview you might get exposed to spoilers! The Wiki intends to describe every little detail and background knowledge (as soon as available and verified). Detailed help for Trophies, Glyphs and Symbols are given under that headline. In the Sections part, there will be just hints. |
Remember that by reading further then the Overview you might get exposed to spoilers! The Wiki intends to describe every little detail and background knowledge (as soon as available and verified).
Detailed help for Trophies, Glyphs and Symbols are given under that headline. In the Sections part, there will be just hints.
| Chapter Select | |
|---|---|
| |
| Details | |
Level#/Abrv. |
1, CS |
| 3 | |
| 1 (plus one that doesn't count toward the Trophy) | |
Sections |
The Graveyard The Hub |
Keywords |
Tutorial; after your 1st playthrough, you can select a level, thus the name. |
Chapter Select (commonly abbreviated as CS) is the level were you start your Journey.
Alternative Names:[]
- Cemetery
- Graveyard
- Level Select
Overview[]
Confusion about what to do is normal, and probably even intended.
The camera will often move to show ruins or give a hint on where to go.
At certain locations the game will show a controller or a mouse, to tell you which buttons to use here.
Without words, the game will tell you about:
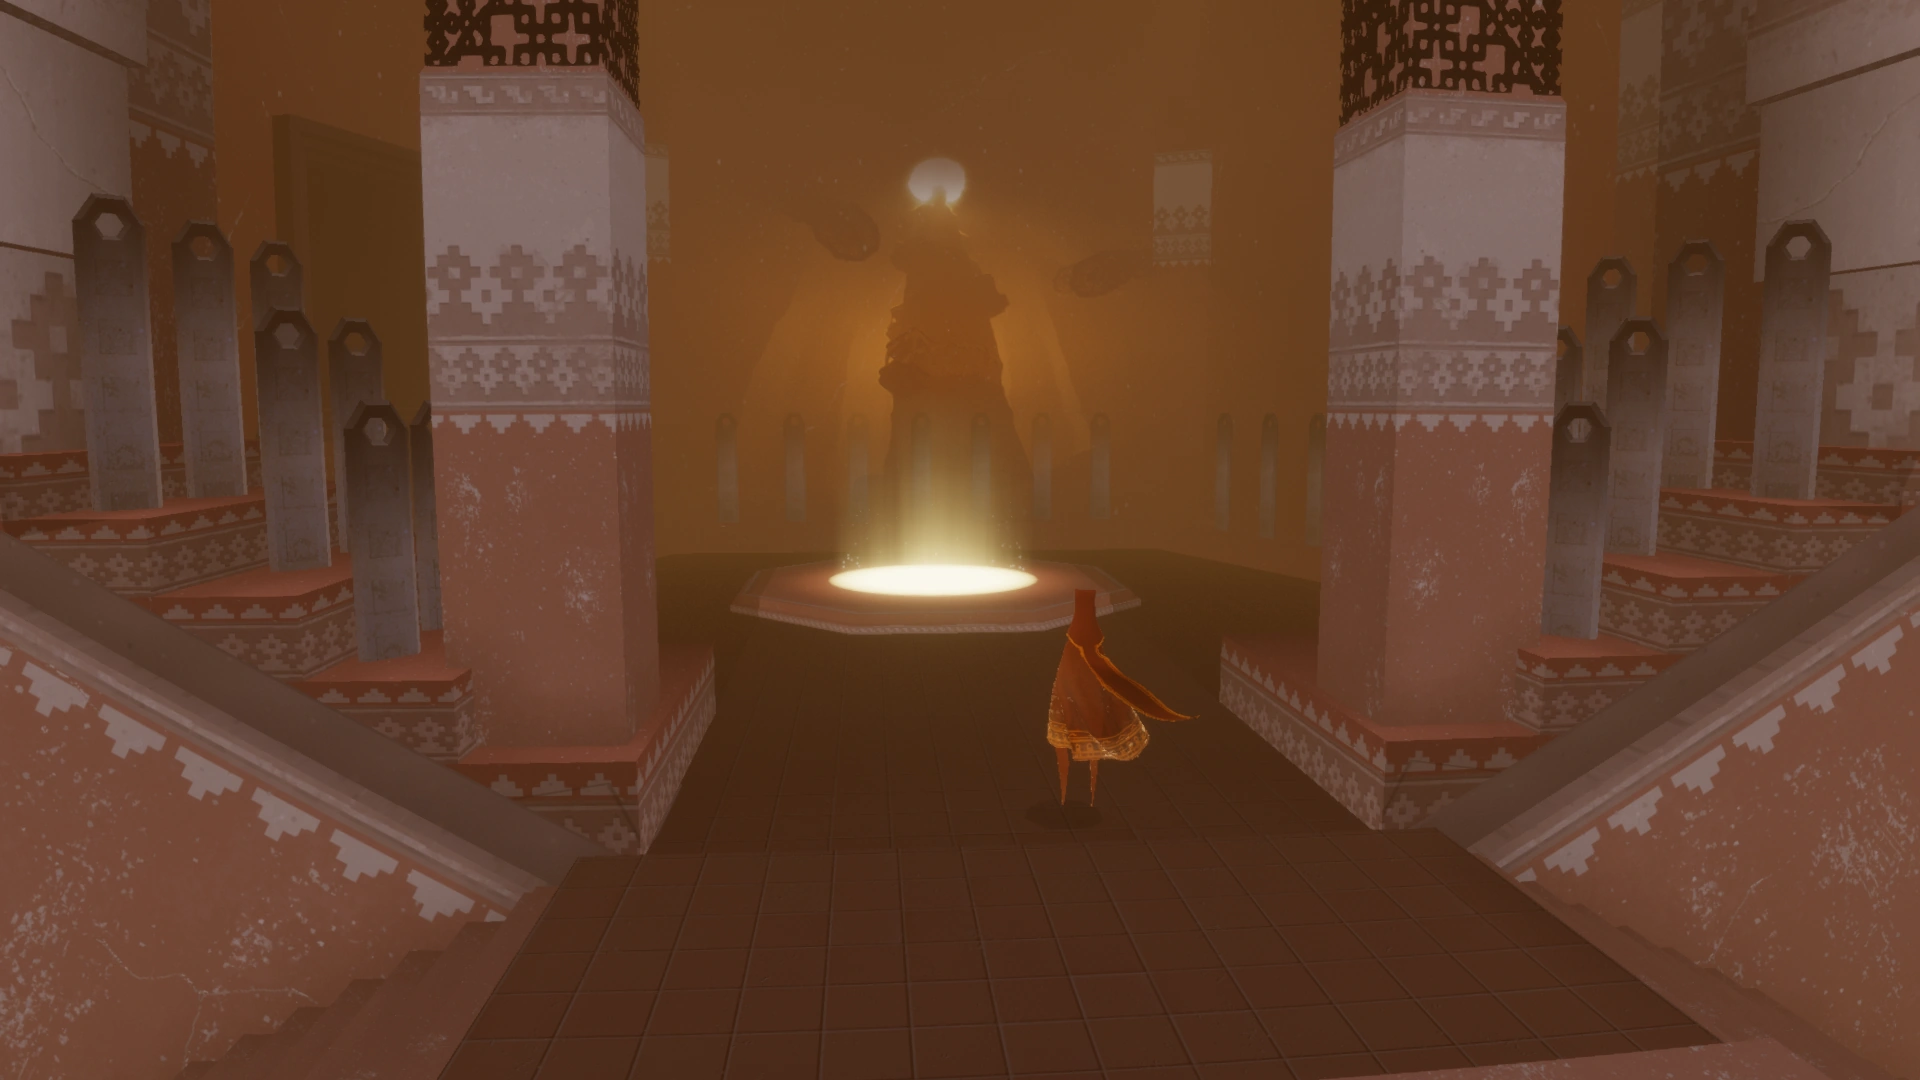
Explore as much as you like, in the end you will find your way to the gate at the end of the level. Activate the stones around the statue and step into the light circle.
For further general hints about how to play Journey, it's recommended to read this Guide and the following guides to get tips on settings and related links.
Sections[]
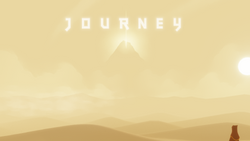
The title screen.
The Graveyard[]
"Shifted" title screen.
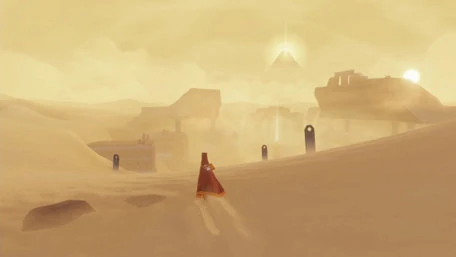
The Journey starts with "the camera" flying over a desert, in the end the camera zooms in to show your character/figure. On the Wiki "you" are called a Wayfarer.
Once you move the camera (with sixaxis: move the controller its also possible) to a certain direction, you will stand up and can start exploring.
Right in front is a big hill with two "marker stones". When reaching them or on the same line left or right to the hill, the actual "title screen" will appear. The camera zooms and the word Journey will appear.
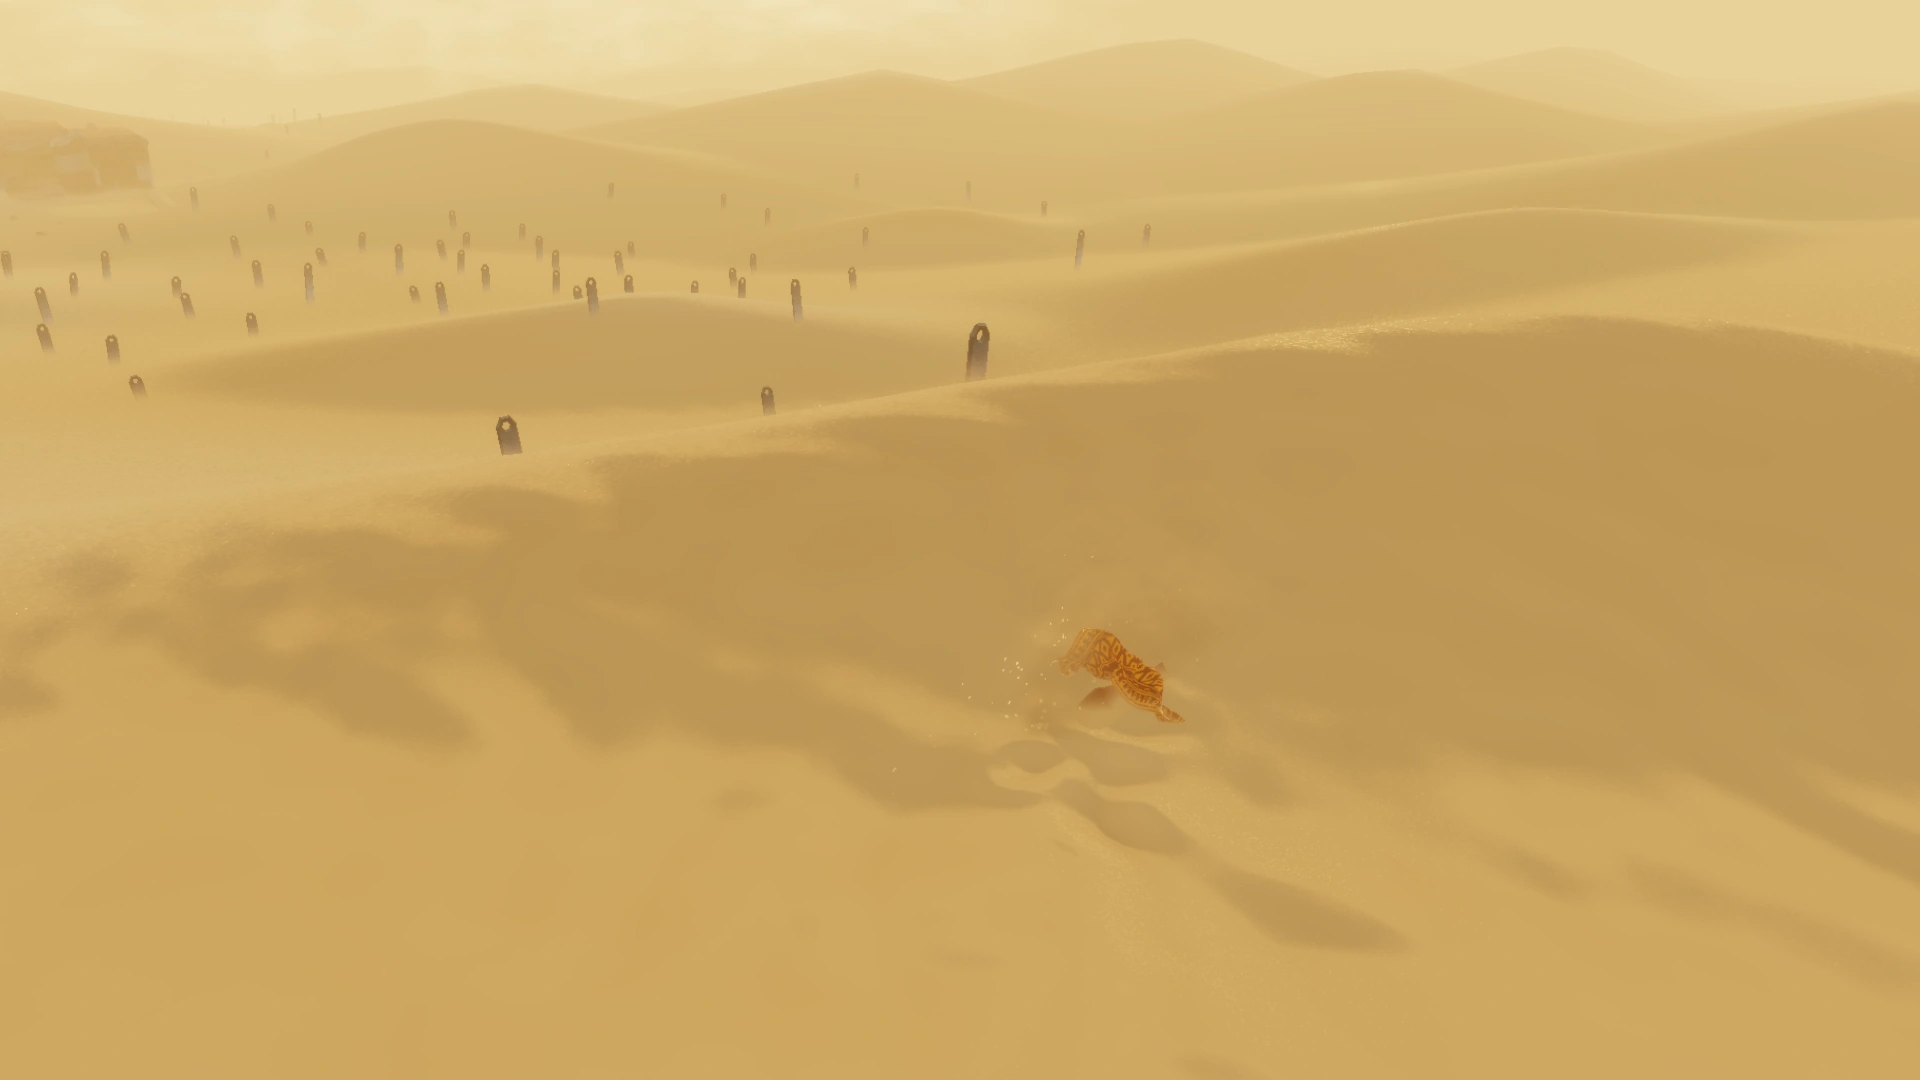

The Graveyard.
From the hill you can see a ruin with a broken statue and a glowing Symbol on it. Once you get close to the Symbol you lose control over your figure, its part of a silent tutorial, the game wants to show you how your scarf grows, when picking a Symbol.
If this is your very first run, it will tell you which key/button to press to fly. Now the symbols on your scarf vanished, but if you are still close to the flyers, they will come and "charge" your scarf - adding symbols to it. On your second run and onwards it will instead tell you which button to press to release a Chirp. The Chirp will call the flyers nearby and they will lift you up.
Now you can walk or jump from one flyer place to the other or just walk around.

On the way to the Hub.
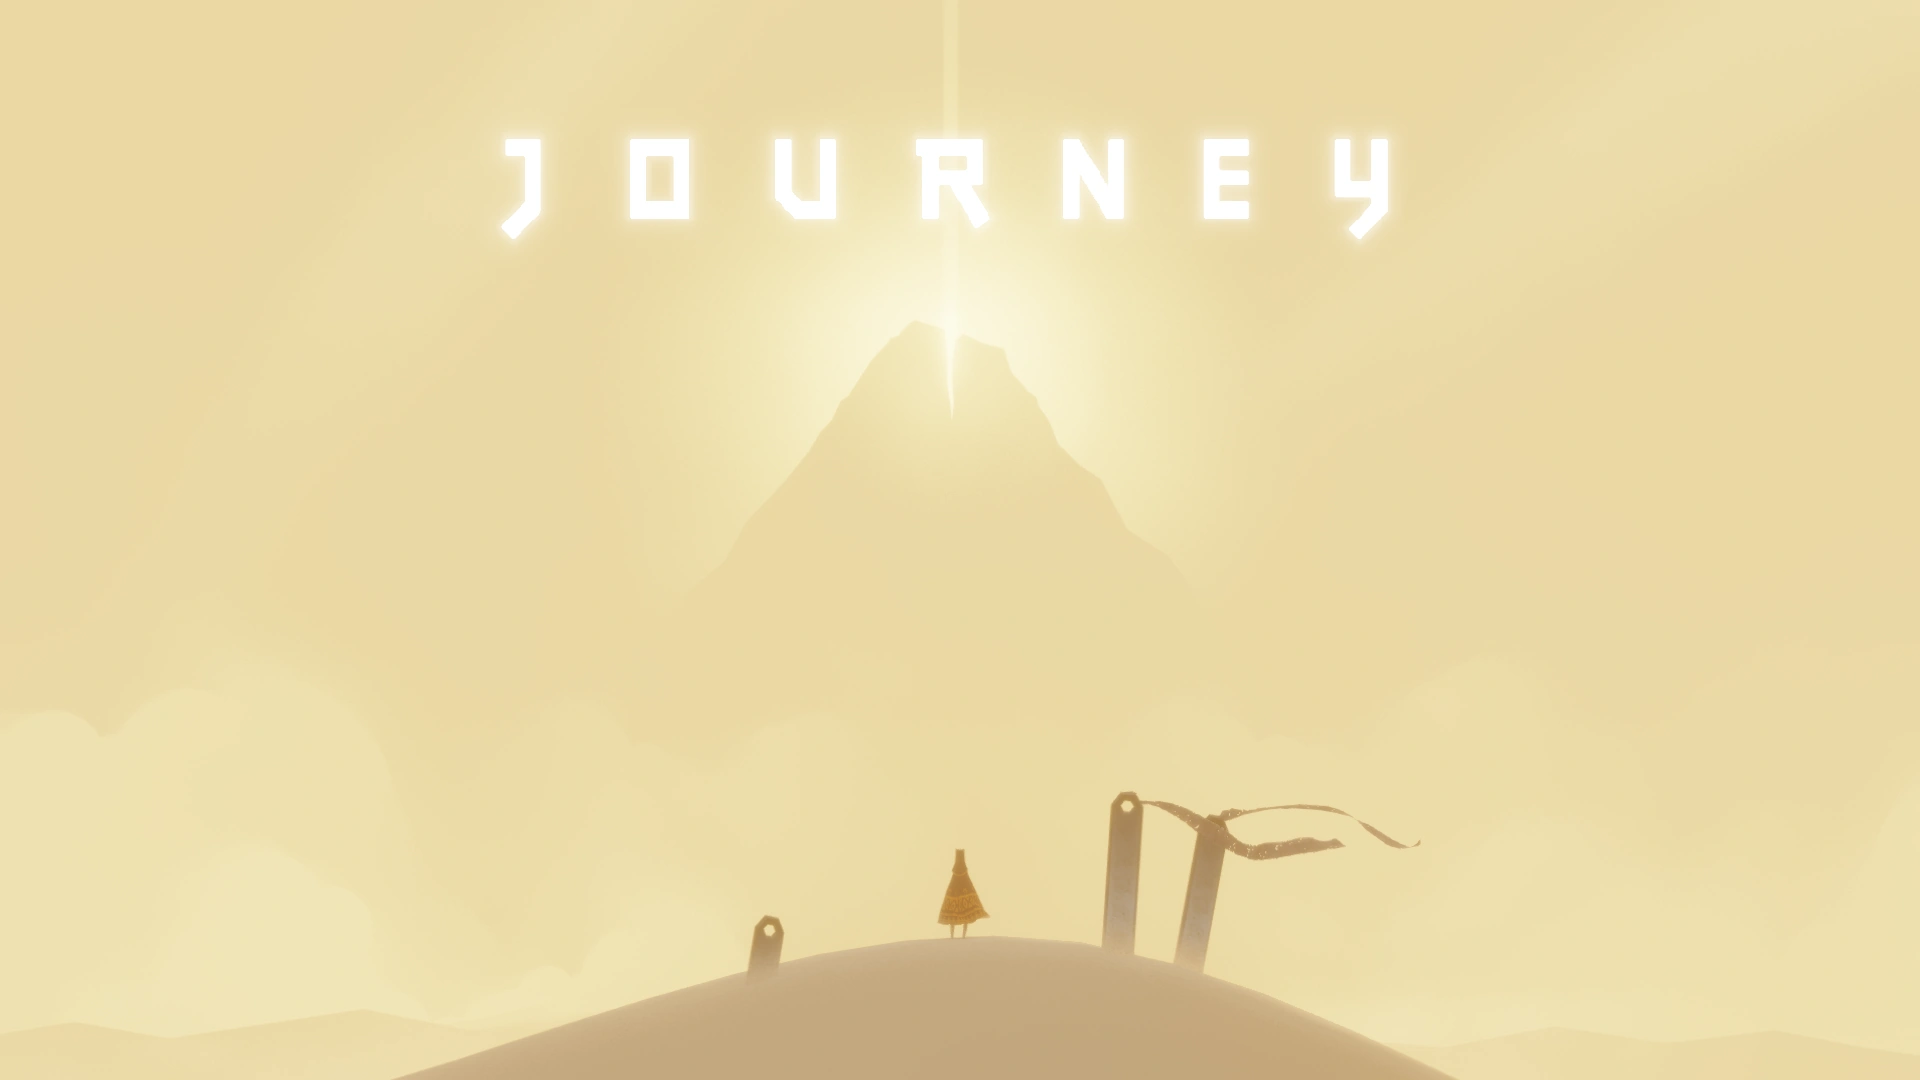
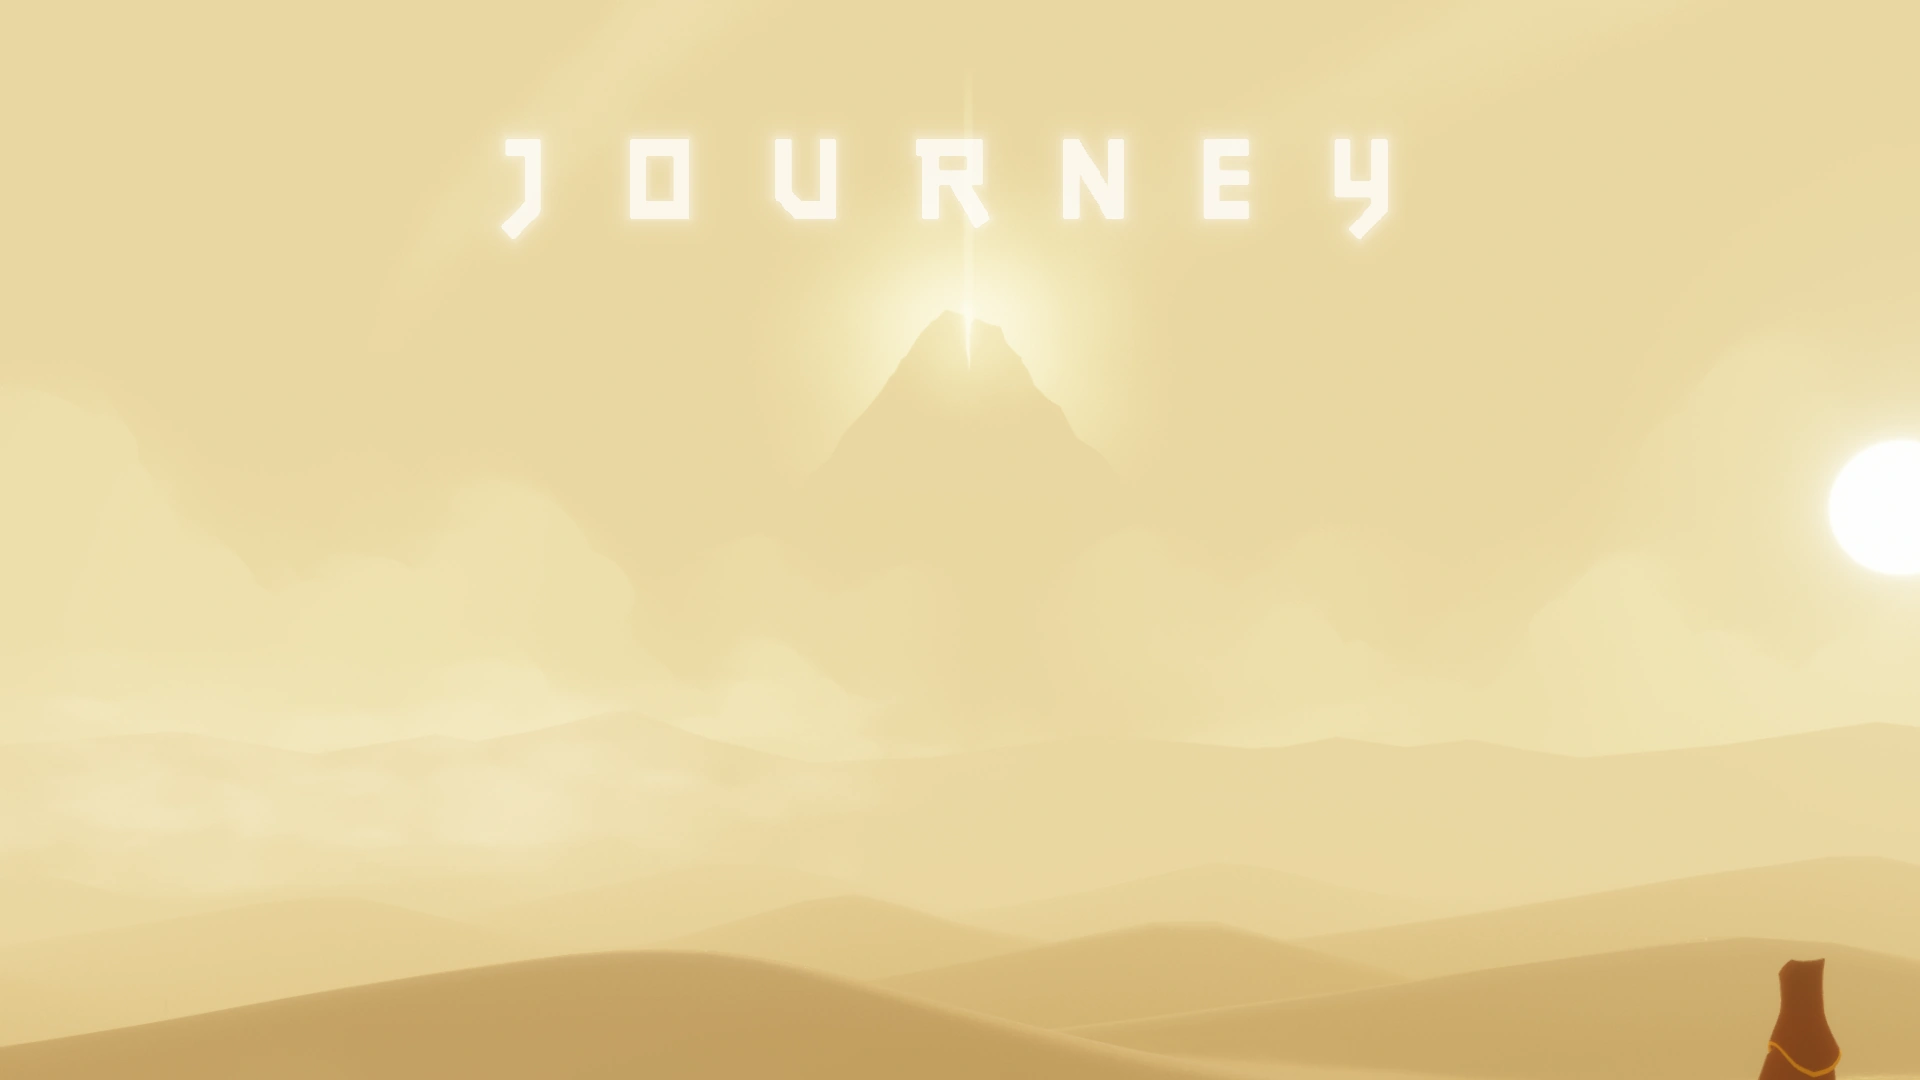
![]() Right from the start of the game, you might recognise that huge mountain in front of you, though it seems very far away. The mountain is visible in almost every level and serves as landmark on where is North. Alltough it magically drags many players to it, some resist and also look left and right to see whats there. Remember its about the Journey, the path to the mountain, not the mountain itself.
Right from the start of the game, you might recognise that huge mountain in front of you, though it seems very far away. The mountain is visible in almost every level and serves as landmark on where is North. Alltough it magically drags many players to it, some resist and also look left and right to see whats there. Remember its about the Journey, the path to the mountain, not the mountain itself.
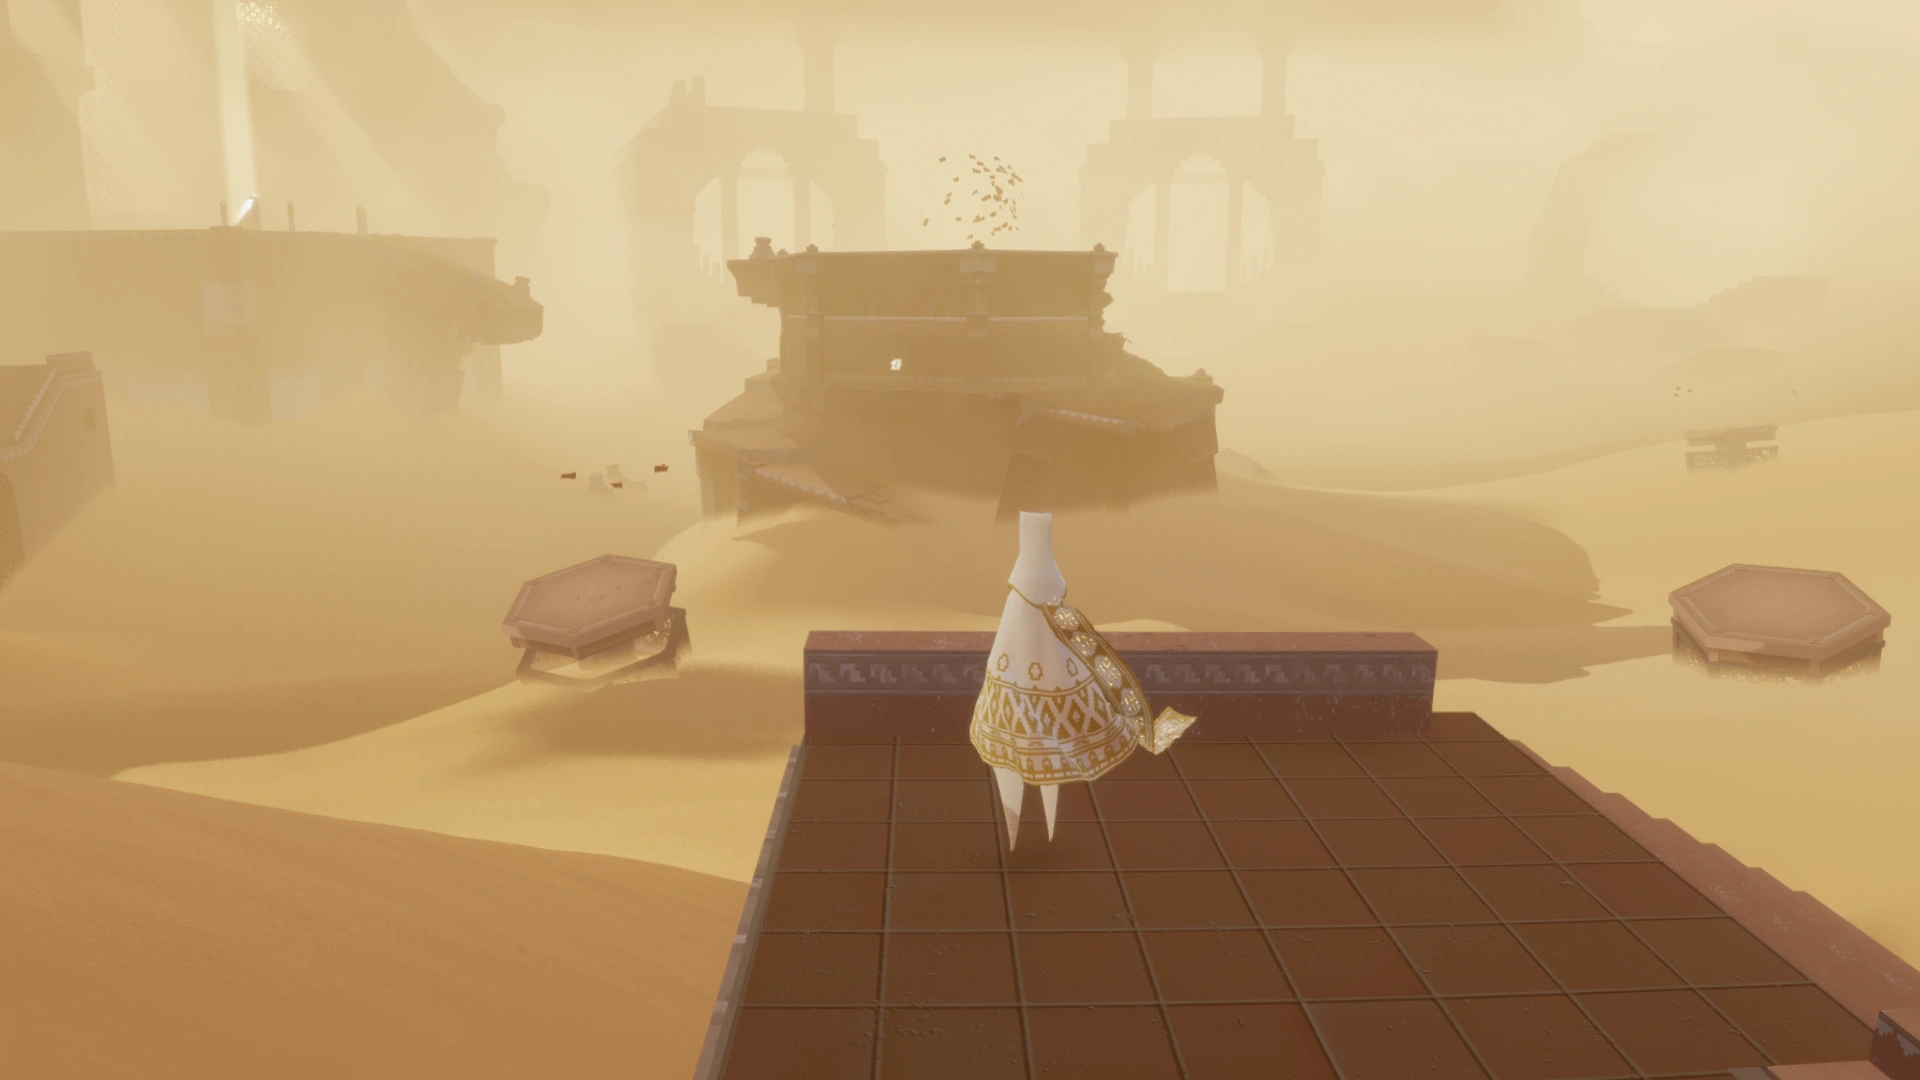
To the East is a ruin / building, its also called Memorial. You might already see even bigger buildings to the North, the Hub.
Looking at the glyph in the building to the East, you will find out that you are probably walking on a huge graveyard.
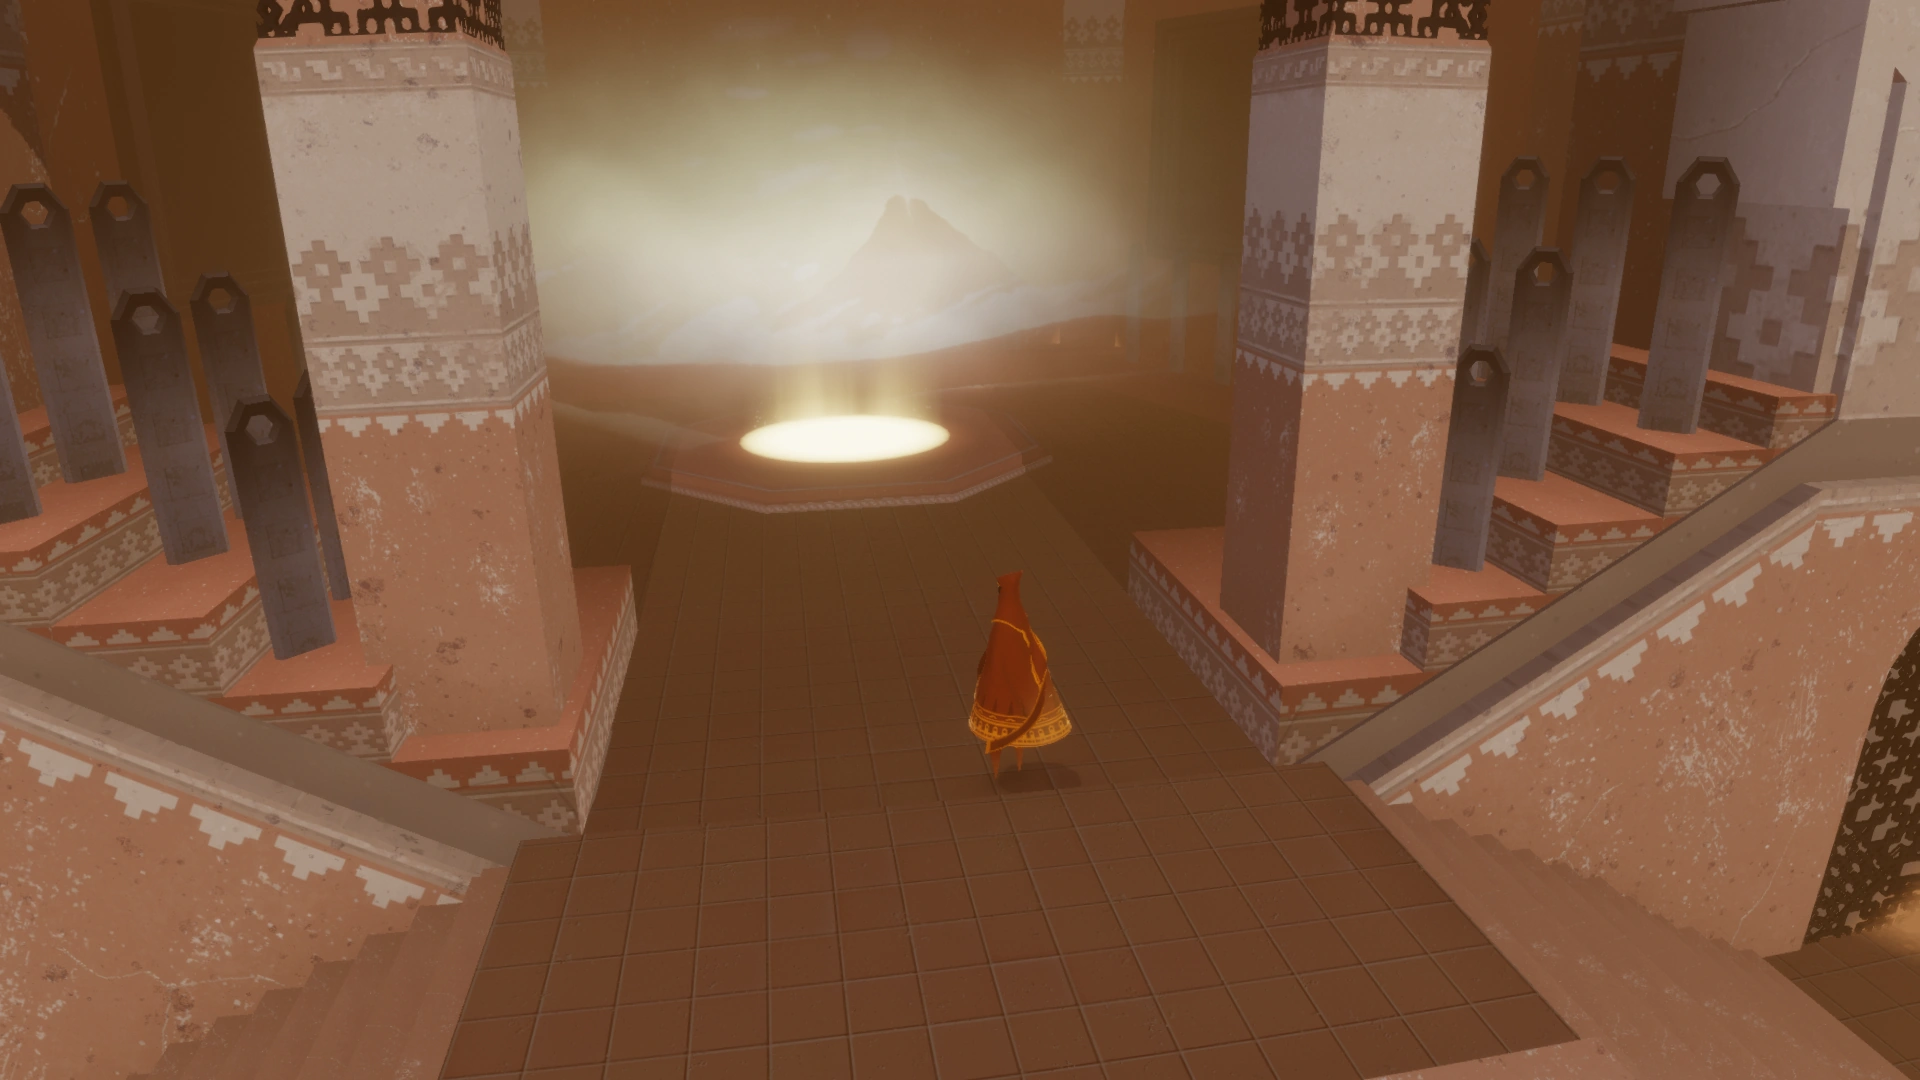
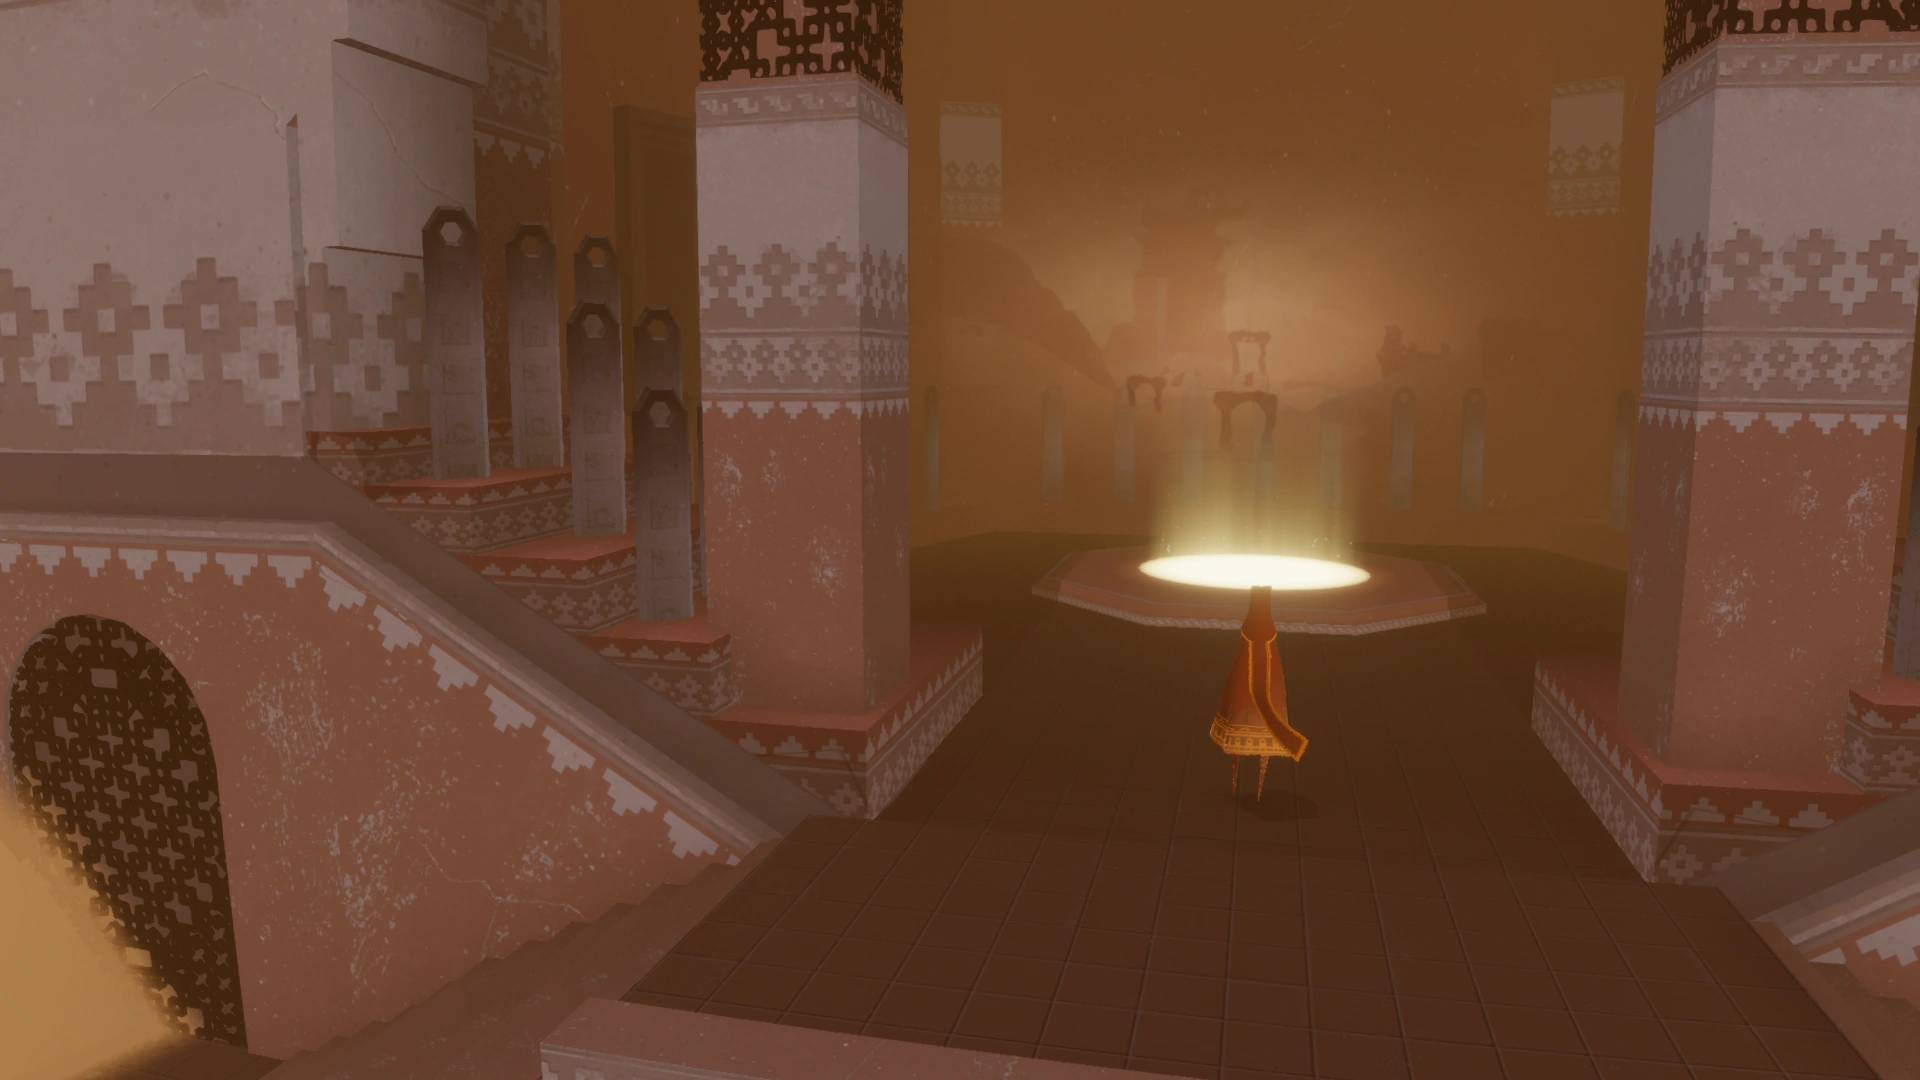
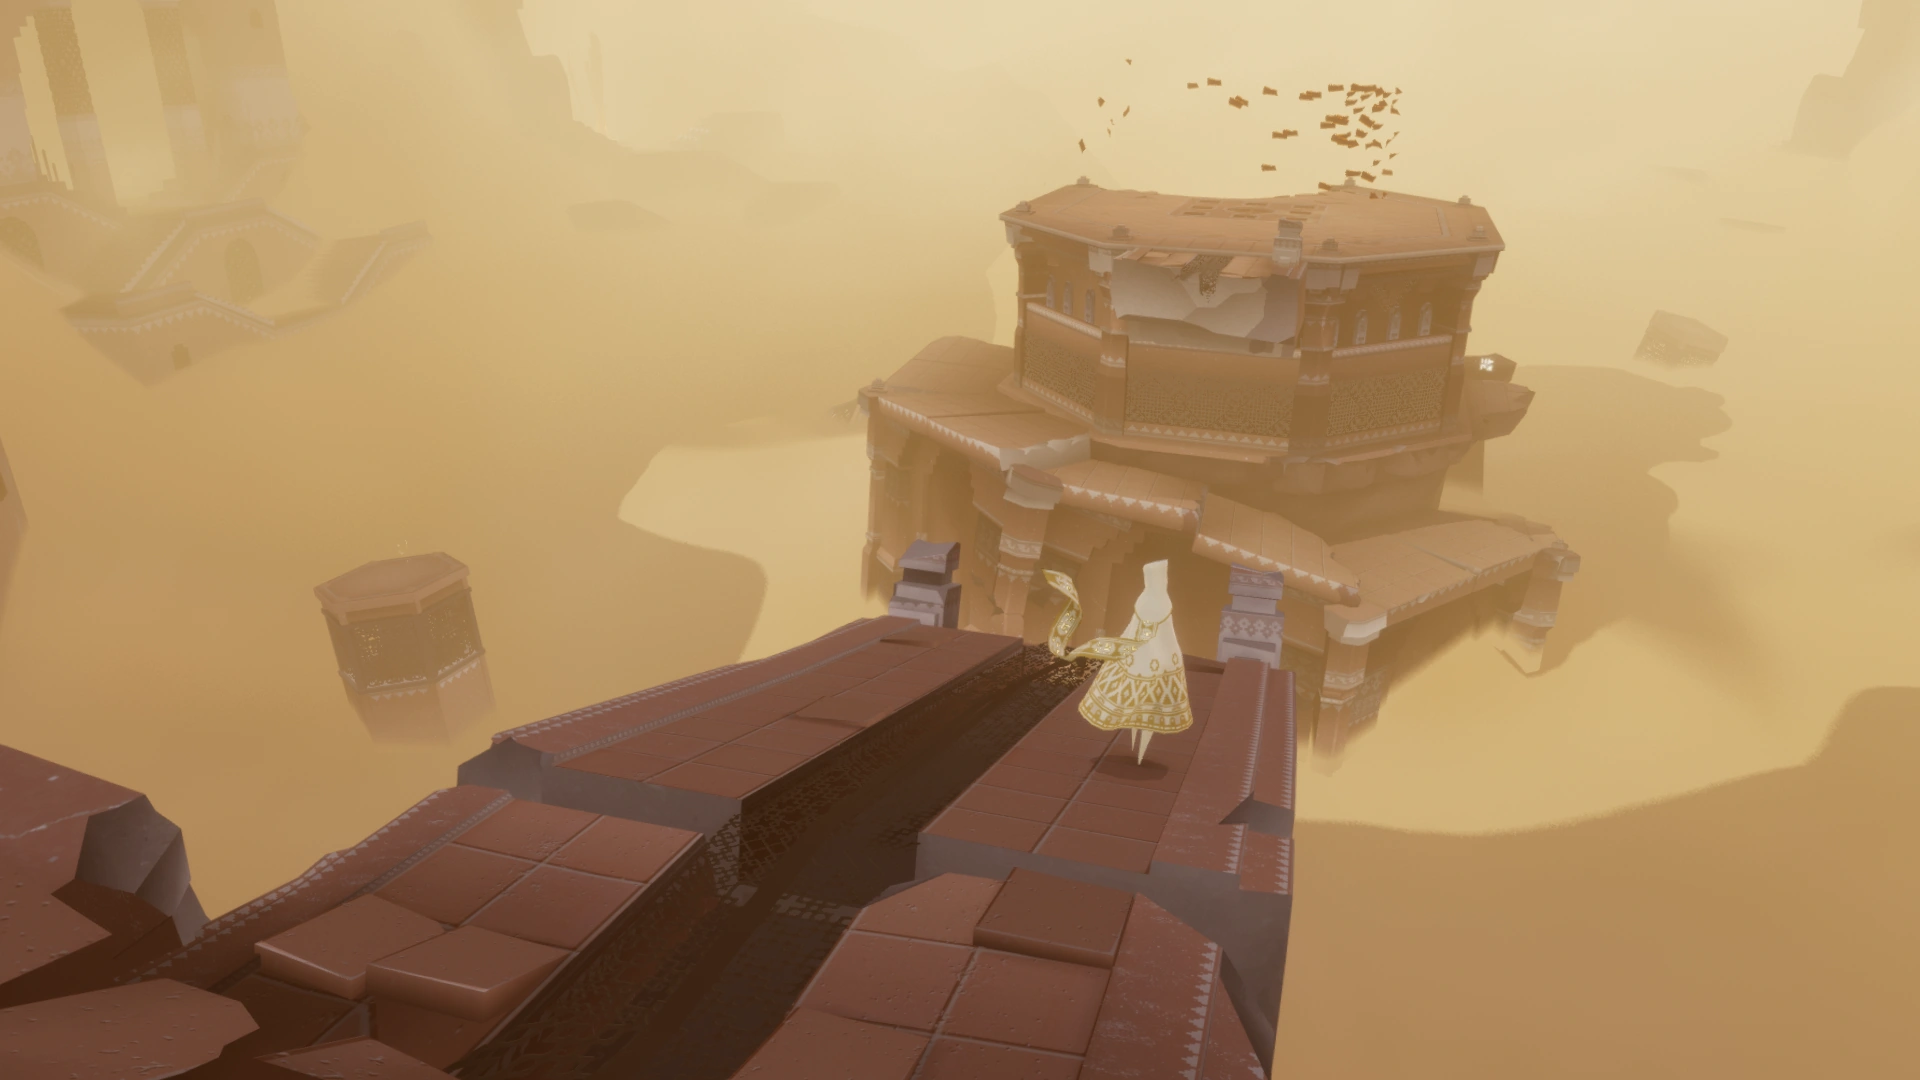
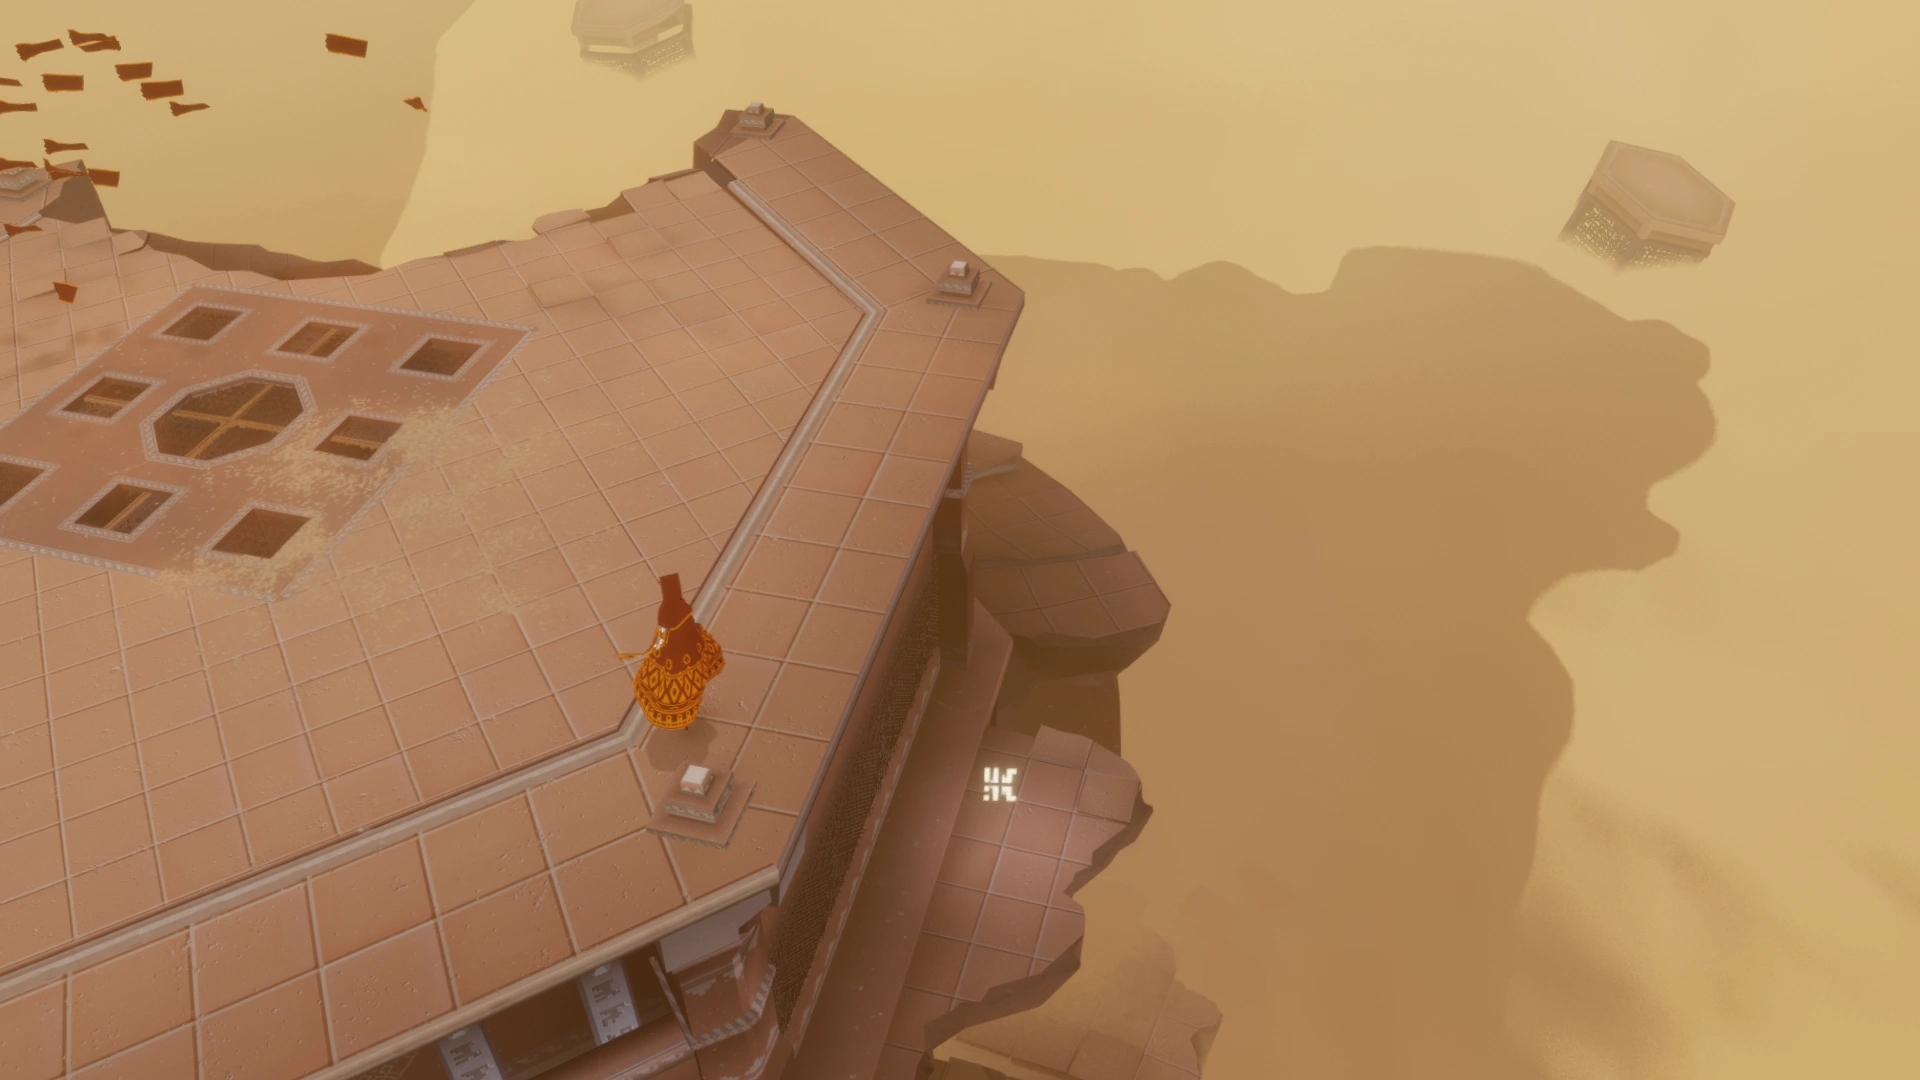
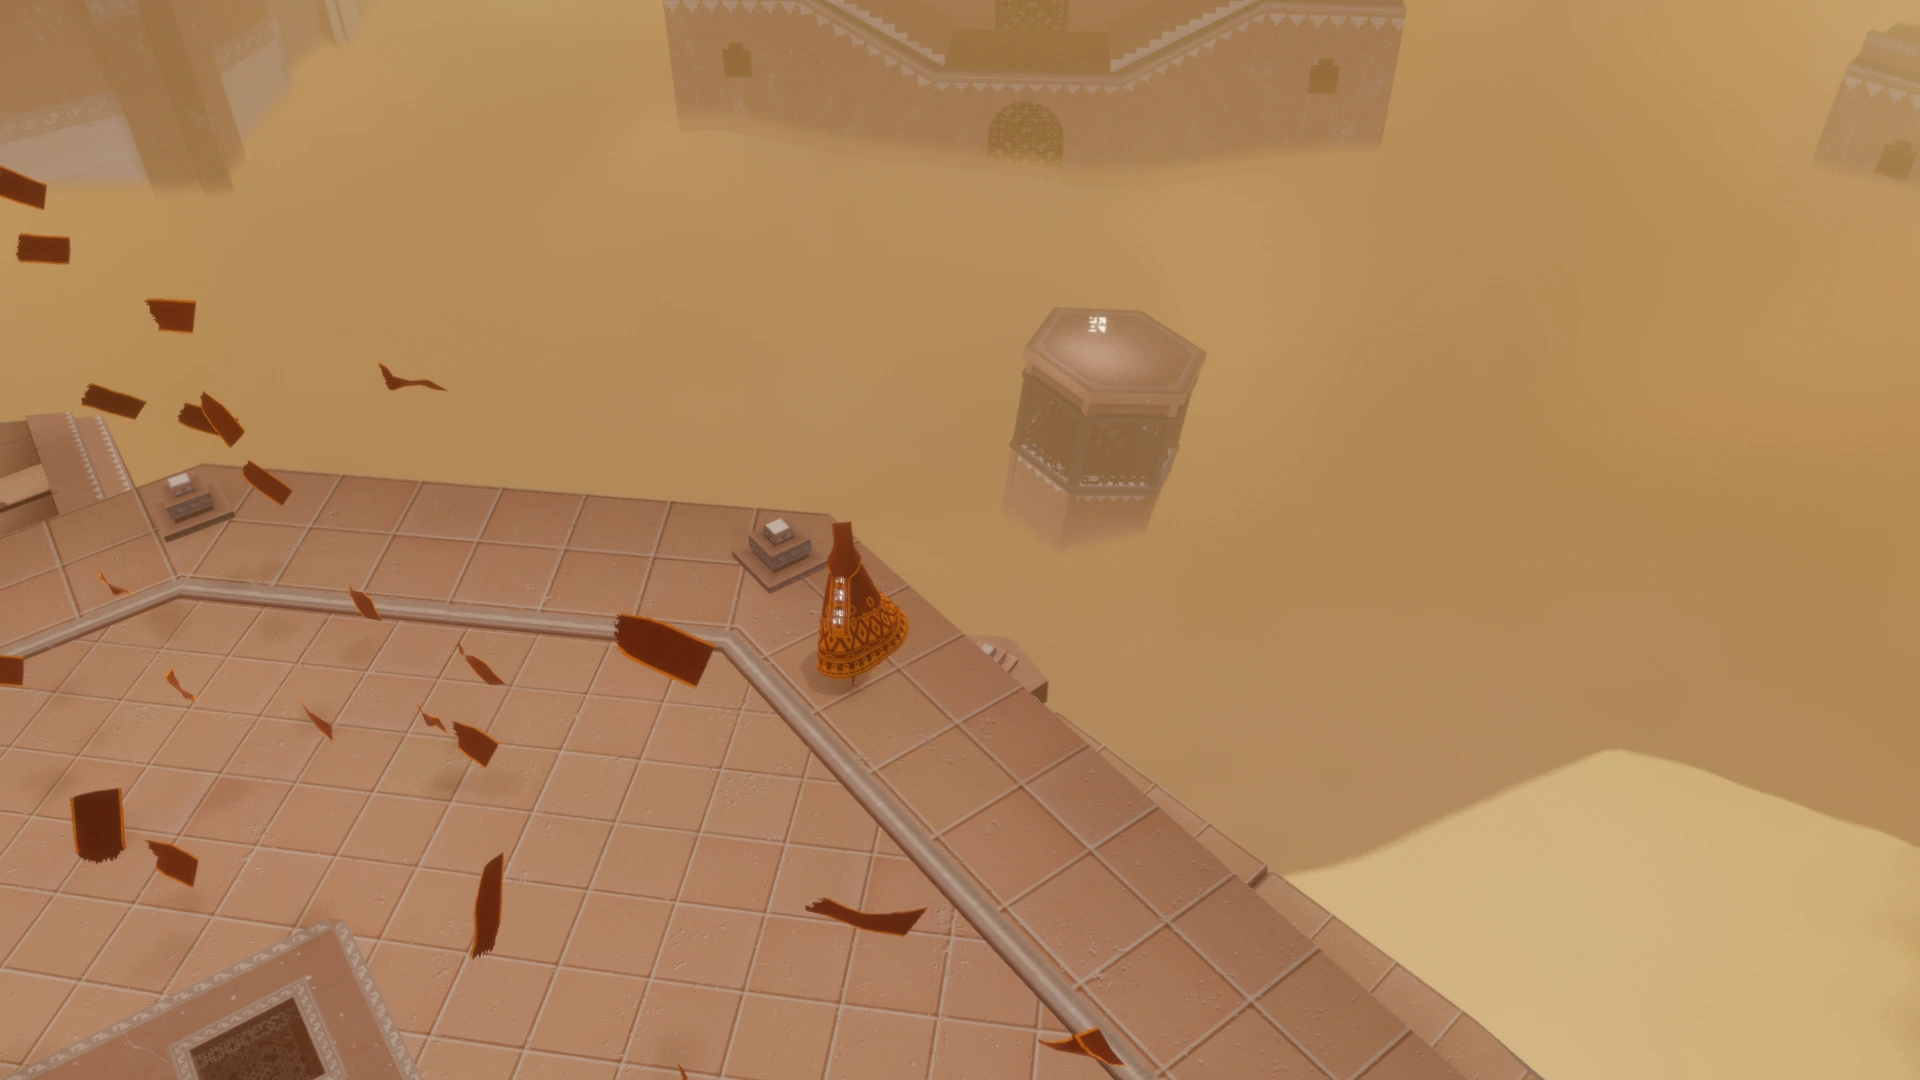
The Hub[]
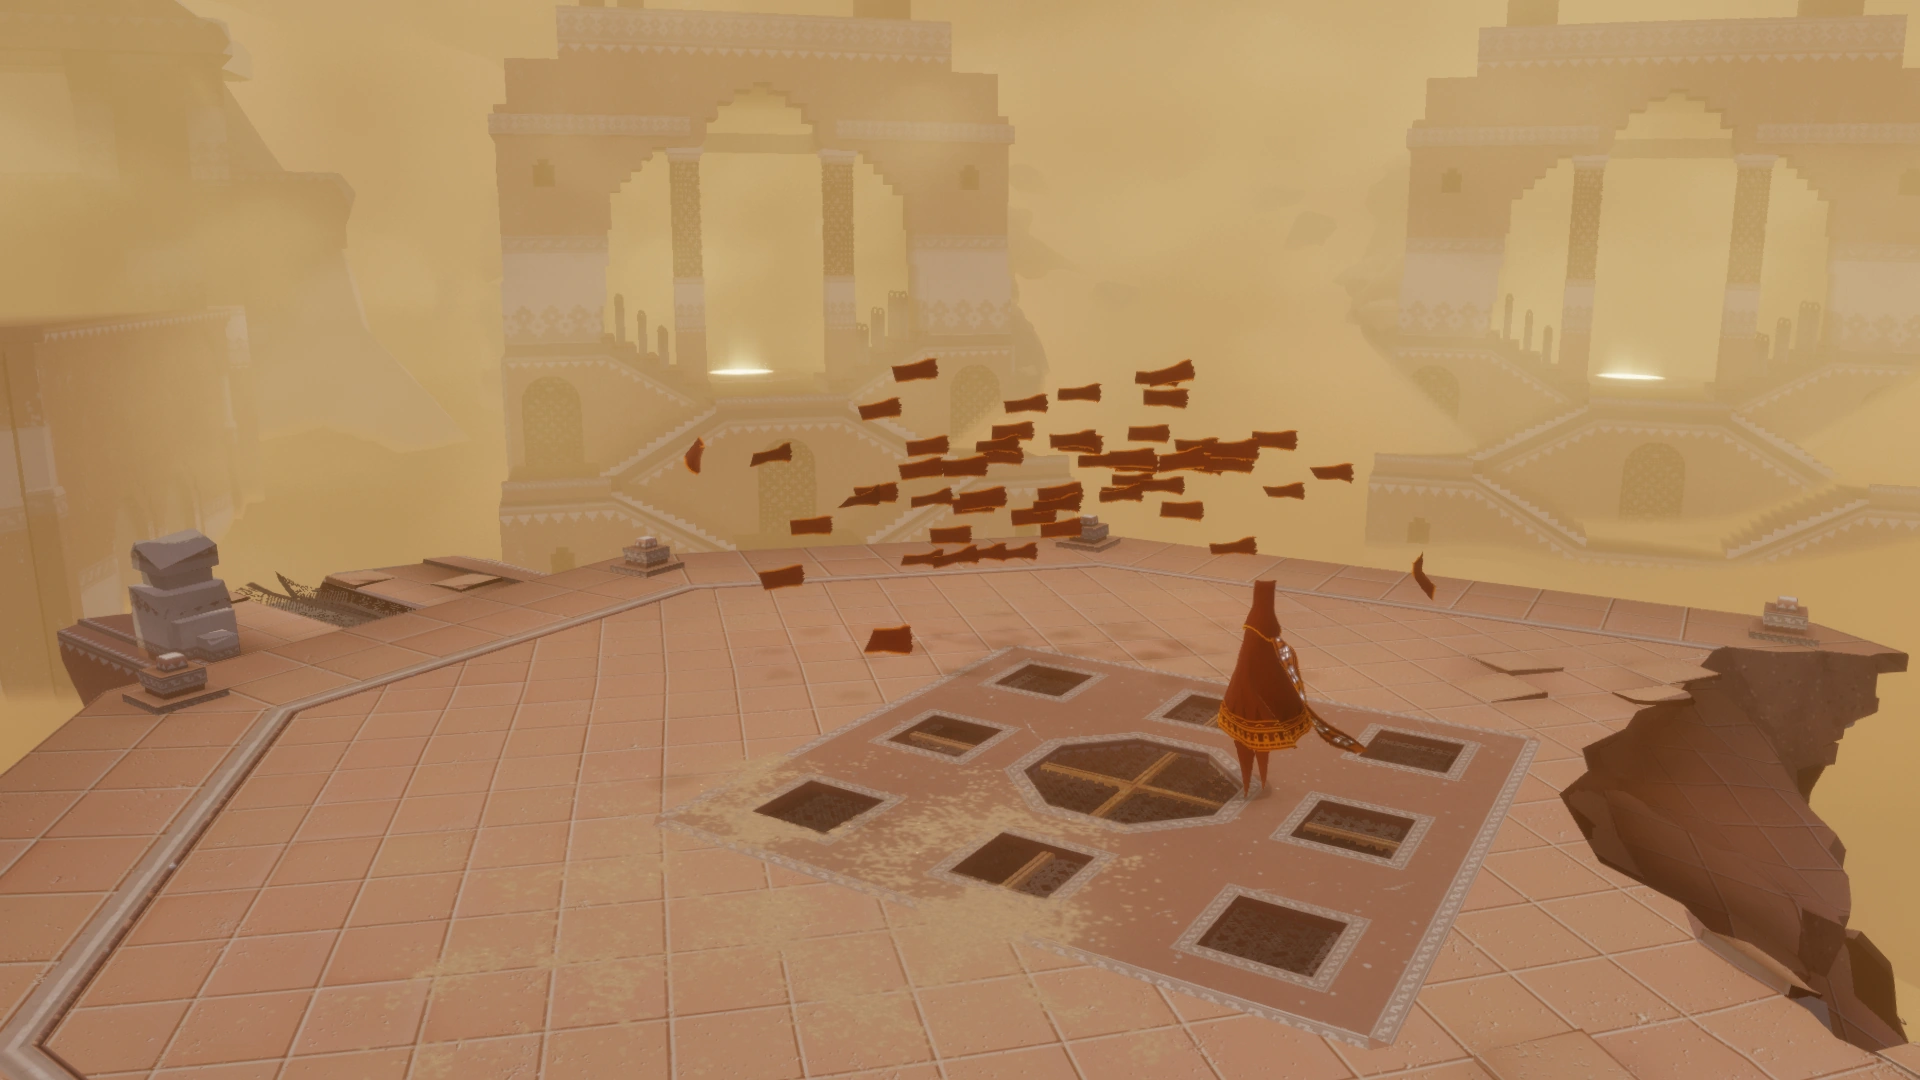
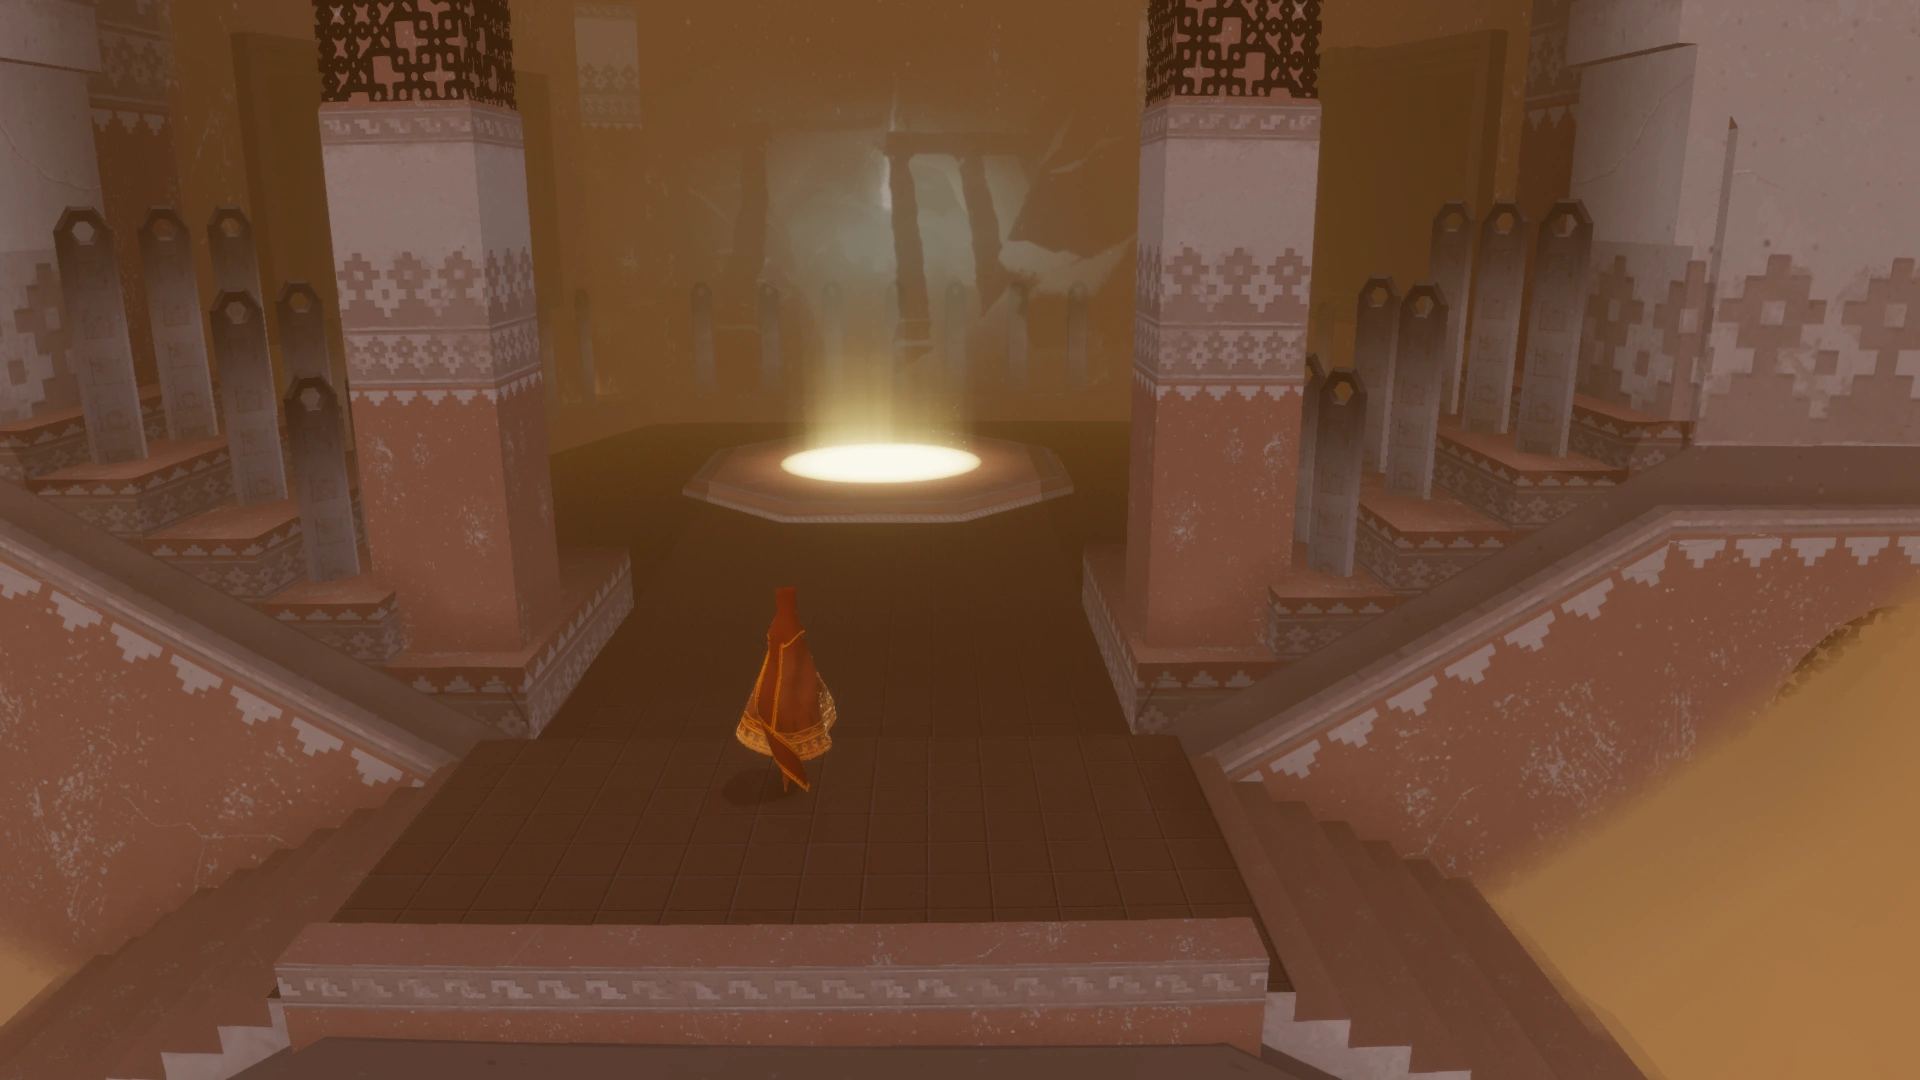
Is located in a pit. A circle of buildings and a platform in the middle, a gate to the North. Two Symbols to find around here.
On the platform are 4 Banners, the game will show which button to press to release a chirp. Once the sound(bubble) reaches the banners, they will vanish and flyers will appear, this process is also called "activating banners". This group of flyers is bigger then the ones before, they will lift you even more. This can be used to reach the side buildings and also crossing over to the statue.
Command Central![]
The Hub, buildings with light circle.
![]() On your first Journey the buildings on the sides will have closed gates. They open after completing the game (watching credits until "start new journey").
On your first Journey the buildings on the sides will have closed gates. They open after completing the game (watching credits until "start new journey").
Warning: If convincing a friend to play Journey and they will play on your account, either delete or backup (that doesnt work on the Epic Games version) your save files or just make sure that your friend does not walk into the chapter select buildings.
The hub is the reason why this level is commonly called Chapter Select.
Things to do in the hub[]
The Wardrobe.
Checking Glyphs / Symbols found, choosing a level:[]
- Choose a level: After finishing your first Journey first and starting a new one you will be able to choose to start from any level (except Paradise), by going into the chapter select buildings and stepping into the light circle. This will of course shorten your Journey. Warning: until you went to the next level, after that one you entered via a CS-gate, the game is not saved. This means if you quit the game in the CS-level, your continue option will bring you to the last saved level, not the level that you went to via CS.
- Check which glyphs you've found: Enter a chapter select building but don't walk into the light circle. Check the walls of the building, if you see only a frame then there is a glyph on that level that you haven't found/activated yet. If the glyph lights up, it means you've found and activated that glyph on the level before.
- Check which symbols you've found: Info in this article: Wardrobe
- Change robe: Once you've found all the symbols, you can choose to switch between a red and a white robe, also at the Wardrobe.
- Some chapter selection buildings

Going to select Pink Desert (PD) level

Going to select Sunken City (SC) level

Going to select Underground (UG) level

Going to select Tower level
Going to select Snow level

Second run red robe going to Broken Bridge
The end of the level[]
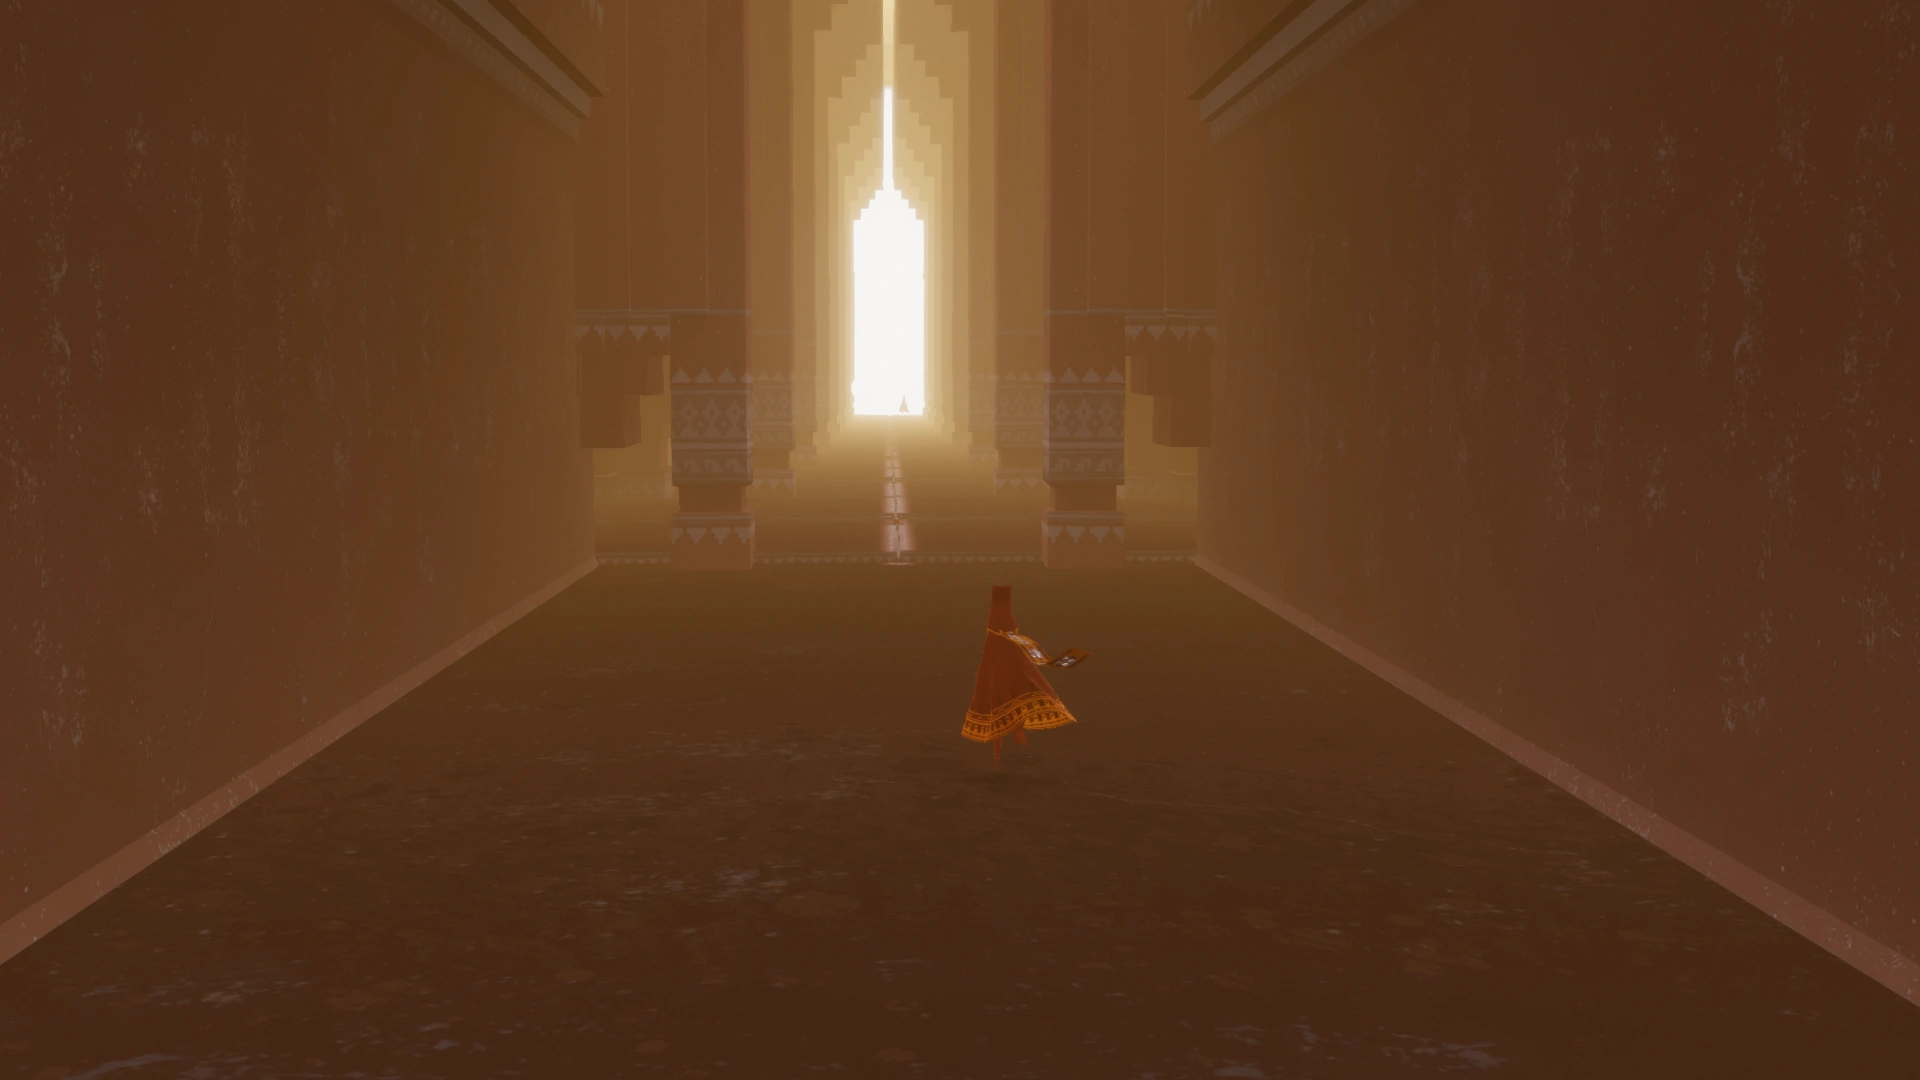
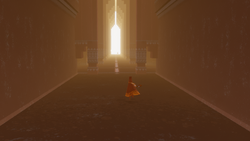
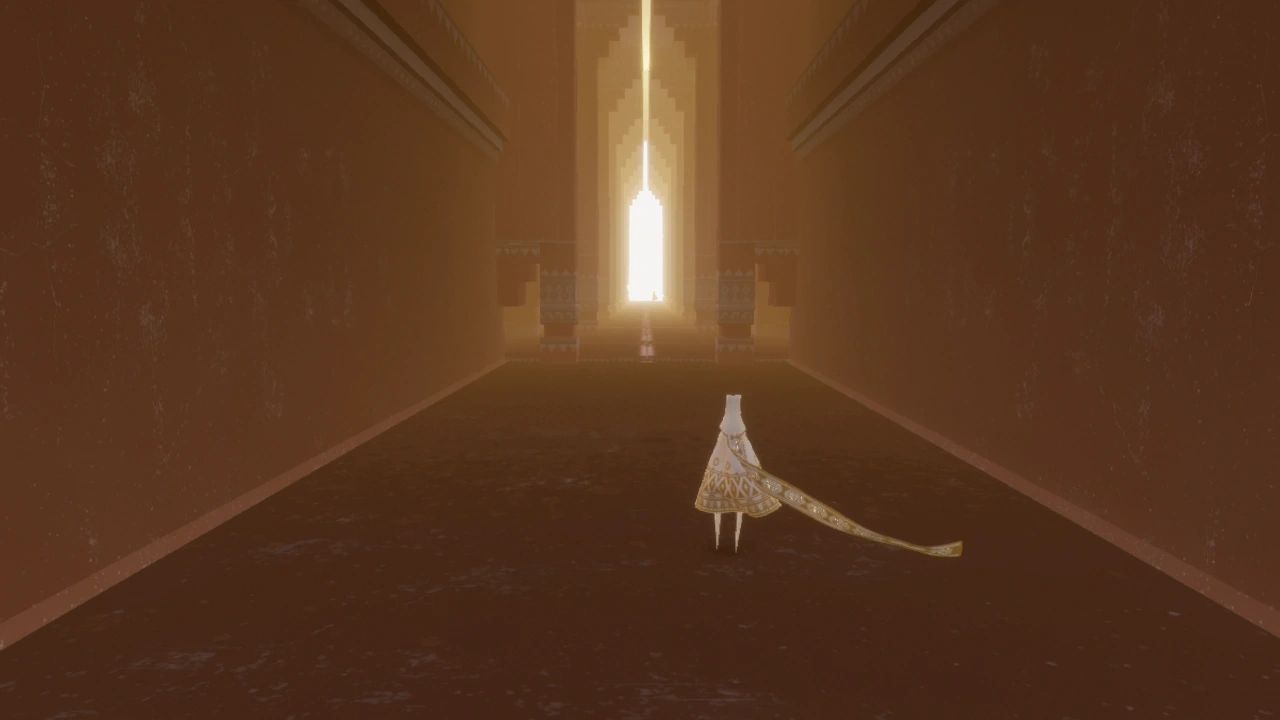
You can not pass the gate to the long corridor behind it, before activating the Shrine to receive the vision aka History Lesson.
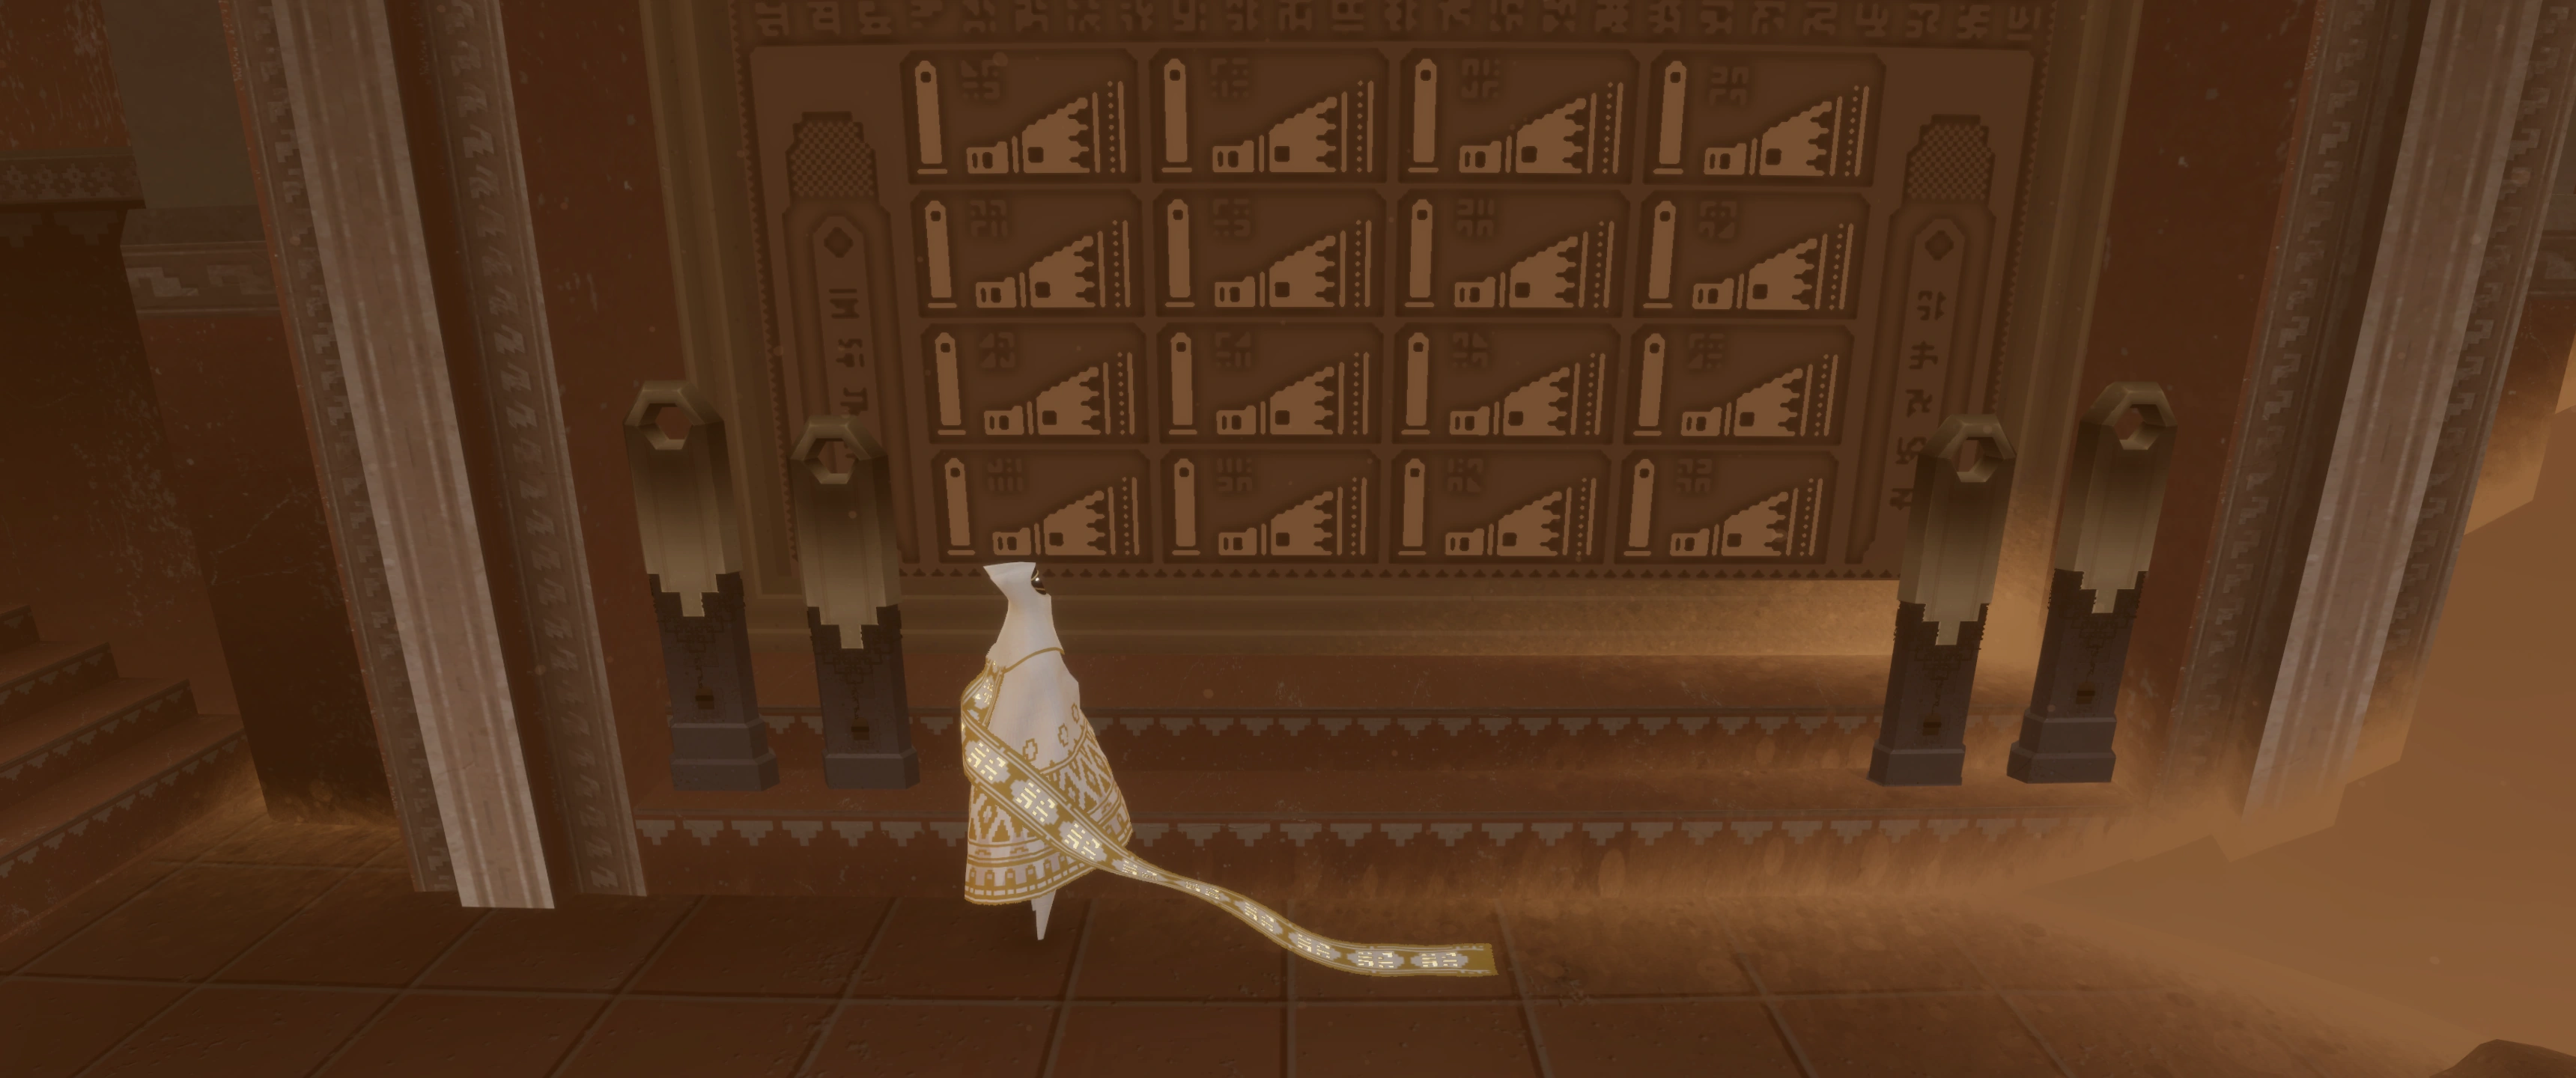
At the bottom of the statue you see three squares with a symbol on them. Each one stands for a glowing Symbol in the level, if not lit up it means you missed that symbol.
Full tier / 4th run White Robe going to BB
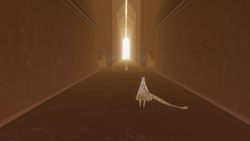
After the vision the gate opens and you can go to the next level. If you look closely you can see a Wayfarer waiting for you at the end of the corridor, he will run away though when you enter the corridor. More information about that guy in Sights.
Tips and Tricks[]
Connection and Companion hints[]
In this level you can not meet other people.
Menu option "Chapter Select"[]
After your first Journey, you can choose to go to the Hub area via the menu anytime (not while a vision is running and some cutscenes).
Chapter selecting can have unwanted side effect:
- If you meet the same person again, their Symbol will be different. See Chirp, Same Companion, different Name-Symbol.
- Companions Met Along the Way-list will be reset. See Companions Met Along the Way (CMATW), Losing companion names.
![]() This version also gives the option to restart the Paradise level.
This version also gives the option to restart the Paradise level.
"Quickstart":[]
When starting a new game after your first run, open the menu right at the start. You need to walk some steps before you can enter it.
![]() On this version you can enter the menu already at the intro (flying over the desert).
On this version you can enter the menu already at the intro (flying over the desert).
Select "Chapter Select". It asks you to confirm, telling you that your progress will be lost.
No worries; you're jumping to a later part of this level, namely to the middle of the pit, after the Flyers have been released, with the first Symbol already received.
The very first symbol will be available, and the cutscene + tutorial for receiving your scarf will play, but your scarf will not grow any longer. Thats why its said "the first symbol does not count / does not need to be taken" (when "chapter selecting", you got it already when using the chapter select option.
Trophies, Glyphs, Symbols[]
This is a bit past the building with the Glyph. Its to the right side.
Glyph[]

"Graveyard" Glyph.
Image of the building with the Glyph missing.
Description also missing.
Symbols[]
Three Symbols in this level.
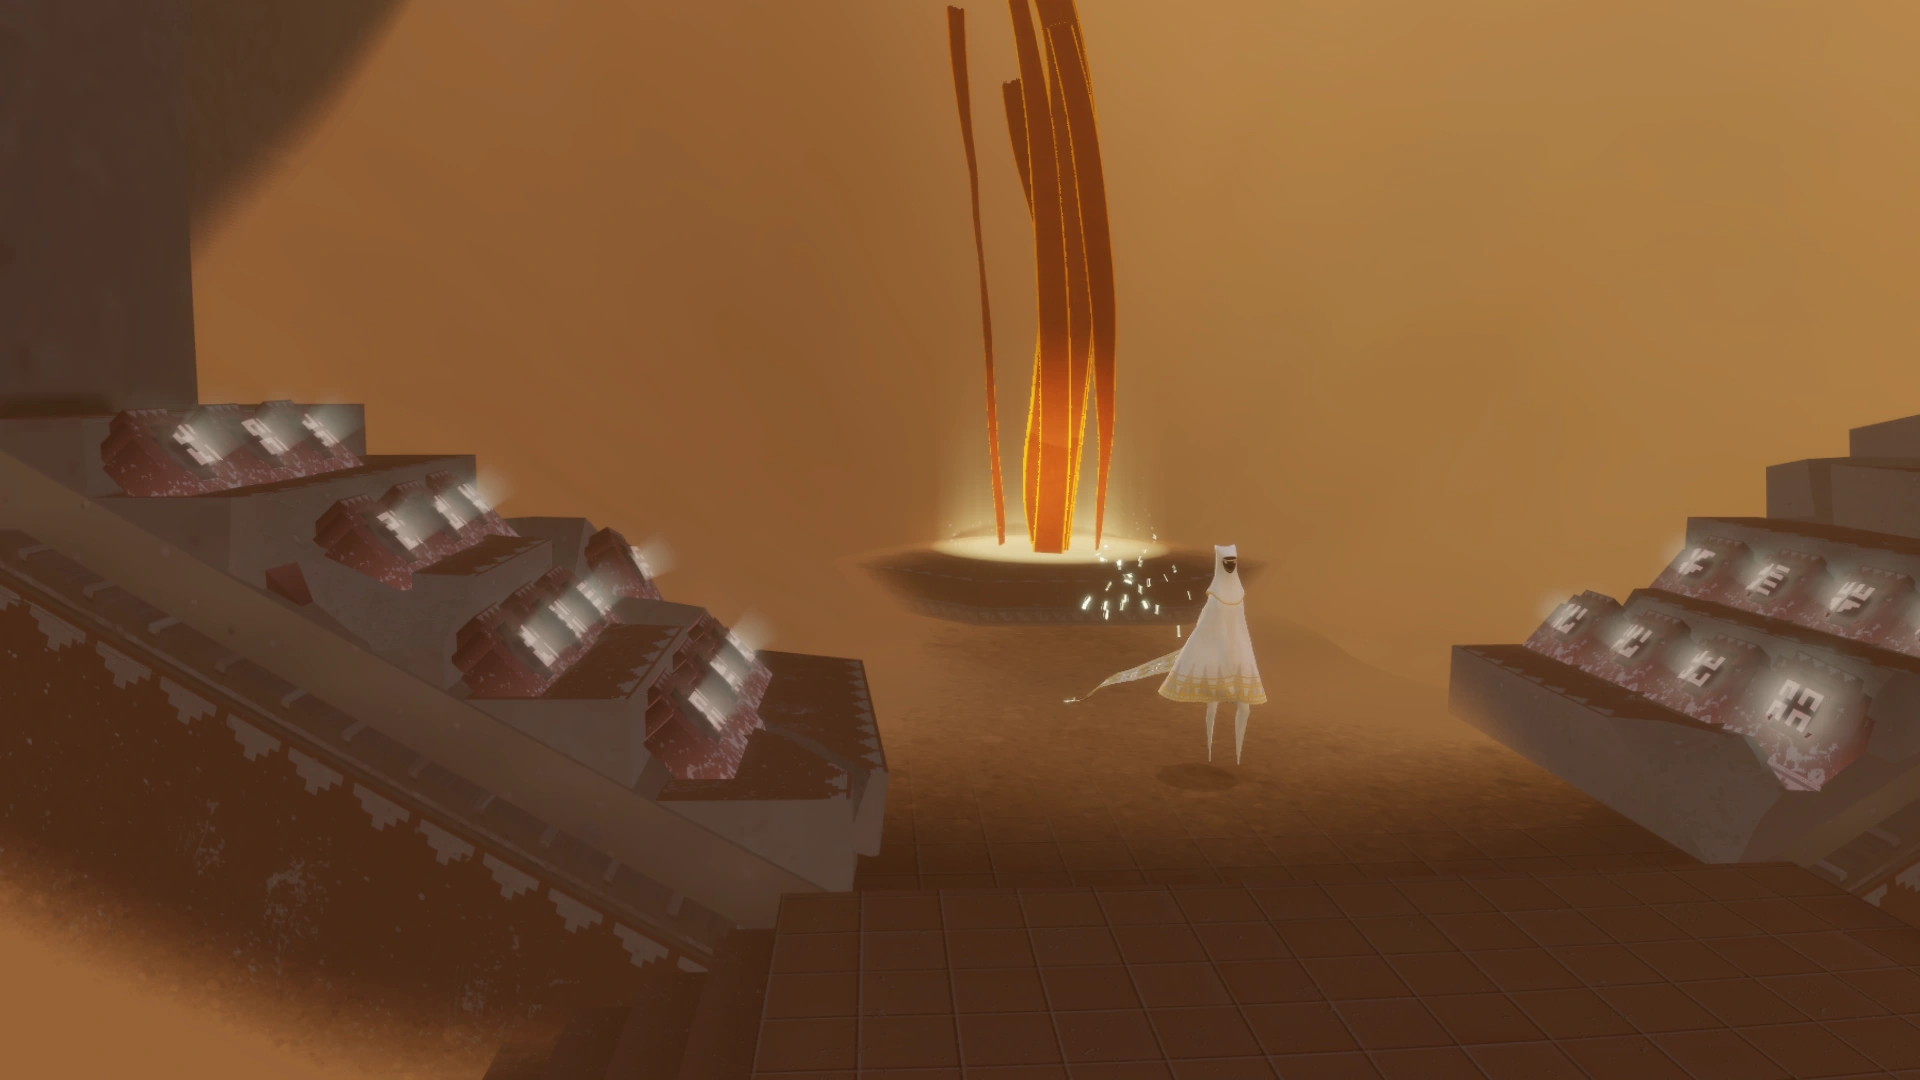
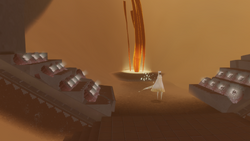
The first is right after the title screen hill at the platform with the broken statue.
The other two are around the platform in the Hub.
Looking towards the end of the level
- drop down from the platform to the left side. There is a ledge with a Symbol on it.
- look North-East, Symbol is located on a half sunken pillar on the ground.
- Gallery with all Symbol locations (to be expanded or splitted)
First Symbol place.
In the Hub. The light beam to the left marks the place with the statue.
Looking back, standing nearby the statue. The third symbol was taken here, but its on the pillar on the left side.
Closeup, second Symbol.
Closeup, third Symbol.
Sights[]
- On a lone wall opposite the wardrobe is a hard-to-spot ancient glyph. It may at first appear to be a secret, but it is actually just the collection wall for Broken Bridge, as the Bridge does not have a full chapter select building.
| A description on how to get Out of Bounds and a link to the article How to find Nick at Sights section in Chapter_Select_(OOB) | |
| Spoilers end here. | |
Trivia[]
- This part of the game was called "Graveyard" in the original concept
| Those with a keen eye may notice that the chapter select area is almost identical to the top of the Tower level later in the game. The only difference, besides not being ruined and full of sand, is that the Tower's end-level shrine is before the bridge rather than across it. | |
| Spoilers end here. | |
Quotes[]
See also[]
2 Broken Bridge (BB)
3 Pink Desert (PD)
4 Sunken City (SC)
5 Underground (UG)
6 Tower
7 Snow
8 Paradise
9 Credits
Category:Levels
2 Broken Bridge (BB)
3 Pink Desert (PD)
4 Sunken City (SC)
5 Underground (UG)
6 Tower
7 Snow
8 Paradise
9 Credits
Category:Levels
Recommended How to play guide for Journey • Chirp/Scarf • Tandem Flying • Dusting / to dust/Common Behaviors • Companions Met Along the Way (CMATW)
Frequently Asked Questions • PC Version FAQ •
2 Broken Bridge (BB)
3 Pink Desert (PD)
4 Sunken City (SC)
5 Underground (UG)
6 Tower
7 Snow
8 Paradise
9 Credits
Category:Levels
2 Broken Bridge (BB)
3 Pink Desert (PD)
4 Sunken City (SC)
5 Underground (UG)
6 Tower
7 Snow
8 Paradise
9 Credits
Category:Levels
Recommended How to play guide for Journey • Chirp/Scarf • Tandem Flying • Dusting / to dust/Common Behaviors • Companions Met Along the Way (CMATW)
Frequently Asked Questions • PC Version FAQ •